

Setup Azure Networks
August 1, 2016Setting up networks in Microsoft Azure is pretty simple task, but care should be taken when deciding how the address space will be carved out. To get started lets cover a couple of concepts about how Azure handles networking. To start we have the idea of a “VNet” which is the IP space that will be assigned to smaller subnets. These VNets are isolated from each other and the outside world. If you want your VNet to communicate with another VNet or your on-premises networks, you’ll need to setup a VPN tunnel. You might be wondering, how do you do any segmentation between servers without having to setup a VPN then? The answer there is using subnets. Multiple subnets can be created inside of a VNet and security groups can be added to them so that they only allow certain traffic, sort of like a firewall does.
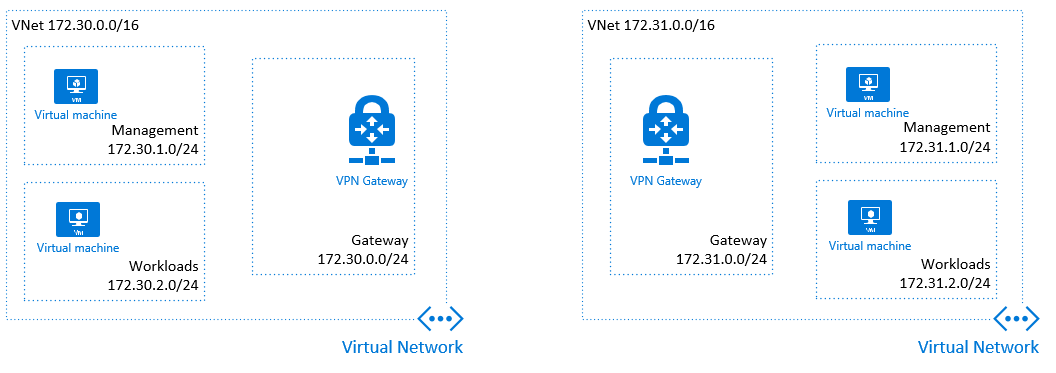
The example below shows a pair of VNets each with their own address space of 172.3X.0.0/16. The two VNets can’t communicate with each other without a VPN tunnel. However, inside of the left VNet there are two subnets named Management and Workloads and they are carved out of the larger VNet address space. These two subnets can communicate by default, with no other communications needed. Traffic between subnets is allowed and IP routes are automatically added by default. The last subnet is a Gateway Subnet and this is created when you deploy a Virtual Network Gateway, to be covered in another post.
NOTE: At the time of this writing, Microsoft has two separate portals for managing Azure, Classic and the Resource Manager Portal. The setup of the VNets in the rest of this post are based on the new Azure Resource Manager Portal.
Setup
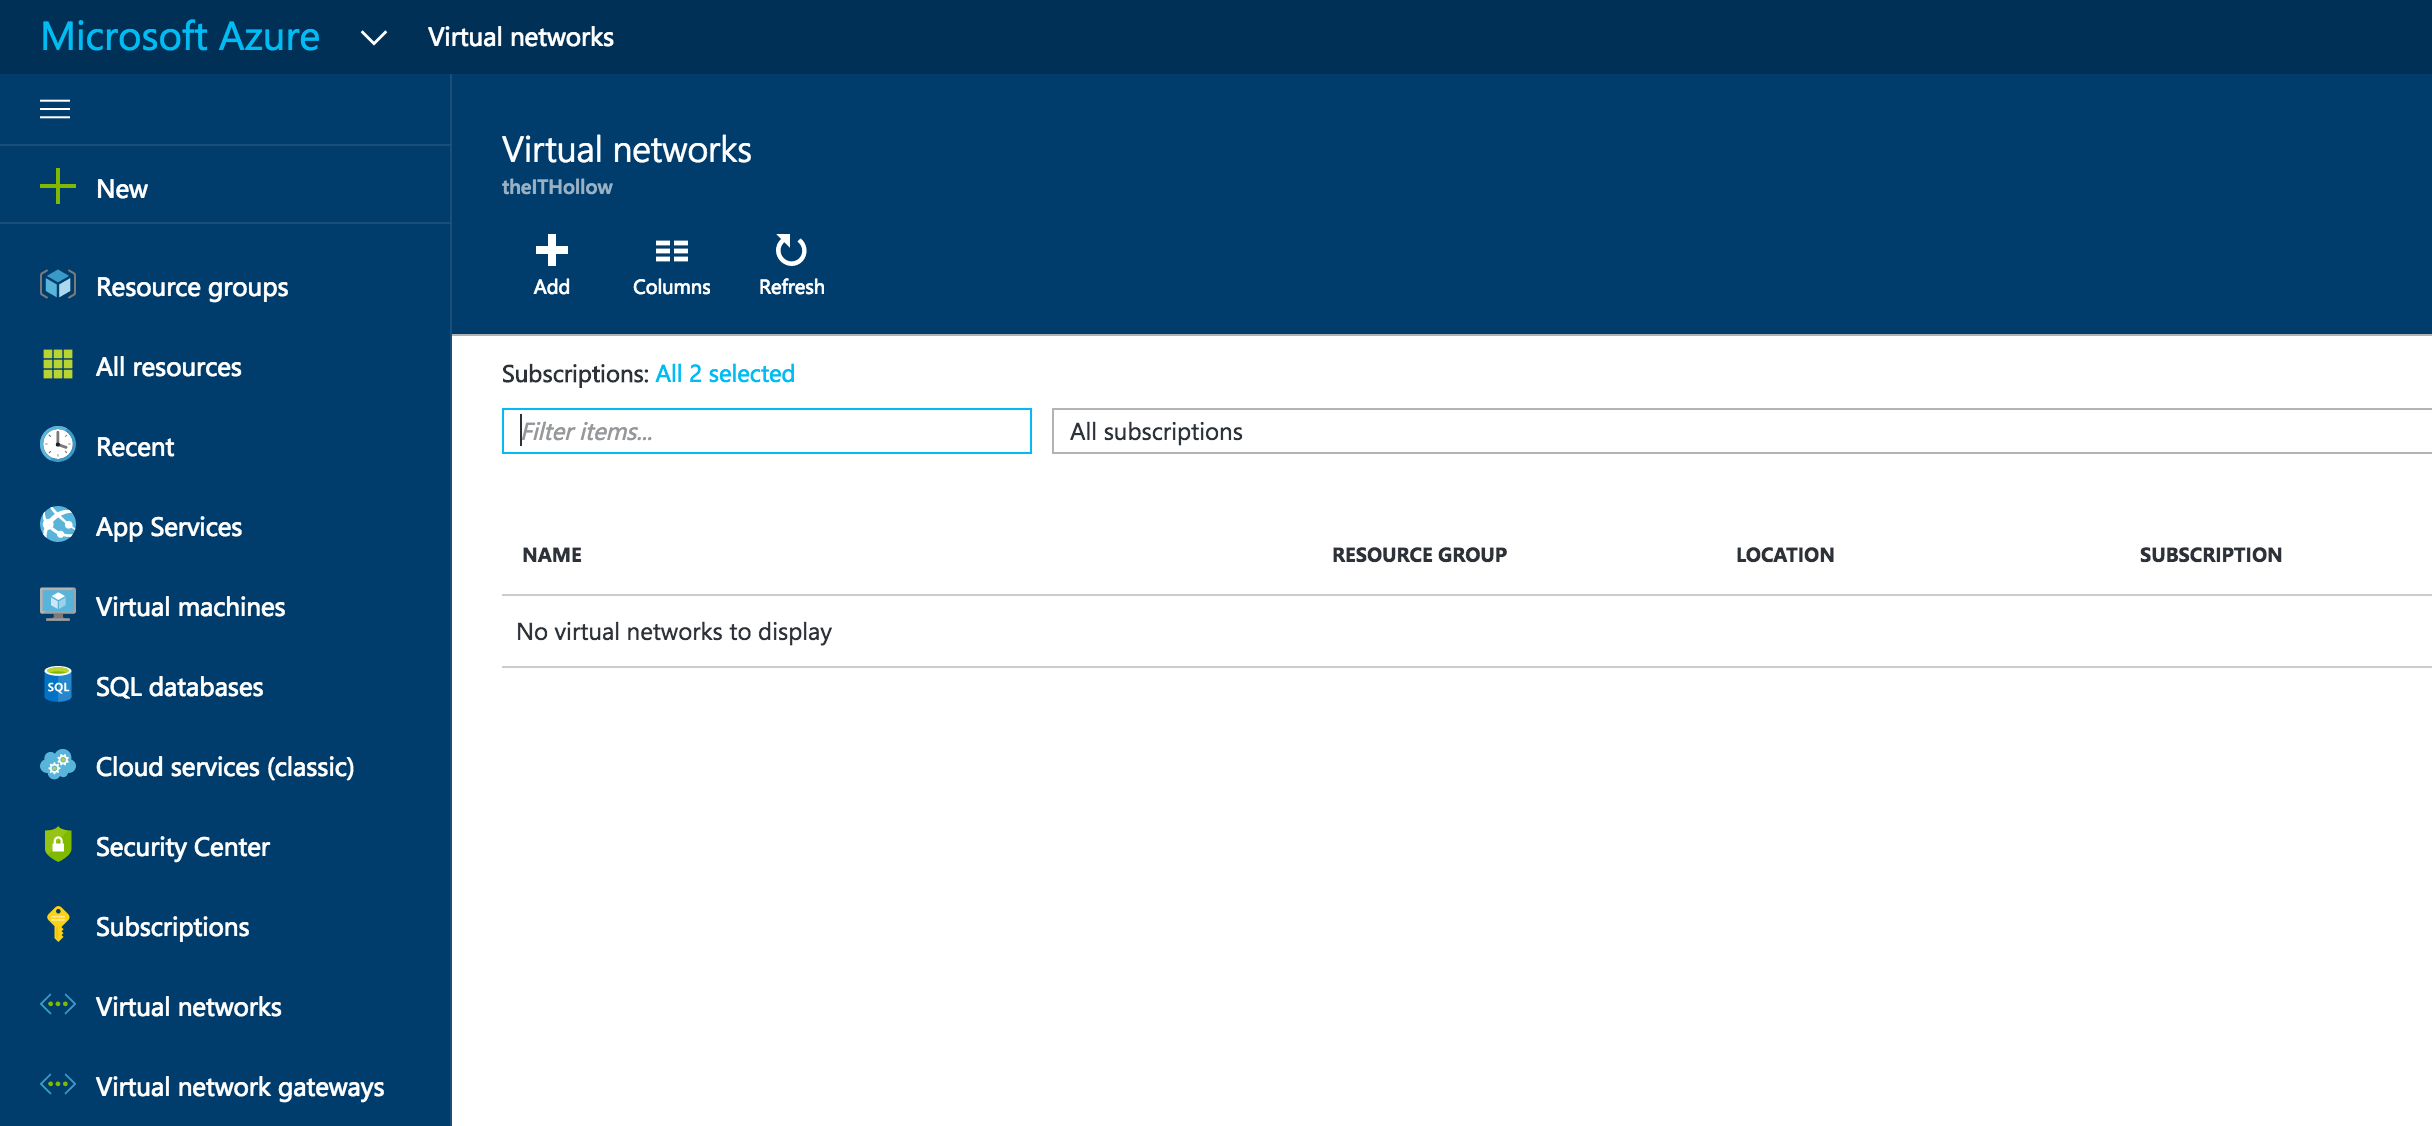
To setup your first VNet, login to your Azure Portal and browse to “Virtual Networks”. Click the Add button.
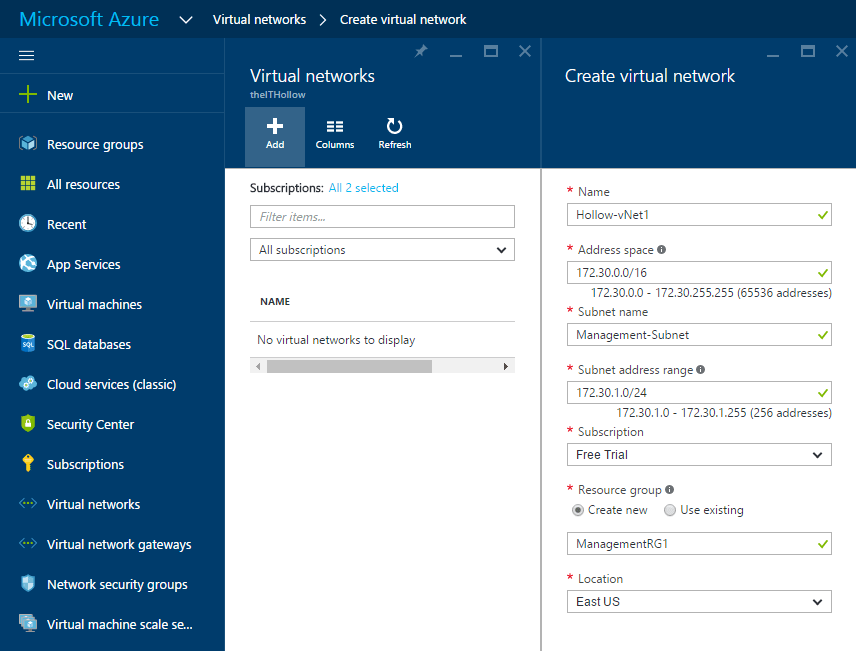
Give the VNet a descriptive name and then enter an Address space. Remember here that the subnets that you create will be a subset (should go without saying based on the name) of the larger VNet Address space. Also remember that you don’t want this address space to overlap with other VNets, or your on-premises network if you plan to connect them together at a later date. So, take care about what IP space you use here.
The next box to fill out will be a Subnet Name. When you create a new VNet you have to create at least one subnet with it so we’re doing that as part of the VNet setup. You can add more later if you wish. Give the subnet a descriptive name and then an address range, again being a subset of your larger Address space.
As with most of the concepts in Azure, select which subscription the VNet belongs to and then select an existing Resource Group or create a new one for now. We’ll cover Resource groups in another post. Lastly select your location.
Summary
You’re well on your way to deploying workloads on Azure now. We’ve got a VNet setup and a subnet to deploy virtual machines on. In a future post we’ll add some additional connectivity to make this subnet more usable.


[…] Setup Azure Networks […]