

Manage vSphere Virtual Machines through AWS SSM
November 6, 2017Amazon Web Services has some great tools to help you operate your EC2 instances with their Simple Systems Manager services. These services include ensuring patches are deployed within maintenance windows specified by you, automation routines that are used to ensure state and run commands on a fleet of servers through the AWS console. These tools are great but wouldn’t be be even better if I could use these tools to manage my VMware virtual machines too? Well, you’re in luck, because EC2 SSM can do just that and better yet, the service itself is free! Now, if you’ve followed along with the “AWS EC2 Simple Systems Manager Reference” guide you’ve probably already seen the goodies that we’ve got available, so this post is used to show you how you can use these same tools on your vSphere, Hyper-V or other on-premises platforms.
Before we begin, we’ll need to be logged into the AWS console with someone who has permissions to the SSM service and IAM roles. This post assumes that you have administrative access to the console before beginning.
Create an Instance Profile
The first thing that we want to do is to ensure that our non-EC2 instances have the appropriate rights within AWS. To do this we create an IAM Service role that allows us to assume a role to trust the SSM Service. To begin, login to the AWS Console and open the IAM service. From there go down to “Roles” in the menu and click the “Create role” button.

In the create role wizard, select the “AWS service” trusted entity and then click on EC2.

Then select “EC2 Role for Simple Systems Manager” as your use case. Click “Next: Permissions” button.

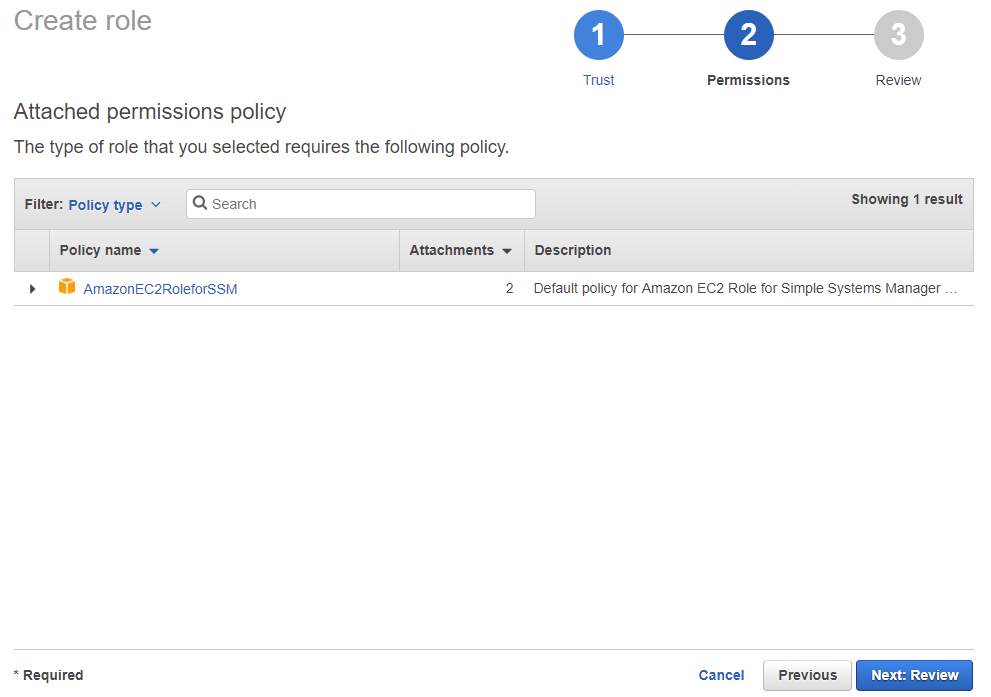
ON the permissions page make sure that the AmazonEC2RoleforSSM is listed and then go ahead and click the “Next: Review” button.
On the review screen, give the role a name and a description. Then click the “Create Role” button.

Managed Instance Activation
Now that the AWS role has been created, we can focus on how we can get our VMs connected with the AWS SSM service. To do this, we need to create a Managed Instance Activation. To do this go to the EC2 console and click on “Activations” under the “Systems Manager Shared Resource” group in the navigation pane.

You’ll probably be greeted with a familiar welcome page since you haven’t done this before. Click the “Create an Activation” button to get started with this step.

On the first screen, give the activation a description and an instance count. The instance count makes sure that only a certain number of instances are being used. After that select the “Create a system default command execution role that has the required permissions” so that the automation services can act on your behalf within AWS. You may also enter a date when the activations will expire and a default instance name which is how the machines will show up in the EC2 console.
If you set an instance limit or an expiry date, be aware that you can’t edit those later. You can create new activations but you can’t edit the existing ones after they’re created. When you’re done, click the “Create Activation” button.
You should get a successful activation link that has some important information on it. This screen gives you an Activation Code and an Activation ID which you won’t be able to retrieve again so store it someplace safe. These keys are similar to secret and access keys or usernames and passwords. (Don’t worry, these codes aren’t still usable so no bother trying.)
Configure your Managed Instance
Now that we’ve got the AWS Console work done, we need to make sure to install the SSM agent on our guests. The instructions to do this differ based on the operating system so I’ll just point you to this link. In my lab, I’ve gone through the steps to install the SSM Agent on a CentOS virtual machine within my vSphere environment. To do that I ran the following code:
mkdir /tmp/ssm
sudo curl https://s3.amazonaws.com/ec2-downloads-windows/SSMAgent/latest/linux_amd64/amazon-ssm-agent.rpm -o /tmp/ssm/amazon-ssm-agent.rpm
sudo yum install -y /tmp/ssm/amazon-ssm-agent.rpm
sudo systemctl stop amazon-ssm-agent
That makes sure that my guest has the agent installed, but not running. Before I start the service on my guest I also need to register the node with AWS when that agent starts up. To do that I run the following code on my guest. You’ll notice two sections labled “code” and “id” which come from the create activation screen above. Remember the Activation Code and Activation ID? Place those in the code snippet below and run it.
sudo amazon-ssm-agent -register -code "code" -id "id" -region "region"
Once you’re done you can start the service. Here is the code to do that on CentOS7
sudo systemctl start amazon-ssm-agent
Check the Simple Systems Manager Console
It might take a minute or two to register, but you can go to the “Managed Instances” screen within the AWS EC2 console navigation pane and you should see a new managed instance. Note that the name matches what we placed in the Activation screen. You can also see that the IP Address is listed and this is the local IP address from my vSphere environment.

Test SSM
Now to run a test, lets go to the Run Command service listed in the EC2 Console navigation pane. I’ve run a few commands here as tests, but my main test was used to install Apache and deploy my basic website which the files are stored in S3.

After running the following command through the EC2 SSM console you can see that my on-premises instance now has an Apache site available and that the IP Address matches the one that shows up in the managed instances console.
#!/bin/bash
yum install httpd -y
yum update -y
aws s3 cp s3://ithollow-webbucket/image001.png /var/www/html/image001.png
aws s3 cp s3://ithollow-webbucket/index.html /var/www/html/temp1.html
service httpd start
chkconfig httpd on

Summary
So now that you’ve setup all the hard stuff, maybe you can use EC2 SSM to manage other automation routines, or start using patch compliance instead of manually updating servers each month. This might be a nice solution instead of using SCCM or WSUS, or you might just need it for a small office deployment. How will you use EC2 Simple Systems Manager with your environment?

