 Microsoft Exchange 2010 to Exchange 2013 Transition part 1 Microsoft Exchange 2010 to Exchange 2013 Transition part 3 Microsoft Exchange 2010 to Exchange 2013 Transition part 4
I assume you’ve reached this page because you finished ready part 1 and are now ready to dive into your newly installed Exchange 2013 server.
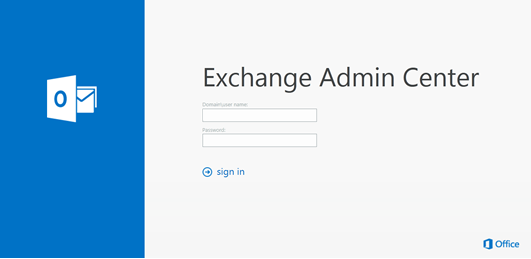
Exchange Admin Center
Normally your first instinct at this point would be to fire up the Exchange Management Console and poke around. Unfortunately, Exchange 2013 does not have the traditional GUI. Don’t worry though, for all of you System Administrators that aren’t cozy with Exchange Powershell yet, there is a web console where most of the heavy lifting can be done.
You can reach the EAC by going to https://EXCHANGE2013SERVERNAME/ecp under normal circumstances to get an OWA type login.
I say under normal circumstances because if your login’s mailbox doesn’t exist on the Exchange 2013 infrastructure yet, you will receive an error message. You may need to force yourself to the Exchange 2013 server by going to: https://EXCHANGE2013SERVERNAME/ecp?ExchClientVer=15.
Once you’re logged in, you’ll probably have no problem getting around, but it is kind of nice to have an example of what each of the menus are called. It’s easier than saying the menu on the right or the top middle menu.
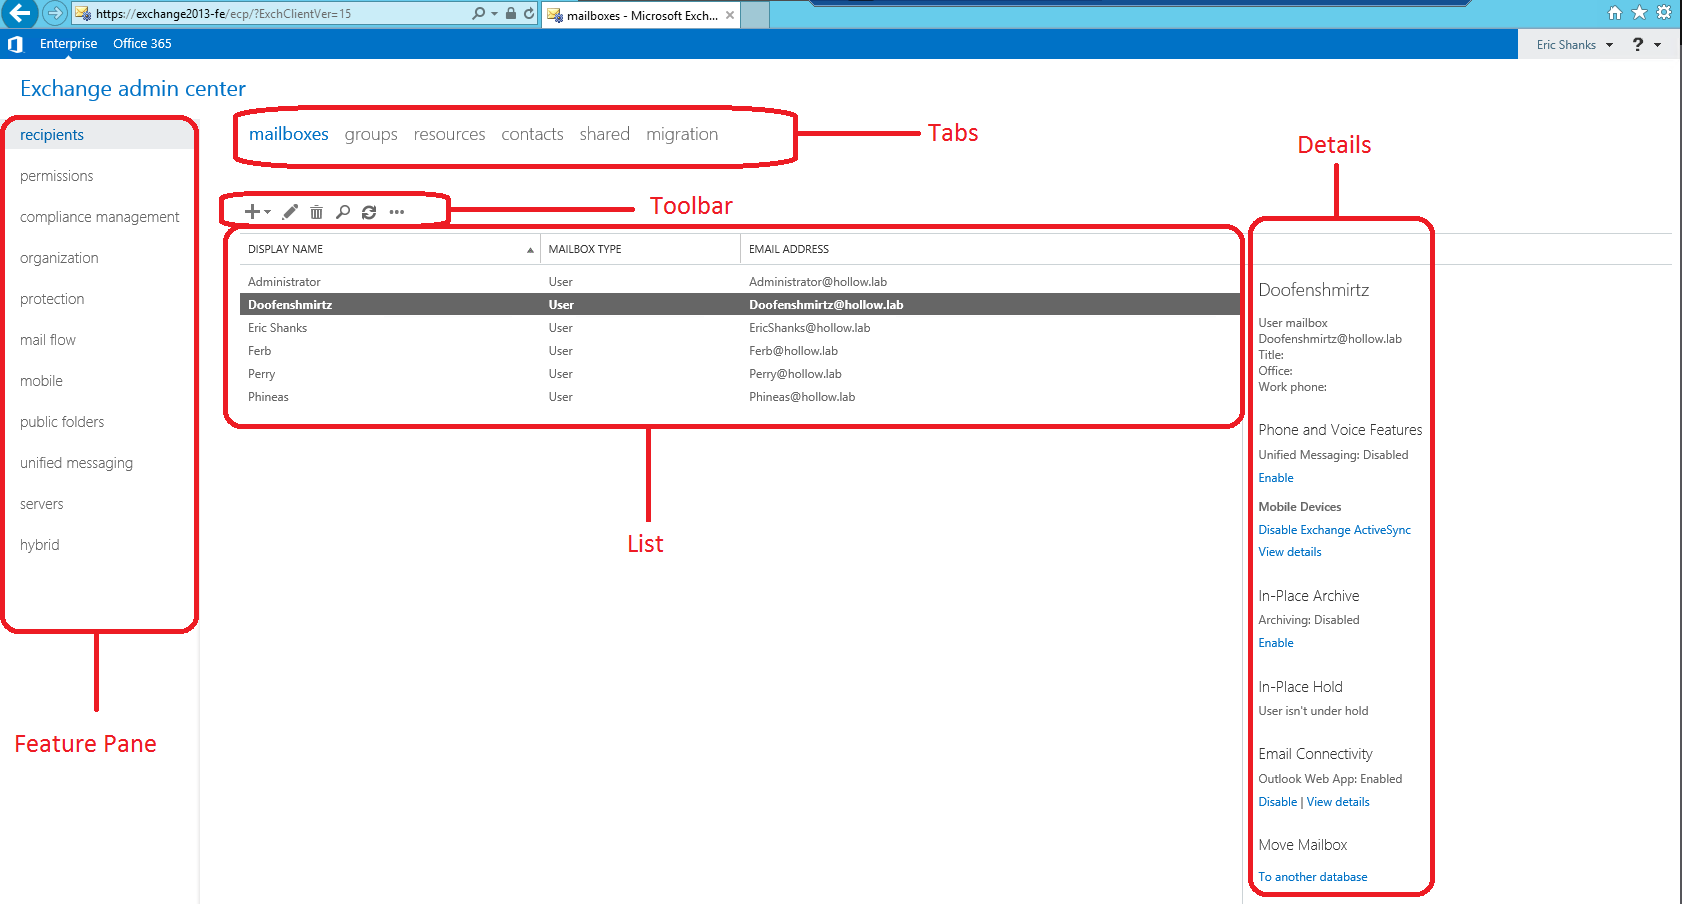
At this point you could start moving mailboxes over to your new server, but I would suggest verifying some of your settings before you do that to make sure everything is how you like it.
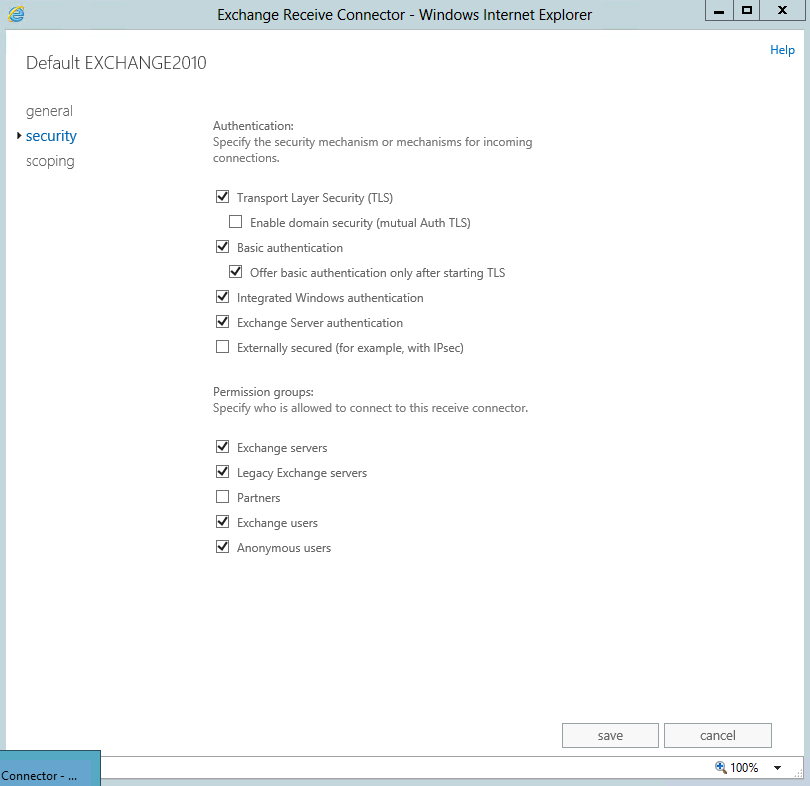
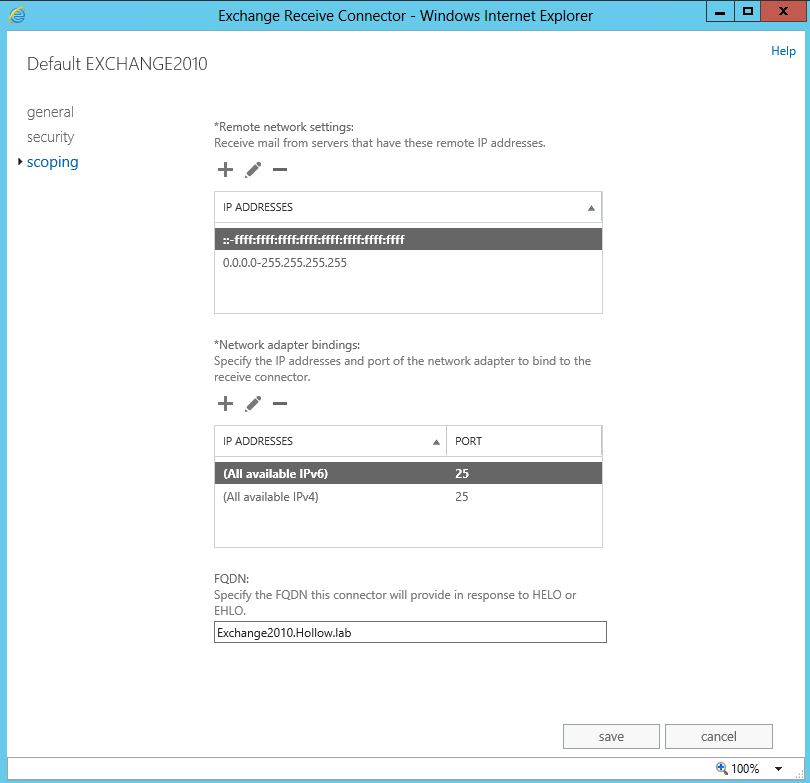
One of the first things I checked was the receive connectors. Exchange 2010 didn’t give anonymous users access to the receive connectors by default so your new Exchange Server wouldn’t receive Internet Email. That wasn’t very useful for most people and in my install I found that Microsoft has changed this default setting.
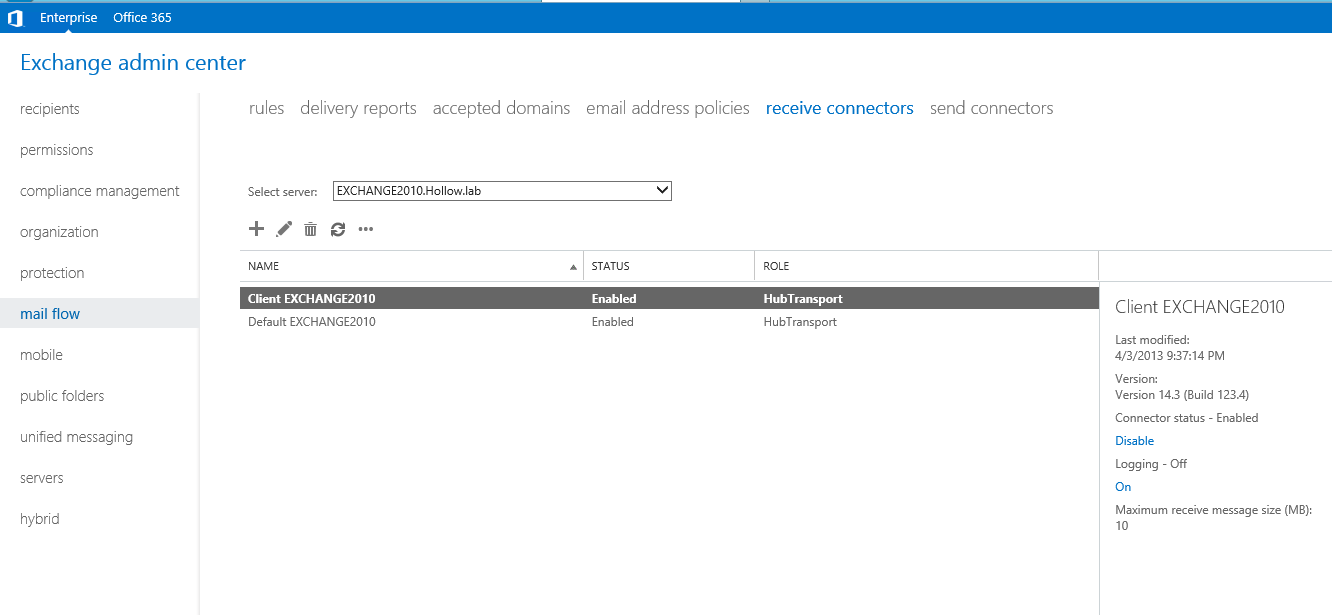
By clicking the pencil edit button on the toolbar you can modify the receive connectors. I made no changes to the existing connections.
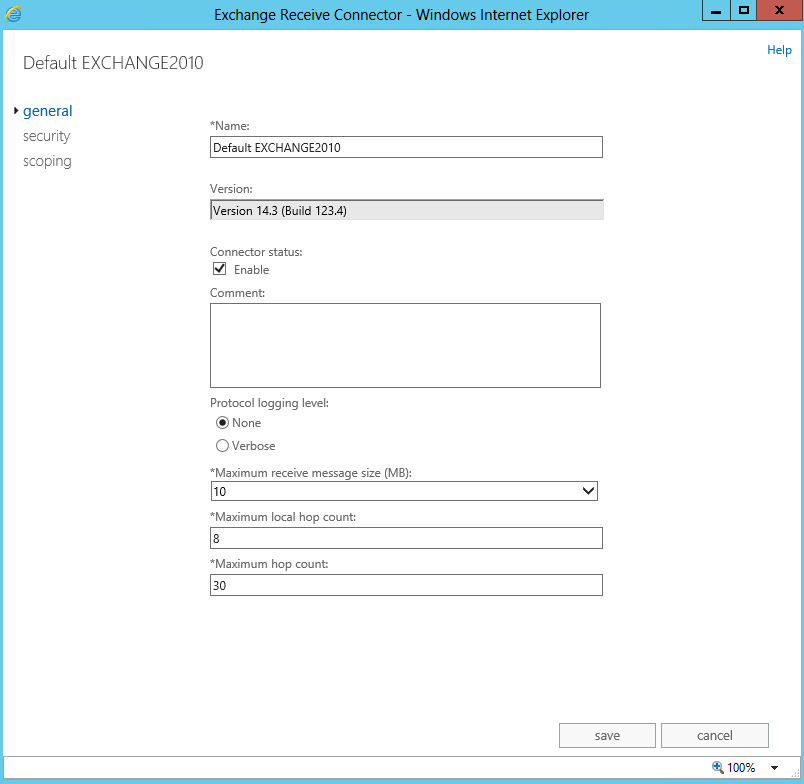
Set your permissions on the receive connector.
Set the IP Addresses for the receive connector.
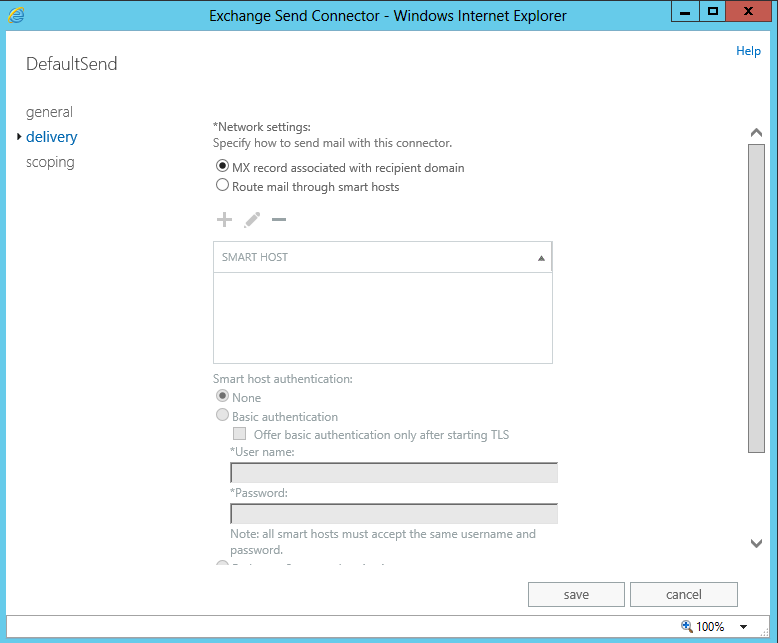
You might have guessed that checkingsetting your send connectors would be the next logical step.
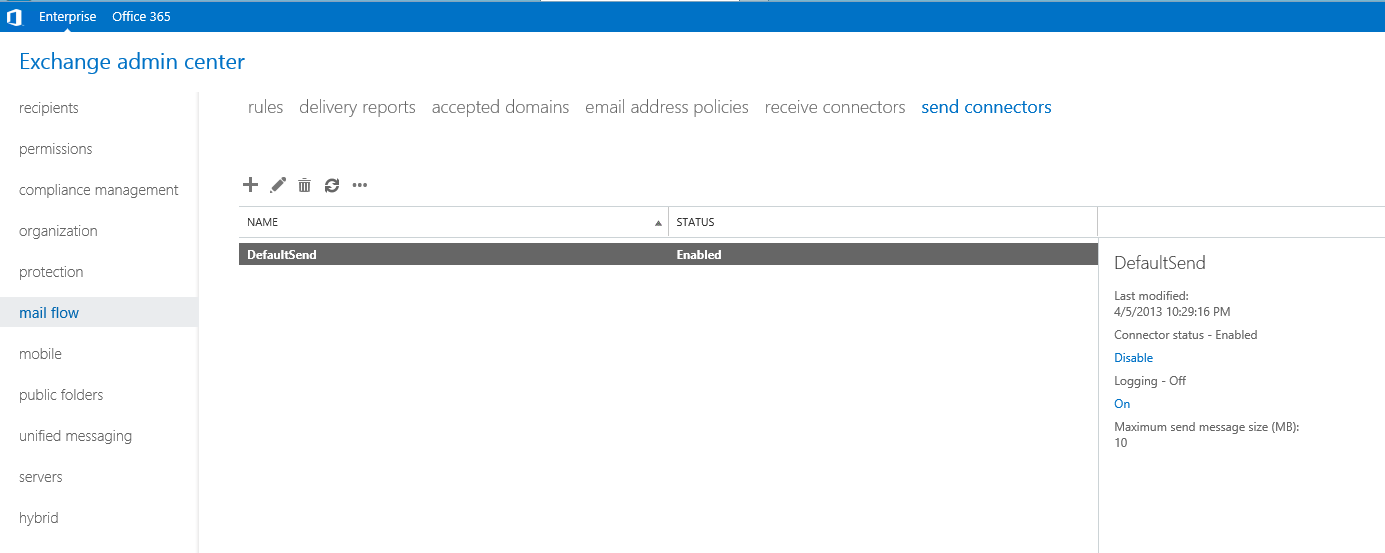
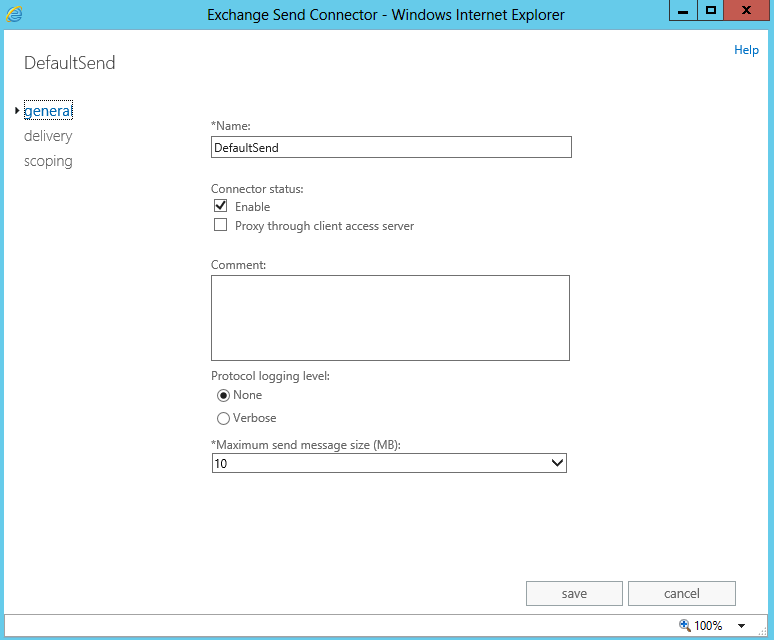
Setup your SMTP connector to either use DNS or send everything through a smarthost.
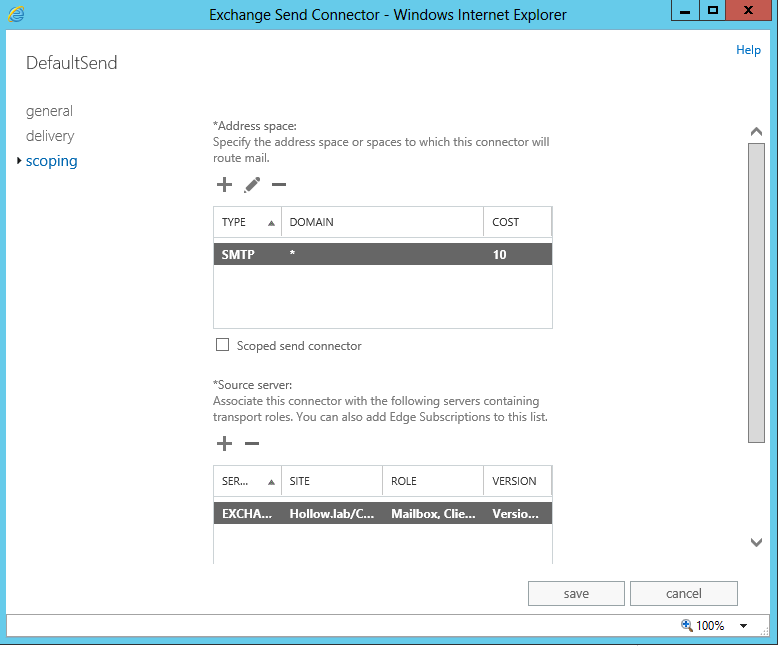
Set your address spaces! The below settings are default and should work in most cases.
Check your permissions! You should make sure that another account has access to the EAC to make sure at least two people have access. This is a good management practice.
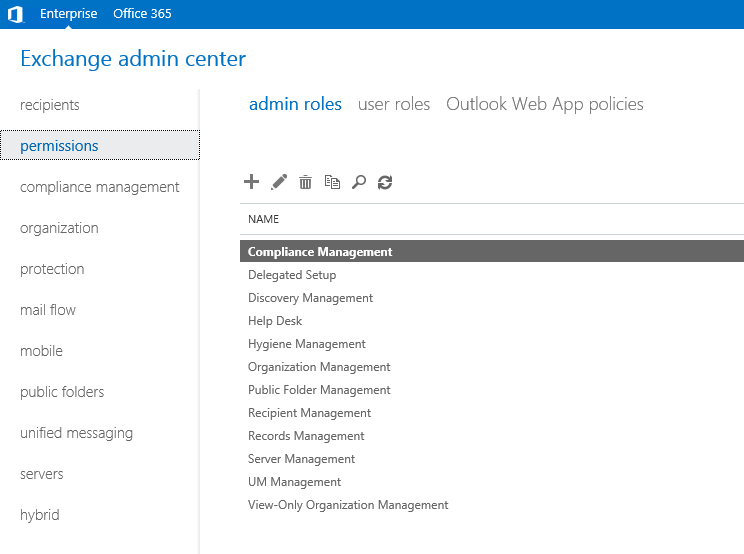
If you are not sure about what permissions should be modified, take a look at the following article from Microsoft Technet. http://technet.microsoft.com/en-us/library/dd638105(v=exchg.150).aspx
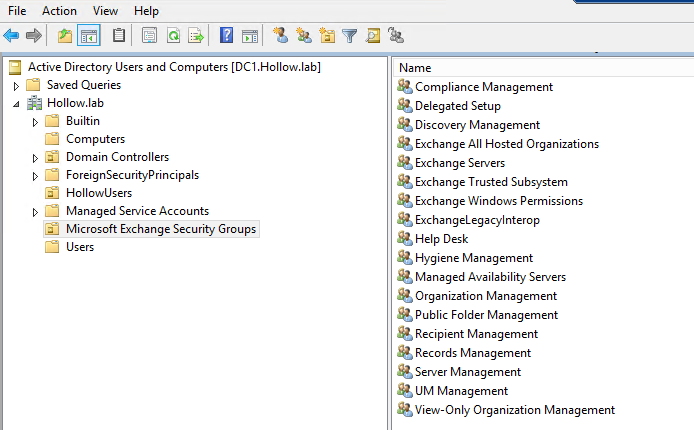
Also, these roles can be modified via Active Directory now as long as your organization doesn’t want to do Exchange Split Permissions.
 Microsoft Exchange 2010 to Exchange 2013 Transition part 1 Microsoft Exchange 2010 to Exchange 2013 Transition part 3 Microsoft Exchange 2010 to Exchange 2013 Transition part 4 Microsoft Exchange 2010 to Exchange 2013 Transition (part 1)