Before we can start deploying environments with automated network segments, we need to do some basic setup of the NSX environment.
NSX Manager Setup
It should be obvious that you need to setup NSX Manager, deploy controllers and do some host preparation. These are basic setup procedures just to use NSX even without vRealize Automation in the middle of things, but just as a quick review:
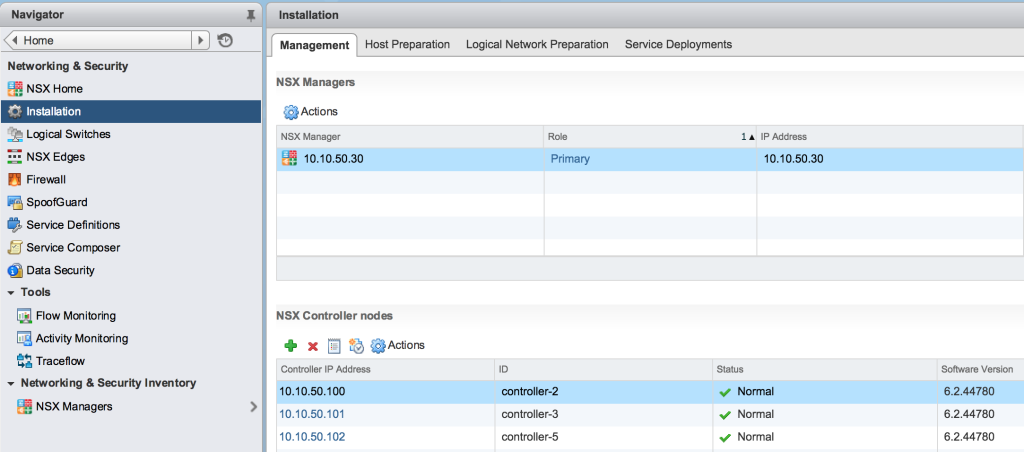
Install NSX Manager and deploy NSX Controller Nodes
NSX Manager setup can be deployed from an OVA and then you must register the NSX Manager with vCenter. After this is complete, deploy three NSX Controller nodes to configure your logical constructs.
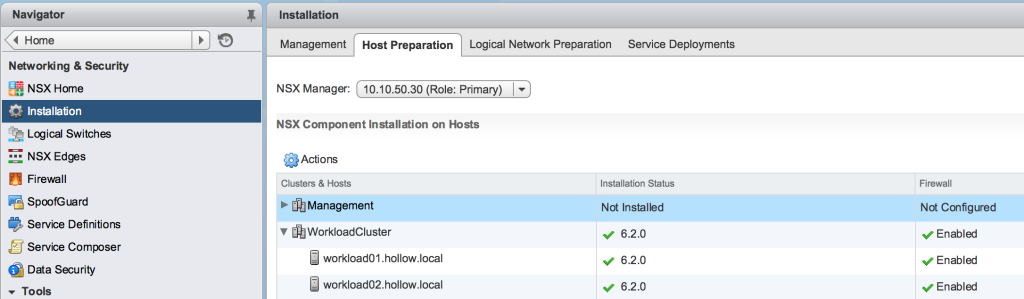
Next Prepare your ESXi hosts which will install a VIB on them.
The next step isn’t specific to every NSX install. We want to create an NSX Edge so that our newly created distributed logical routers will be able to communicate with the rest of the network. To do this create a new NSX Edge with an Uplink that is connected to a vSphere portgroup and create another Internal interface that will service as a transit network.

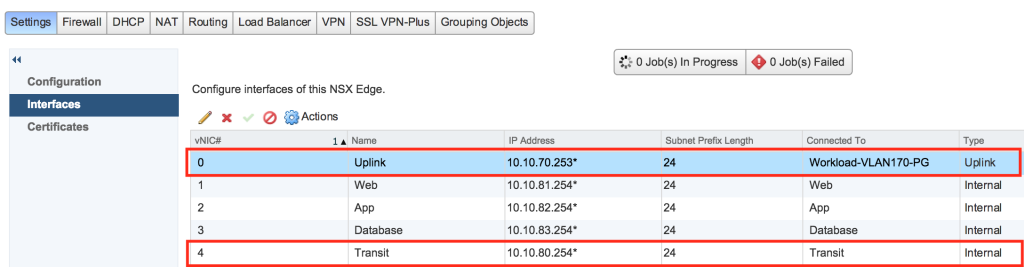
Once you’ve got the NSX edge created, create a logical switch on the Transit network. This will be where the rest of your Distributed Logical Routers will connect when they are spun up.

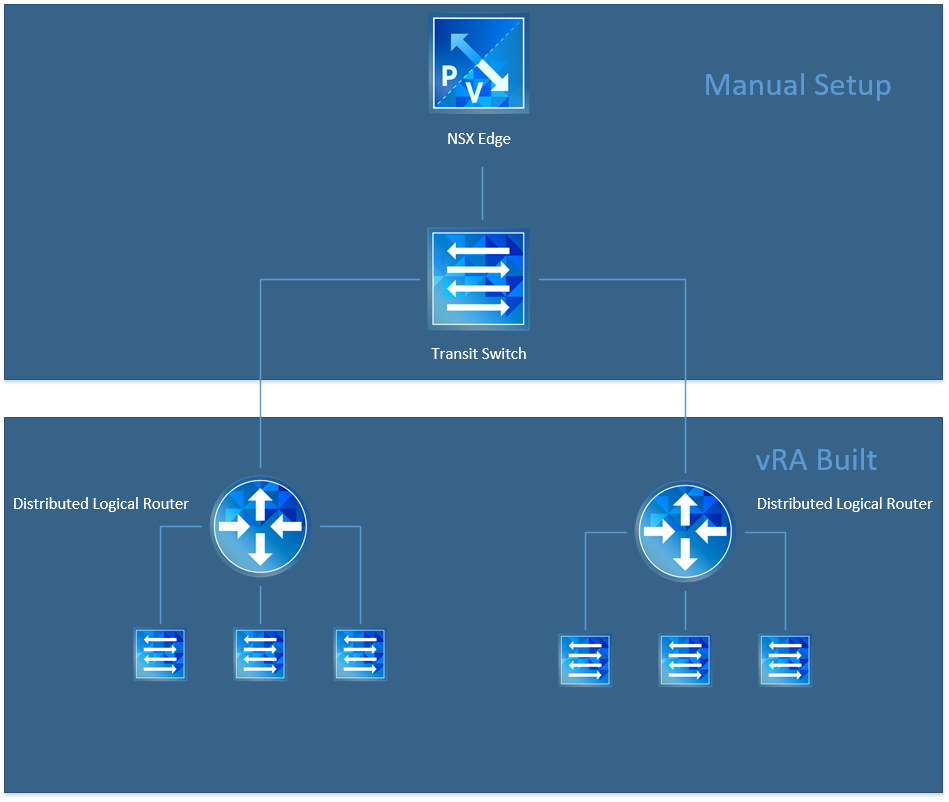
If you’re having trouble visualizing the process think about this diagram where we’ve got an NSX edge connected to a transit switch and then the Distributed Logical Routers will be created from vRA and attached to the transit switch.
vRealize Automation Endpoints
Before you can use any of the automated networking features you have to discover them with vRealize Automation. To do this we need to make sure our vCenter endpoint is aware of the NSX manager.
To do this go to Infrastructure –> Endpoints –> Endpoints and modify (or create from scratch if you don’t have a vCenter endpoint already) the vCenter endpoint. Select the “Specify manager for network and security platform” checkbox. Then enter the URL for your NSX Manager appliance and add some credentials to connect to it.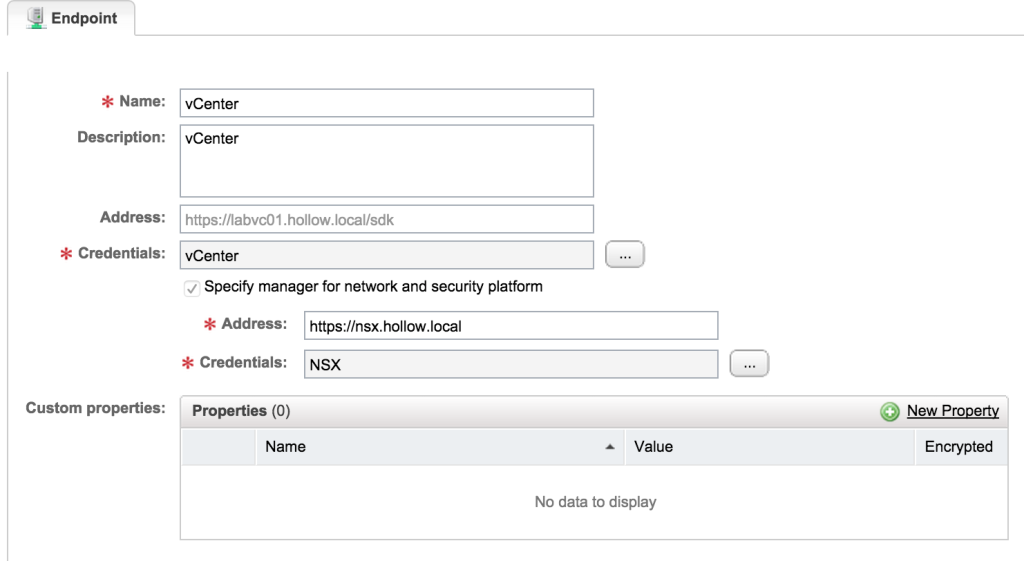
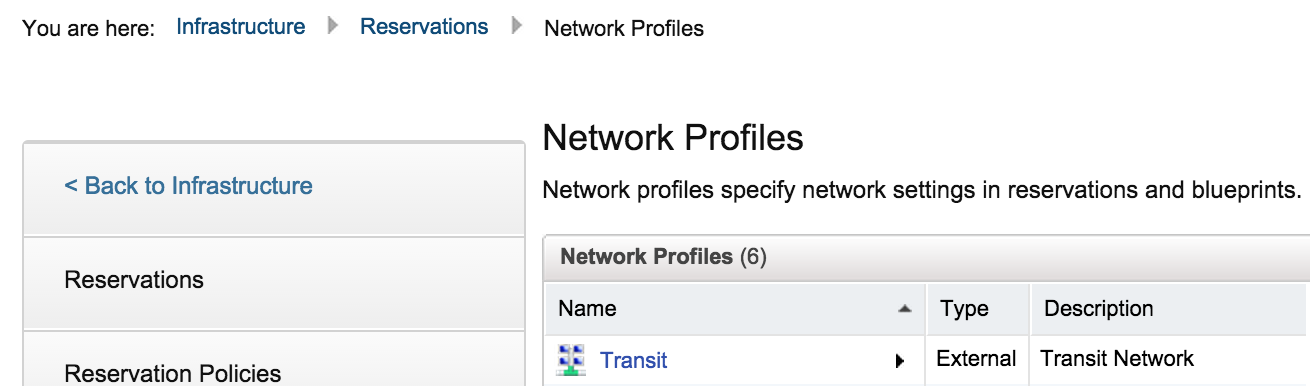
When you’re finished setting up the endpoint be sure to do a data collection to inventory all of the NSX components. Until you do this, you won’t be able to deploy any new networks. Once you’ve done tis we can go about setting up some network profiles. Go to Infrastructure –> Reservations –> Network Profiles and add a new External Network Profile. I’ve called mine transit because it’s going to be what I use to connect to my transit logical switch that we created in NSX.
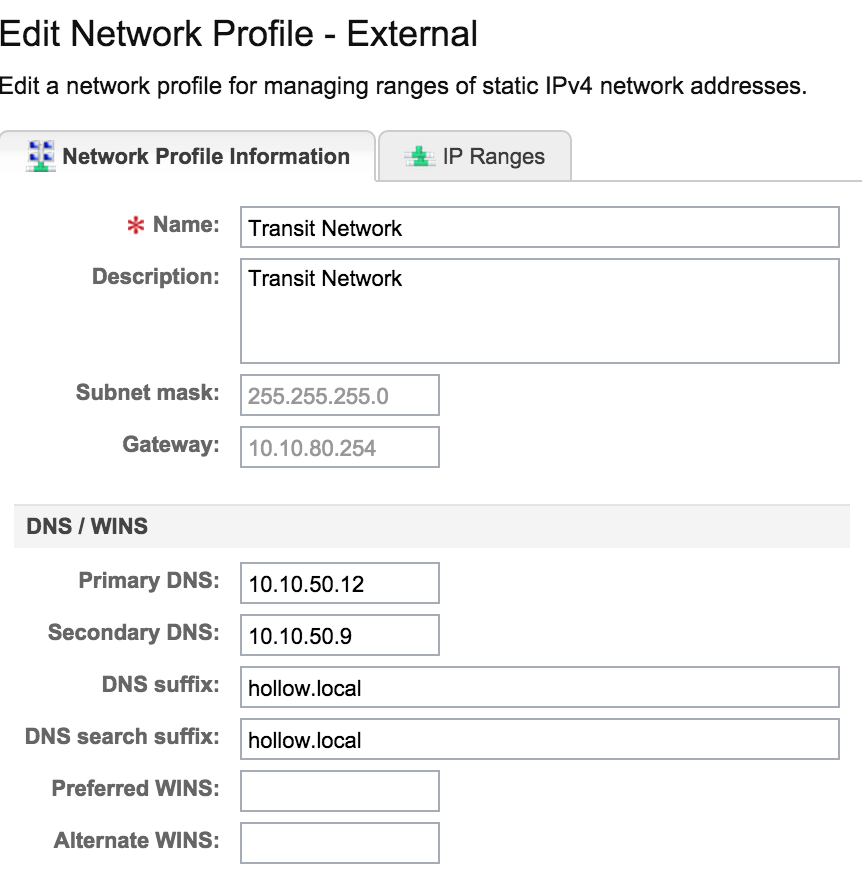
Enter all of the information for the transit network. Enter a name and description, as well as the subnet mask and default gateway that matches the transit network you created in NSX. Also fill out DNS information and suffixes. Last but not least, be sure to enter your WINS Servers if you’ve gotten lost in some sort of wormhole for the past decade. Just kidding.
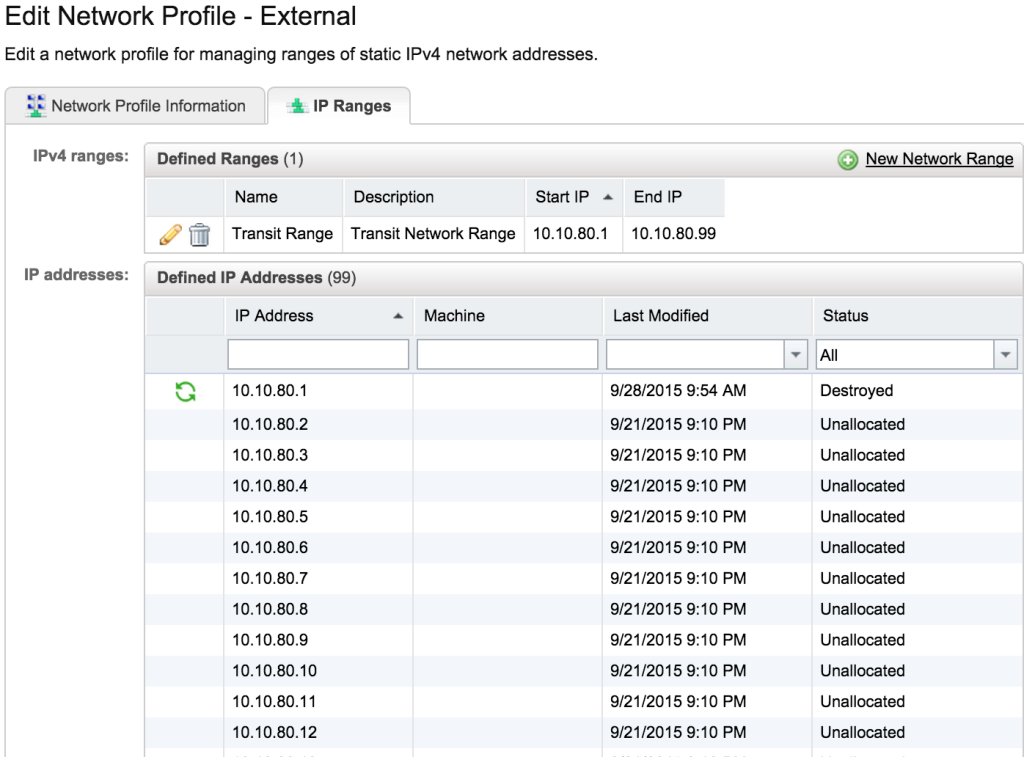
Click on the IP Ranges tab and enter a new network range. The IP Addresses you setup here will be assigned to the distributed routers that get created by vRealize Automation. Ensure that you have enough IP Addresses here to handle all of the new routers you’ll be spinning up.
Summary
Now your NSX and vRealize Automation environment is ready to start creating blueprints to leverage private networks, routed networks and NAT’d networks. There is still the matter of creating network profiles for your applications but this can be done as part of the blueprint build in vRealize Automation. If you’ve gotten this far, you’re well on your way to deploying multi-tier applications with their own networks.