Hashicorp’s Terraform product is very popular in describing your infrastructure as code. One thing that you need consider when using Terraform is where you’ll store your state files and how they’ll be locked so that two team members or build servers aren’t stepping on each other. State can be stored in Terraform Enterprise (TFE) or with some cloud services such as S3. But if you want to store your state, within your data center, perhaps you should check out Hashicorp’s Consul product.
Consul might not have been specifically designed to house Terraform state files but does its built in  capabilities lend itself well to doing just this. Hashicorp’s Consul product can be used as a service discovery product or key/value store. The product can also perform health checks on services, so the combination of these tools can be a great benefit to teams trying to build microservices architectures.
Setup a Consul Cluster
We don’t want to risk storing all of our Terraform state files in a single server, so we’ll deploy three Consul servers in a cluster. To do this, I’ve deployed three CentOS servers and opened the appropriate firewall ports (Yeah, I turned off the host firewall. It’s a lab.) Once the basic OS deployments are done we’ll need to download the latest version of Consul from Hashicorp’s website. I’ve copied the application over the the /opt directory on each of the three hosts and set the permissions so I could execute the application. Next we need to make sure the binary is in our PATH. on my CentOS machine I added /opt/ to my PATH. Remember to do this on each of the three servers.
export PATH=$PATH:/opt/
I’ve also added a second environment variable that enables the new Consul UI. This is optional, but I wanted to use the latest UI and Consul looks for the environment variable to enable this at this point. I expect this to change in the future.
export CONSUL_UI_BETA=true
Lastly, I’ve created a new directory that will house my config data for Consul.
sudo mkdir /etc/consul.d
Now we get to the business of setting up the cluster. On the first node, we’ll run the following command:
consul agent -server -bootstrap-expect=3 -data-dir=/tmp/consul -node=agent-one -bind=10.10.50.121 -enable-script-checks=true -ui -client 0.0.0.0 -config-dir=/etc/consul.d
Lets explain some of the switches that are happening in that last command.
-server - This tells Consul that this server will be acting as a server and not a client.
-bootstrap-expect=3 - This switch explains how many servers are expected to be part of the cluster.
-data-dir=/tmp/consul - This switch explains where Consul will store its data.
-node=agent-one - This switch identifies each of the nodes. This should be unique for each of the servers in the cluster.
-bind=10.10.50.121 - The address that should be bound to for internal cluster communications. This will be unique on each node in your cluster.
-enable-script-checks=true - We could omit this for this post, but status checks could be added later where this would be necessary.
-ui - This enables the UI
-client 0.0.0.0 - The address to which Consul will bind client interfaces, including the HTTP and DNS servers.
-config-dir - Determines where the config files will be located.
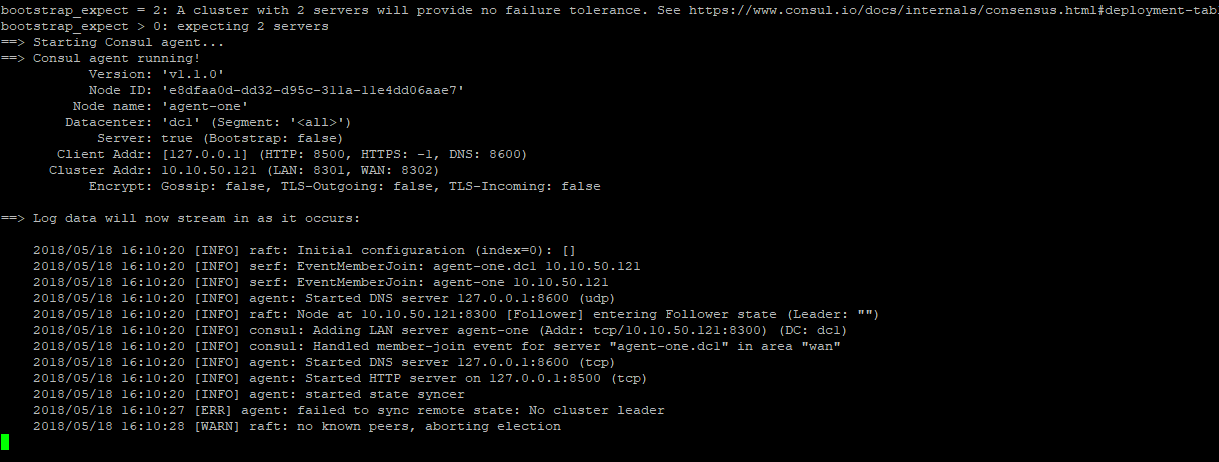
When you run the commands on the first node, you’ll start seeing log messages.
Repeat the commands on the other servers that should be part of the cluster. Be mindful to change the options that should be unique to the node such as bind and node. At this point the cluster should be up and running. To check this, open another terminal session and run consul members. You should see three members listed of type server.

If you used the -UI switch when you started up the nodes, you’ll also be able to navigate to http://node.domain.local:8500/ui and you’ll see the Consul UI. Notice that you’ll be directed to the Services where you can see node health. Again we see three nodes as healthy.

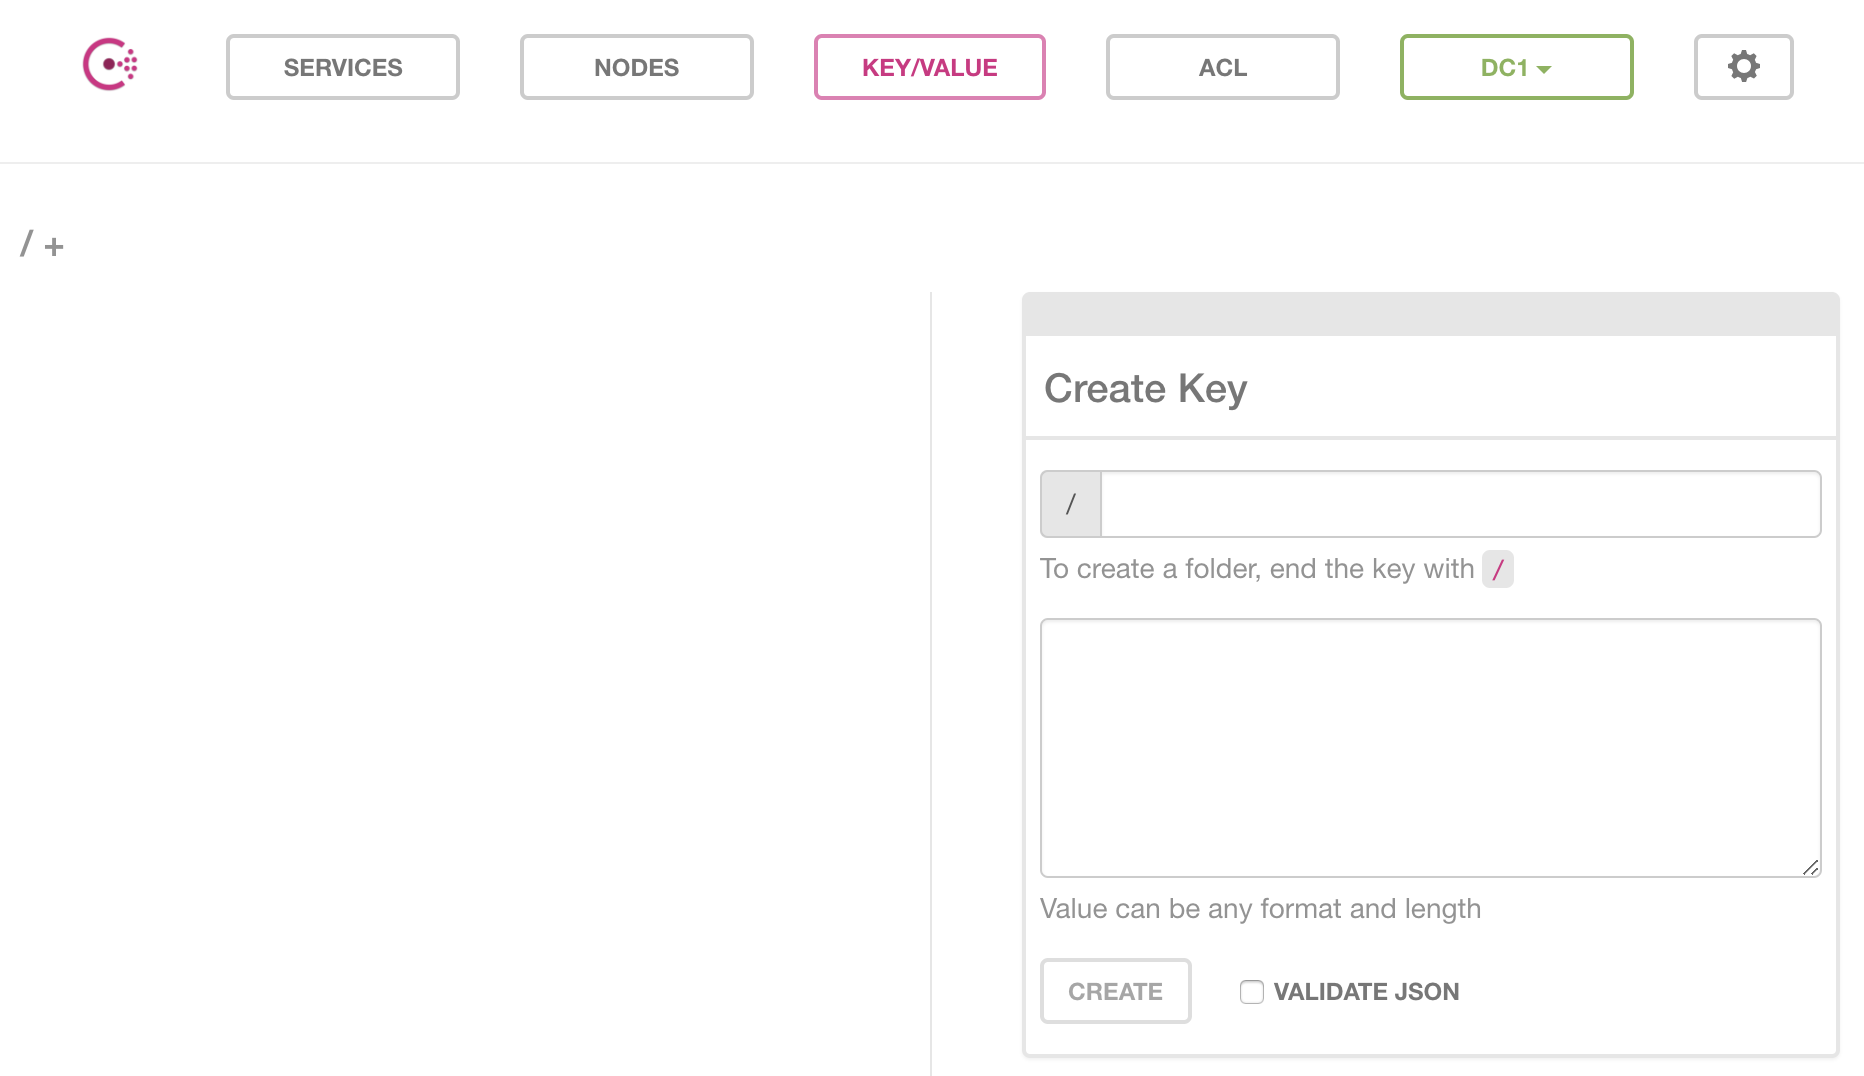
While we’re in the UI, take a second to click on the Key/Value tab. This is where Terraform will be storing its state files. Notice that at this point we don’t see anything listed, which makes sense because we haven’t created any pairs yet.
Terraform Build
This post won’t go into building your Terraform configurations but an important first step to using Consul as a state store. To do this we create a backend.tf file for Terraform that defines Consul as our store. Create a file like the one below:
terraform {
  backend "consul" {
    address = "consulnode.domain.local:8500"
    path    = "tf/state"
  }
}
Be sure to update the address to your consul cluster. Also, your path will be where we store the state for your terraform build. For this example I’ve used a single node for my address and my path is a generic tf/state path.
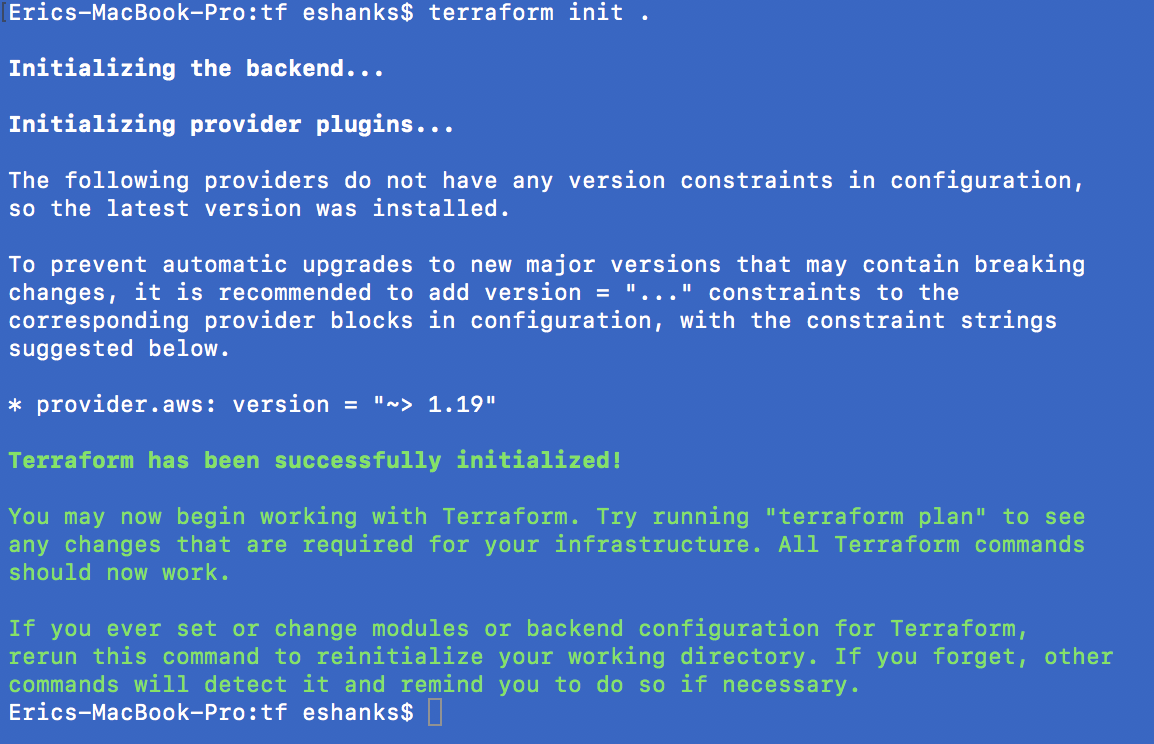
Once created run the Terraform init . command to initialize the backend. When you’re done, go ahead and run your terraform build as usual.
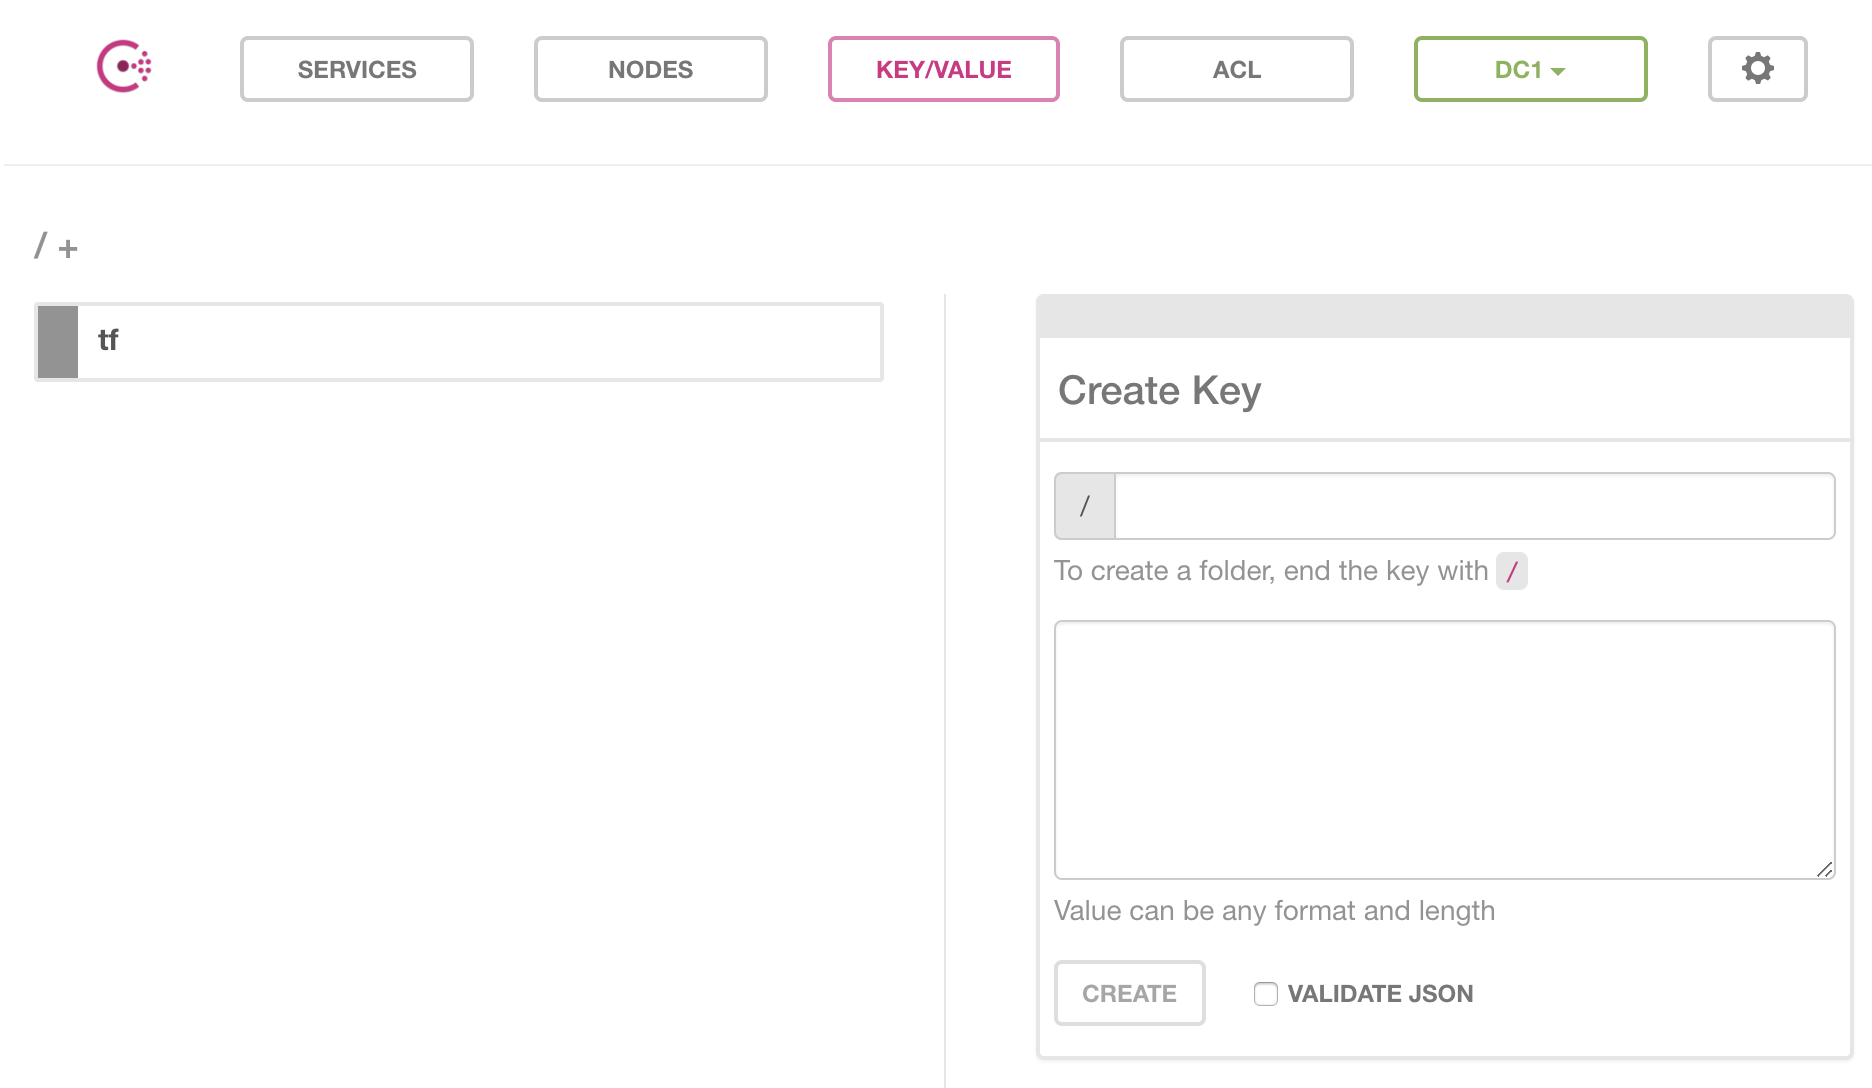
Once your build completes, you’ll notice in the Consul UI that there is a Key/Value listed now.
If we drill down into that value, you’ll see our JSON data for our state file.

If we need to programmatically access this state file, we can use the API to return the data. I’ve done this with a simple curl command.

Summary
Storing your Terraform state files in a local directory is good for a starting point, but once you start building lots of infrastructure or many teams are all working on the same infrastructure you need a better way to manage state. Consul provides a solution to take care of this for you as well as providing plenty of other useful capabilities. Check it out if you’re looking to extend your Terraform deployments beyond a simple deployment.