VMware recently released the 1.0 release of Tanzu Kubernetes Grid (TKG) which aims at decreasing the difficulty of deploying conformant Kubernetes clusters across infrastructure. This post demonstrates how to use TKG to deploy a management cluster to vSphere.
If you’re not familiar with TKG yet, you might be curious about what a Management Cluster is. The management cluster is used to manage one to many workload clusters. The management cluster is used to spin up VMs on different cloud providers, and lay down the Kubernetes bits on those VMs, thus creating new clusters for applications to be build on top of. TKG is built upon the ClusterAPI project so this post pretty accurately describes the architecture that TKG uses.
vSphere Prerequisites
When we stand up new clusters, management clusters or workload clusters, they need to have a virtual machine to spin up and deploy additional configurations on top of. Due to the various different ways that companies configure their default templates, this becomes a bit of an issue to ensure stability across all of VMware’s customers. To resolve this issue, an Open Virtualization Appliance (OVA) must be downloaded and installed into your vSphere vCenter. In fact you’ll need two of these appliances. One appliance will be a virtual machine to house Kubernetes VMs and another to host an HA Proxy VM which acts as a load balancer for the k8s cluster.
I’ve imported both of the OVAs into my vCenter and converted them to templates.
Additionally, you will need a few other configurations setup, which may already be in place for many environments.
- A vSphere Cluster with DRS enabled.
- A resource pool in which to deploy the Tanzu Kubernetes Grid Instance
- A VM folder in which to collect the Tanzu Kubernetes Grid VMs
- A datastore with sufficient capacity for the control plane and worker node VM files
- A network with DHCP to connect the VMs
- The Network Time Protocol (NTP) service is running on all hosts
Install Workstation Prerequisites
Once your templates are imported into vCenter, you will change your attention to your local workstation which needs some tools installed on it. The first of which is the TKG binary.
TKG CLI - This binary is what you’ll be interacting with to build, scale, and destroy your Kubernetes clusters. For a vSphere deployment, this took will suffice. If you are performing an install for AWS you will need an additional tool not covered in this post.
Docker - When TKG bootstraps the management cluster, it uses docker to spin up a small cluster on your workstation, builds the management cluster and then moves (sometimes called “pivoting”) resources to the management cluster and destroys this local cluster.
Deploy the Management Cluster
Prerequisites done, its time to build our cluster. To setup the cluster run:
tkg init --ui

The tkg command with the –ui switch lets you continue the rest of the installation from a web browser. You can continue the installation by opening a browser and going to http://localhost:8080.
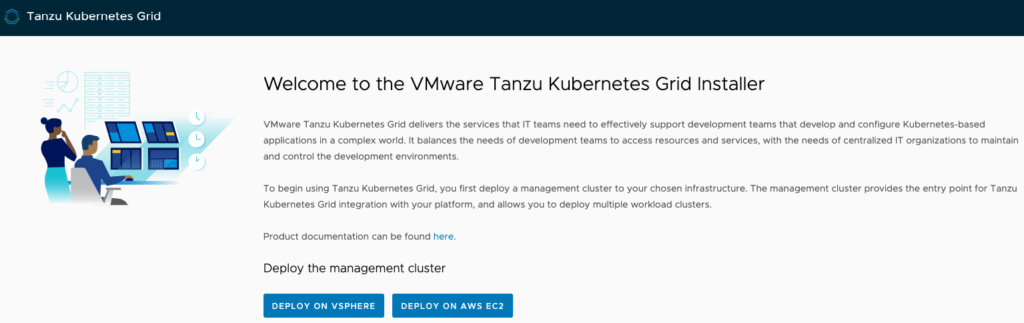
As you can see from the screenshot, you can also use this method for AWS as well, but the prerequisites section of this post does not cover the AWS prerequisites.
Click on the “DEPLOY ON VSPHERE” button to continue.
On the following screen, you’ll be asked for connection information for your vSphere environment. Fill out this information and click the “CONNECT” button. Once you do this, you should be able to select some vSphere objects through the rest of this wizard, if connection is successful.
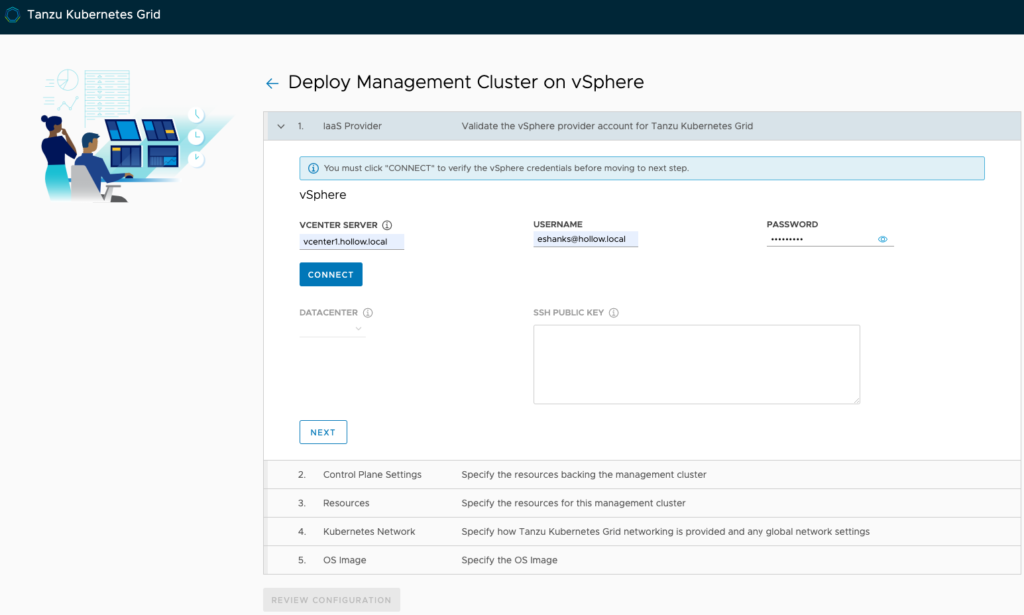
Select the datacenter where the cluster will be deployed, and add an SSH Public Key. The public key is used so that you can SSH into the k8s nodes after deployment if needed.
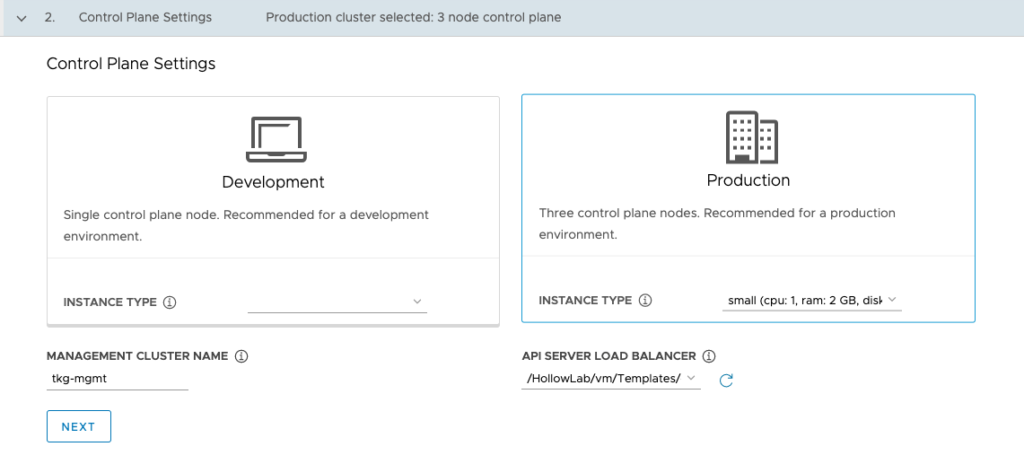
On the next screen you’ll be faced with a choice for the size and availability of your cluster. Select Development if you’d prefer a smaller cluster with a single control plane node. (READ not for production use) You can also select a Production option if you want a three node control plane for your cluster. After picking the deployment type, select the instance type which is the size of the VMs. Below this, you can optionally set the cluster name, and then you should select the Load Balancer template which was one of the OVAs that was imported during the pre-requisites section.
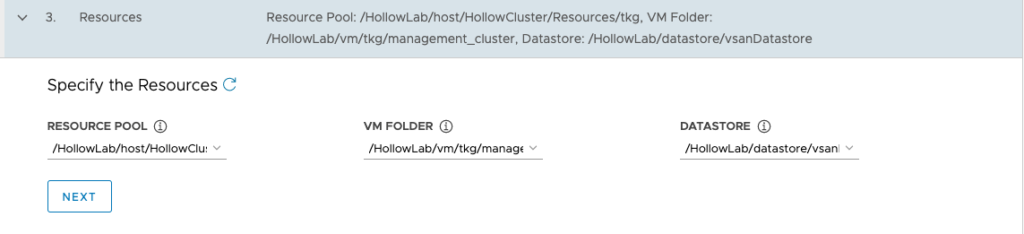
On the resources screen, select the Resource Pool, VM Folder and Datastore where your virtual machines will live.
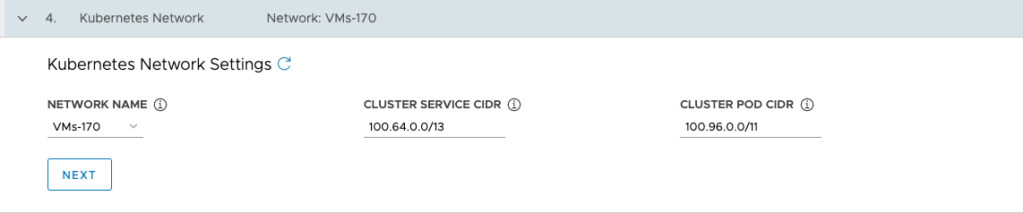
Moving on to the Network section, fill out information about how your network will be setup.
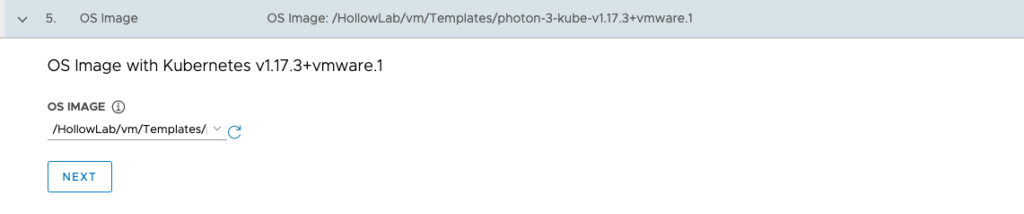
On the last screen select the OS image used for the virtual machines. This is the other OVA that was imported into the vCenter during the prerequisites section.
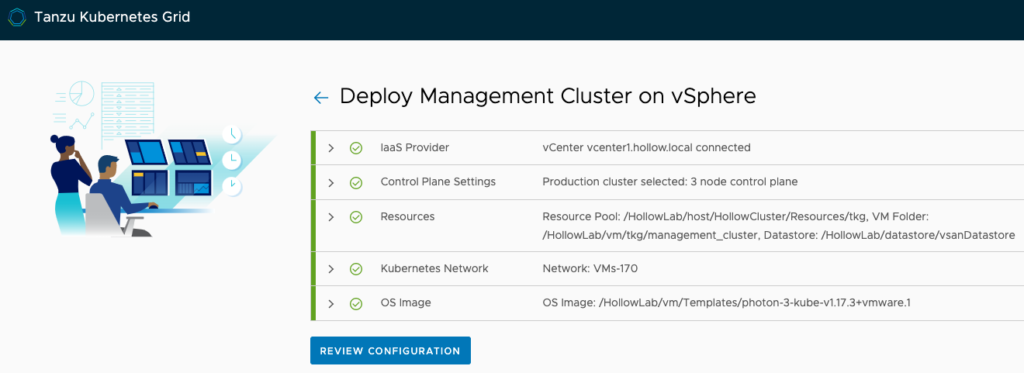
When done, you can review the configuration before deploying. After reviewing the configuration, click the “DEPLOY MANAGEMENT CLUSTER” button to being the deployment.
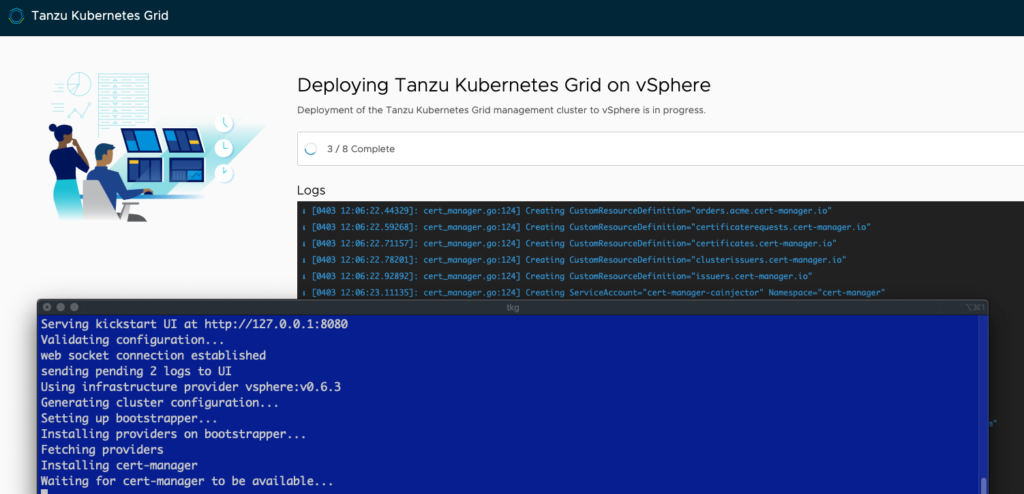
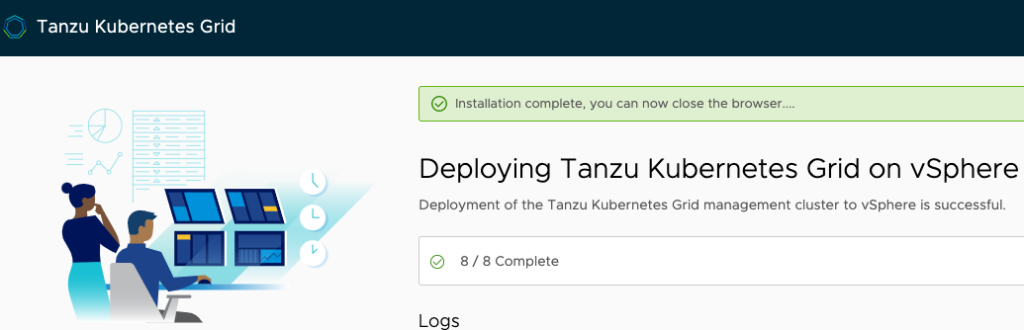
As the deployment runs, you can keep track of where you are, but looking at either the web browser which shows the running logs, or the terminal where you initial ran the tkg init command.
Once the installation is complete it will update your context to point to the management cluster so that you can start issuing kubectl commands.
Command Line Options
This was a quick run through of a build on vSphere, but you may want to add some automation to the process. All of the steps in the instructions above can be completed through the command line by committing the –ui switch. I will caution you though, that the first time through this process its easier to use the UI because it sets up a config.yaml file stored (by default) in .tkg/config.yaml.
If you wish to use the CLI the easiest way to do this is to run through this process once through the UI and copy this config.yaml file and edit it as you need for your deployments. From then on, you can use the tkg binary with this config file for deployment and skip the user interface.
Whats next?
From here, you can start using the management cluster to deploy additional workload clusters for your teams. We’ll take a look at this in a future post but if you’re in a hurry, just run the following to use the defaults:
tkg create cluster [name] --kubernetes-version=[version] --plan=[dev/prod]
Feel free to poke around in the management cluster and look at the custom resource definitions, namespaces, and settings on the management cluster used to make it a management cluster.
If you’re done with your management cluster and want to remove it, first make sure you’ve removed any workload clusters if you’ve built them, and then run:
tkg delete management-cluster