In this post we’ll finally connect to our Supervisor Cluster Namespace through the Kubernetes cli and run some commands for the first time.
In the last post we created a namespace within the Supervisor Cluster and assigned some resource allocations and permissions for our example development user. Now it’s time to access that namespace so that real work can be done using the platform.
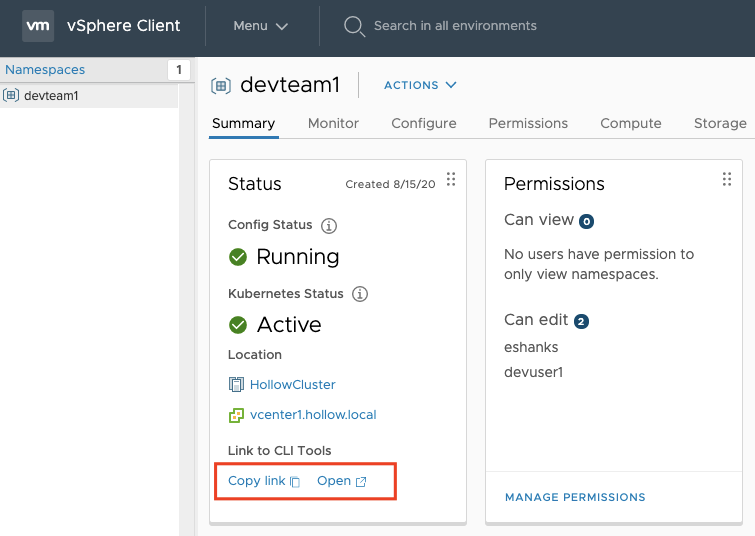
First, login to vCenter again with the [email protected] account and navigate to the namespace that was previously created. You should see a similar screen where we configured our permissions. In the Status tile, click one of the links to either open in a browser or copy the URL to then open in a browser.
When you open the link, you should see a webpage like this one. This is the Kubernetes API endpoint.
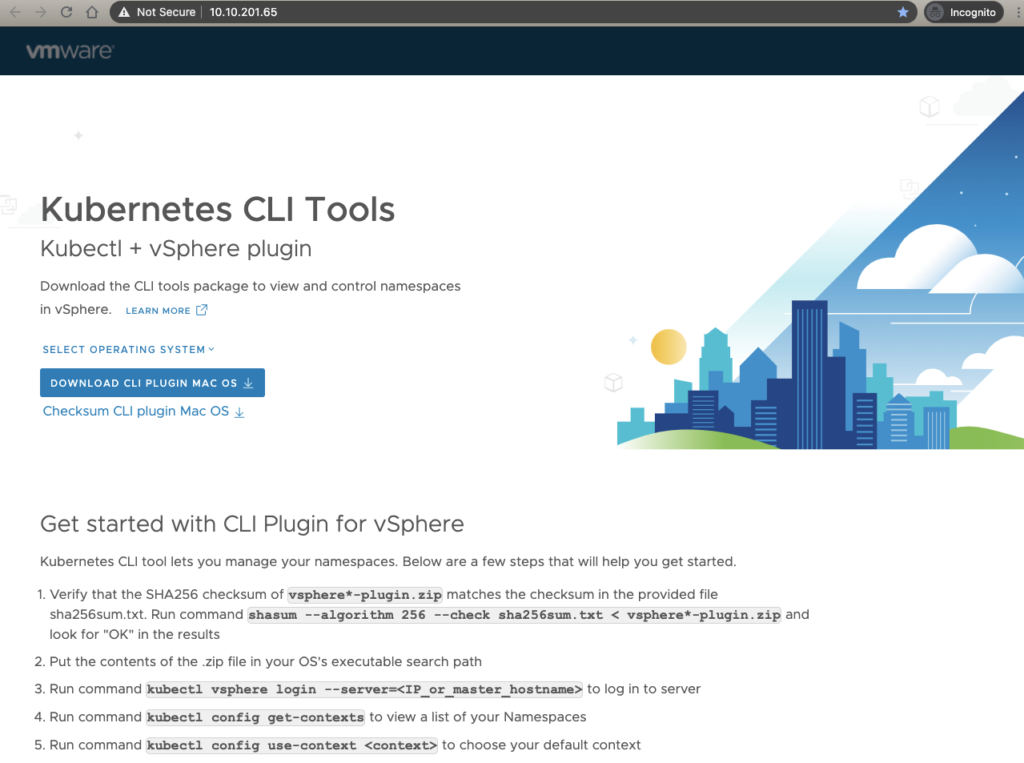
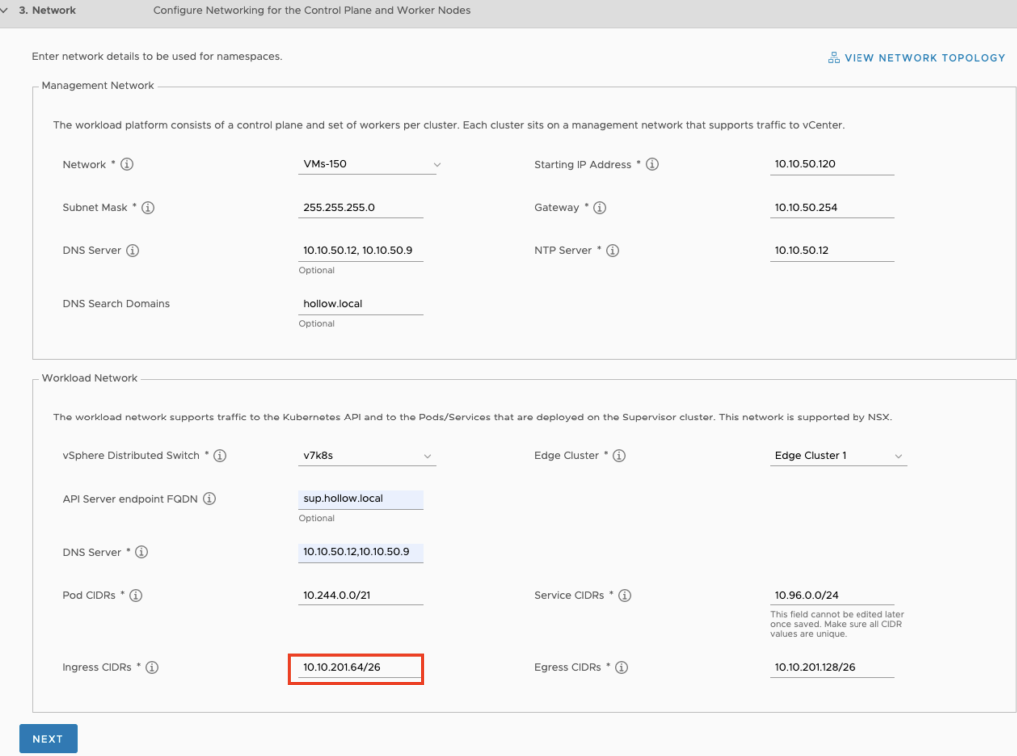
Notice the IP Address in the URL. It should seem pretty familiar to you because you entered the CIDR range during the workload control plane setup. Remember setting up the Ingress CIDRs? This is where the IP Address came from.
Now, that you’ve got the Kubernetes API endpoint page displayed, you can follow the directions listed on the page to setup your client. This is nice since once you setup the namespace, you can give this web page to anyone using the Kubernetes clusters, to then use the namespace, get the clients, and describe the process. I’ll walk through those steps below.
Download CLI Plugin
There will be a blue link on the Kubernetes API endpoint page that is a download link for the two CLIs you’ll need. These will come zipped and you’ll need to uncompress them after downloading.
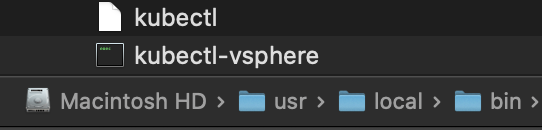
Once you’ve downloaded the CLI tools, you need to put them into your Operating System Path. On my Mac, I’ve moved these to /usr/local/bin and set permissions so that I can execute these executables.
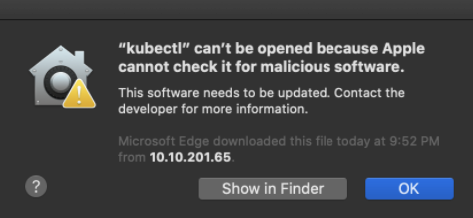
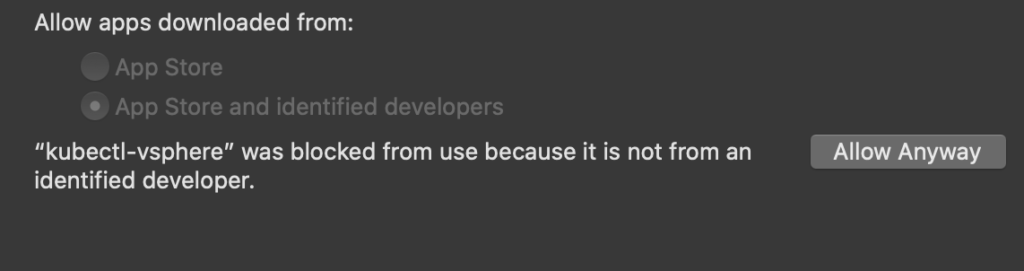
To verify that the CLIs are working, open a shell session and run the command: kubectl version just to see if the CLI will respond with the version. In my case, running it gave me a security error that I needed to fix because Apple couldn’t check it for malicious software.
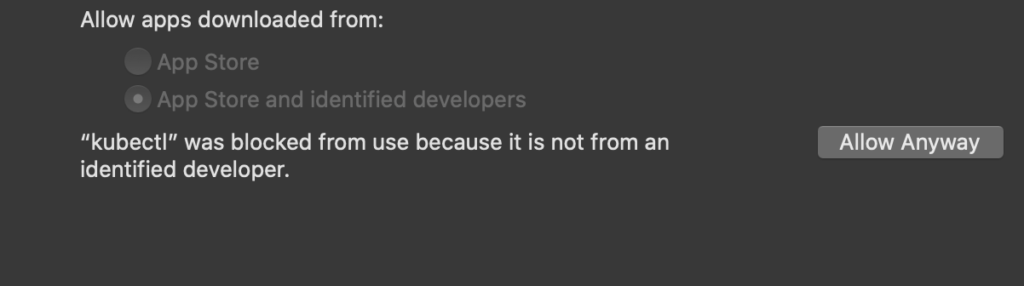
To fix this on a Mac, go into Security & Privacy –> General Tab. Here you’ll see the CLI tool that was just executed and a button to Allow the software to be executed.
Running the kubectl version command again, gives me the version info as expected.

Next, we need to repeat the process with the kubectl vsphere CLI.
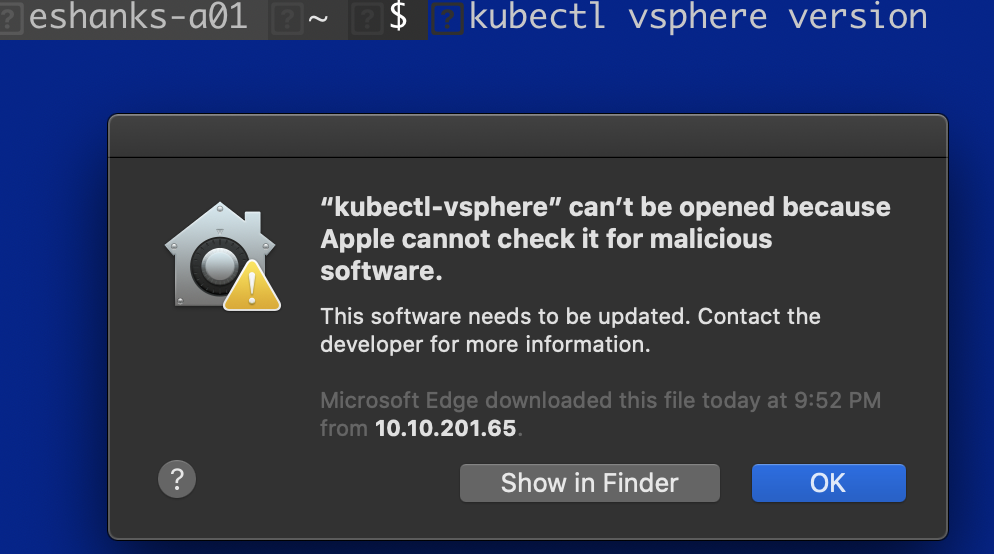
Again, ensure the software can be executed.
Once you can see the versions for both CLI components we can move on with accessing our cluster.

Connect to the Kubernetes Namespace
Now that the CLI tools are working, we need to first authenticate with the vSphere API. You can do this by running:
kubectl vsphere login --server=[ip_or_fqdn_of_Kubernetes_API_Endpoint]
If you are not using trusted certificates, you’ll need to append the --insecure-skip-tls-verify switch as seen in the screenshot below.
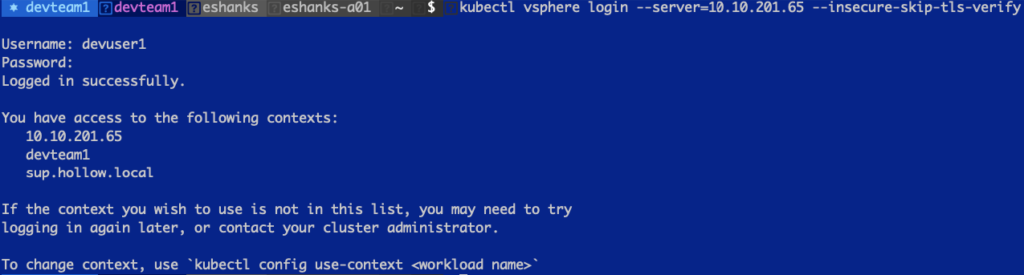
NOTE: I found the instructions a tad confusing. The Kubernetes API Endpoint webpage shows --server which I initially mistook for the vCenter server. It’s really asking for the Kubernetes API endpoint. In the screenshot below, you’ll see what happens if you use the wrong address, which was a helpful error message.

Once you’ve authenticated the CLI will display your Kubernetes Contexts which will now include the context for this Namespace we’ve created. You can change your context using:
kubectl config use-context [context name]
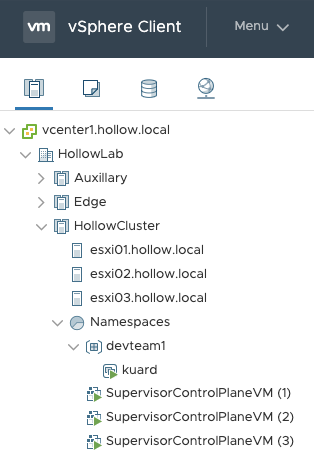
And after that you can start running Kubernetes commands. In the below screenshot, I’ve deployed the “Kubernetes Up and Running” container which you can see is running.

If you login to vCenter as the [email protected] user, you will even see the pod running in vCenter, under our namespace in the Hosts and Clusters view.
Summary
You’ve now got a namespace where you can deploy PodVMs within your Supervisor cluster. We downloaded the CLI tools from the Kubernetes API Endpoint, authenticated to vCenter, and executed some kubectl commands against our cluster.
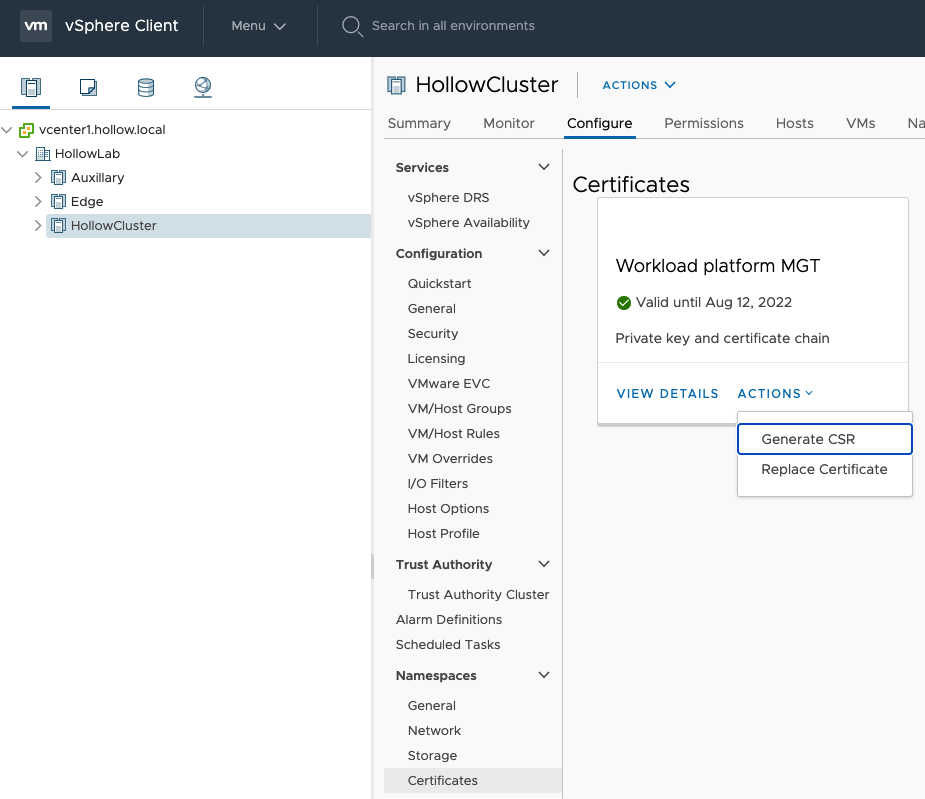
One last note. At this point you’re authenticating to the Kubernetes API Endpoint using a non-trusted certificate because we specified the --insecure-skip-tls-verify switch at login. We can use an existing CA to sign new certificates and use them. We may cover this in another post, but the location to generate a cert request is found in Supervisor Cluster –> Configure –> Namespaces –> Certificates –> Workload platform MGT.