We’re finally ready to start building some blueprints. Resources are available, reservations have been set, groups have been created and now we can build some blueprints.
Blueprints
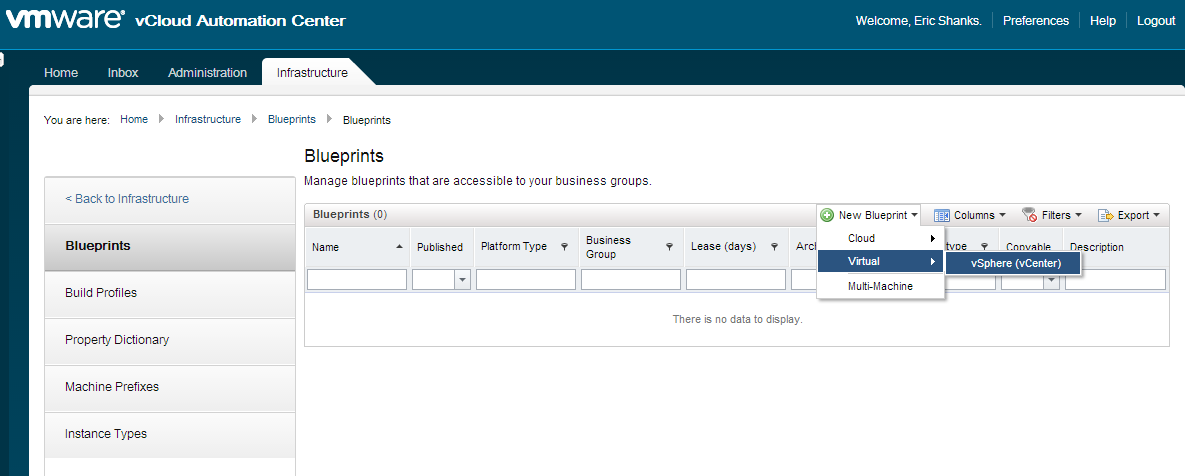
Go to the Infrastructure Tab –> Blueprints –> Blueprints and then click “New Blueprint” –> Virtual –> vSphere (vCenter).
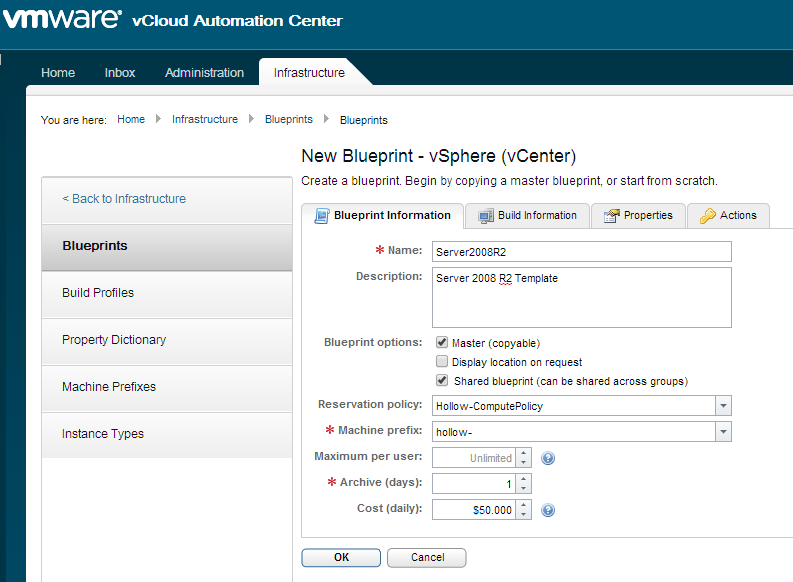
Give the blueprint a name and a description. In my case, I’m creating a server 2008 R2 blueprint. Select a Reservation Policy and a machine prefix. Then enter a number of days for Archives. This is the number of days the virtual machines will be available after they expire. Think recycling bin in Windows. Also, if you’re so inclined, you can enter a dollar amount to assign to this template per day, so that later on each department can see how much money these VMs cost the company.
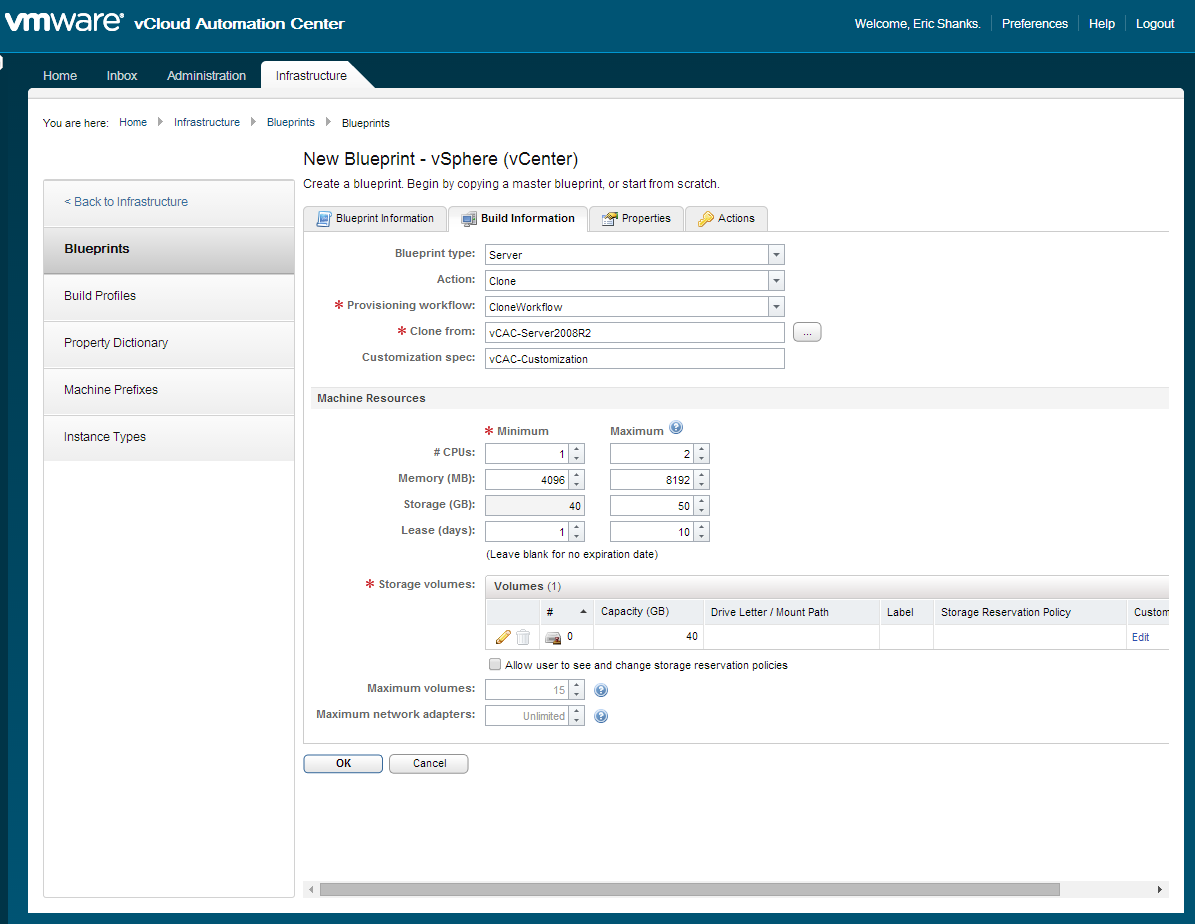
Click the Build Information Tab. Select the Blueprint type of Server, action clone and then the provisioning workflow “CloneWorkFlow”. These selections will clone a VM Template that already exists in the vSphere endpoint. Click the Button next to “Clone from” and select a VM Template to use.
Next, you can also use a VMware customization file as well, but you must type it in, and the name must be identical.
Next, we can set the machine resources that can be requested such as the minimum and maximum CPUs, memory, and storage amounts.
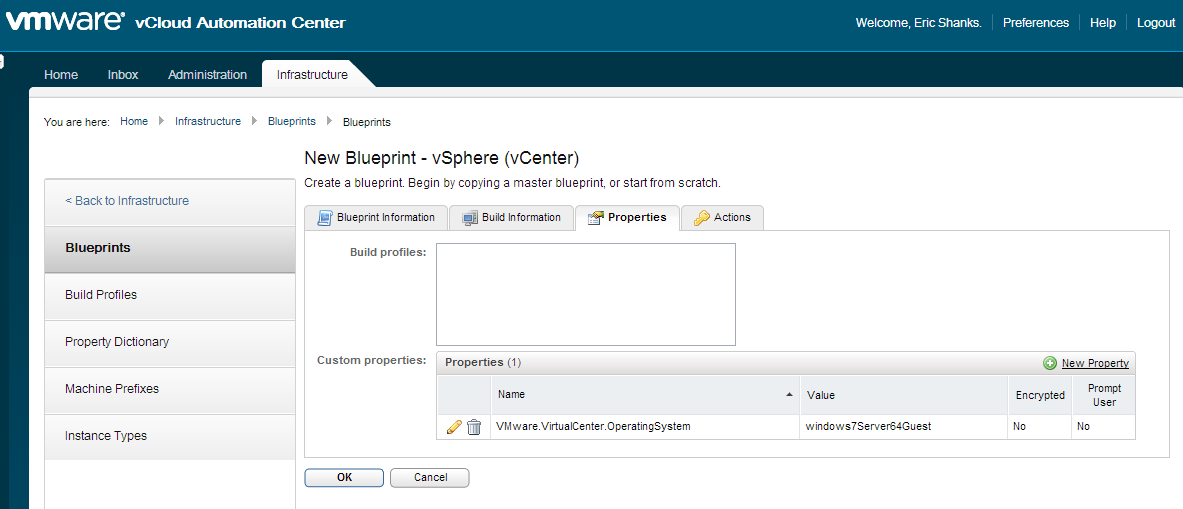
Under the properties tab, we can add additional custom properties to this blueprint if desired.
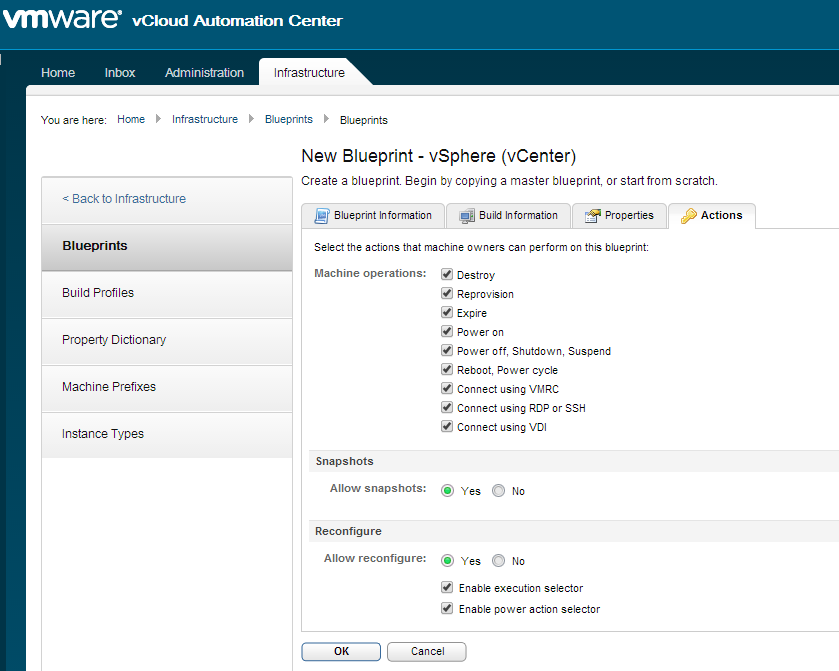
Under actions, you will need to set what actions can be performed on this virtual machine, such as power state, reprovisioning, and snapshots.
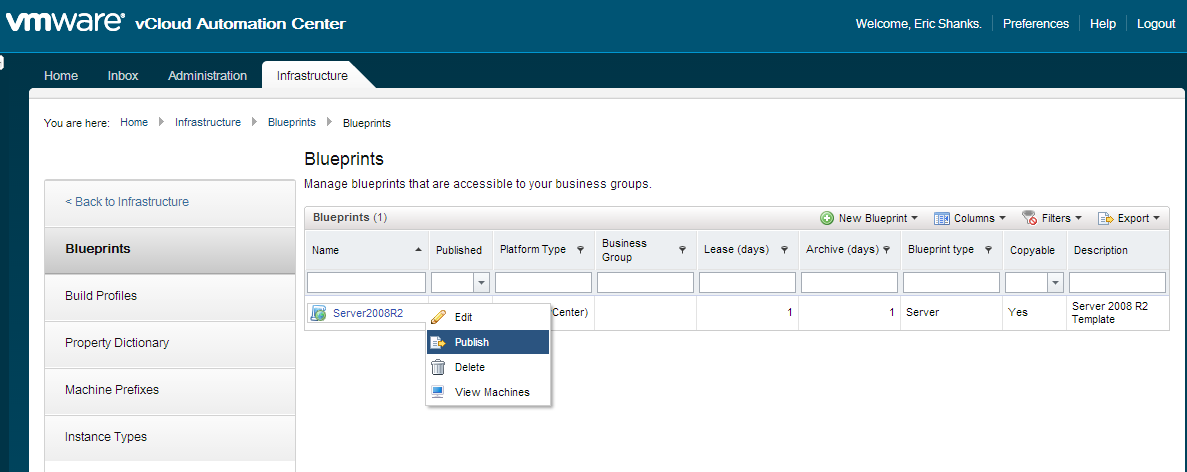
Now that the blueprint is created, you need to click the dropdown and select “Publish”.
Services
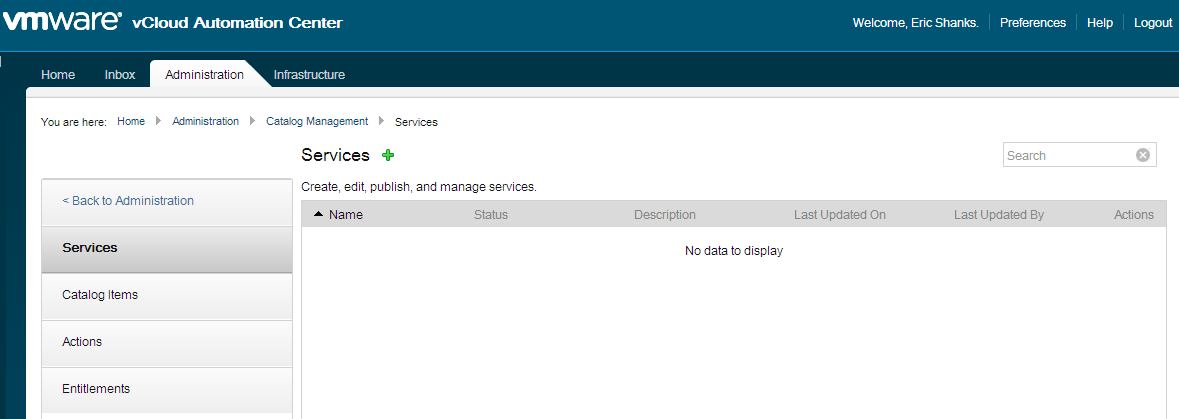
Now we should add some services. A service might seem confusing, but it’s a list of applications. For instance you may have a Windows Service which includes your Windows 2008 and WIndows 2012 Server blueprints, and another called Linux which includes CentOS and RHEL blueprints.
Go to the Administration Tab –> Catalog Management –> Services and then click the “+” icon to create a new service.
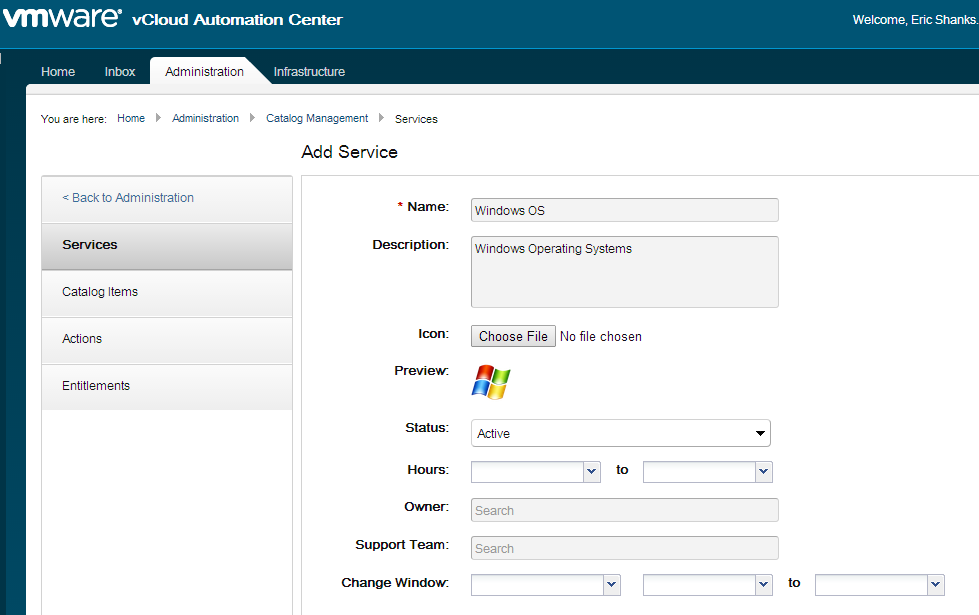
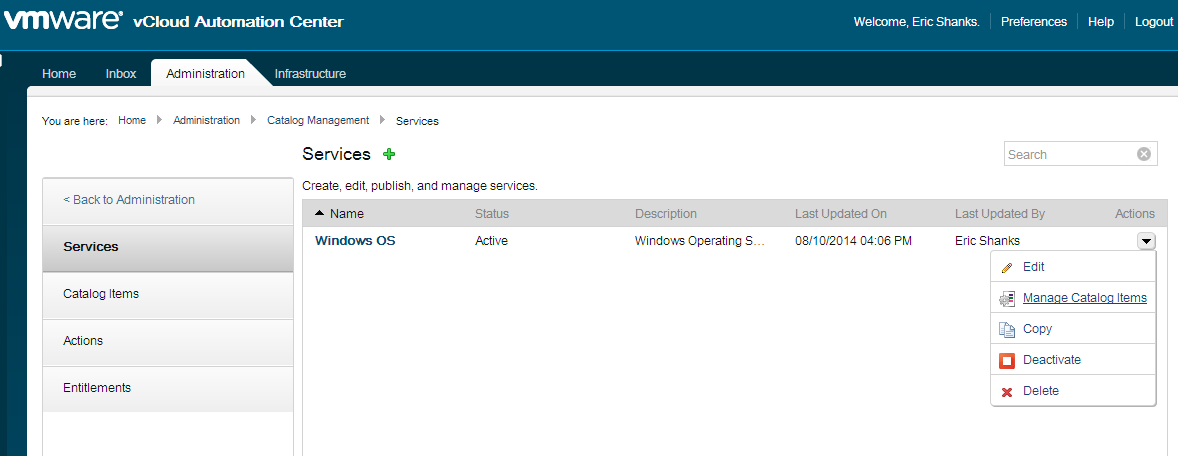
I’ve chosen to create a service called Windows OS. Be sure to set the status to “Active” if you plan to use it. Also feel free to add icons if you want to pretty up the install.
You’ll now see the service listed. Click the drop down on the right side and select “Manage Catalog Items”.
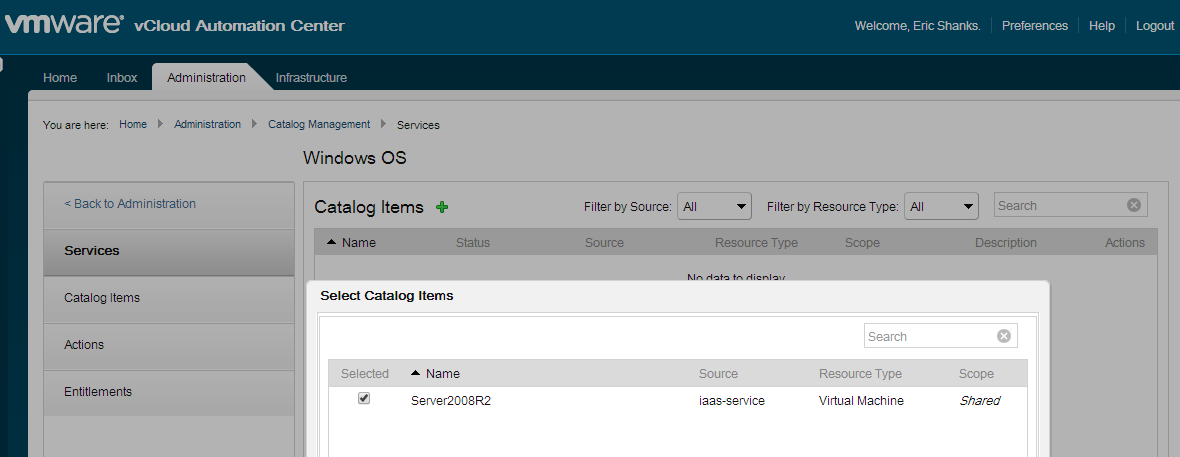
Select the blueprint that was created.
Entitlements
We’ve got a published blueprint, but now we want to give access to that blueprint or service.
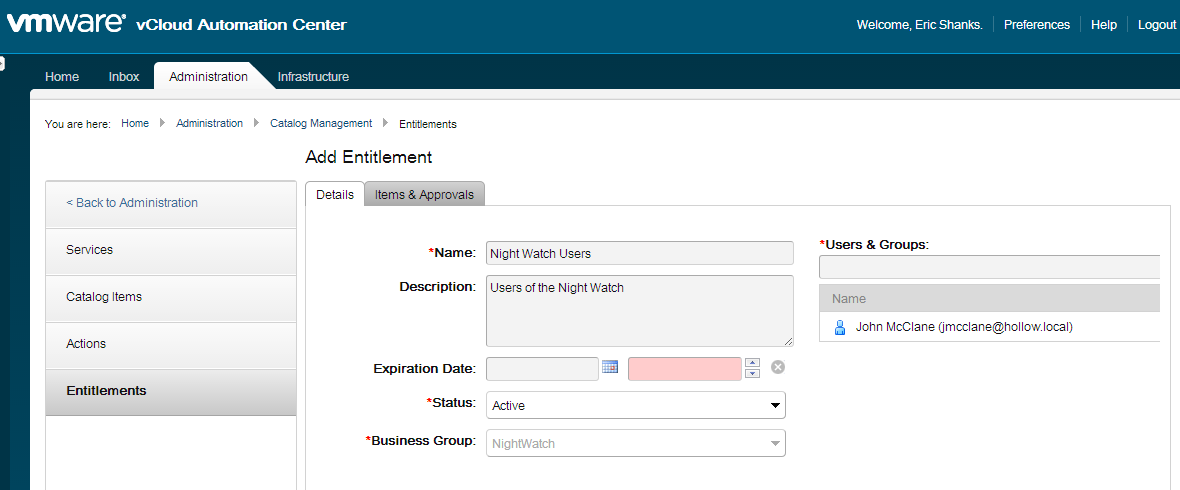
Go to the Administration Tab –> Catalog Management –> Entitlements. Enter a name for the entitlement,, set it to active, and enter your list of users from the identity store.
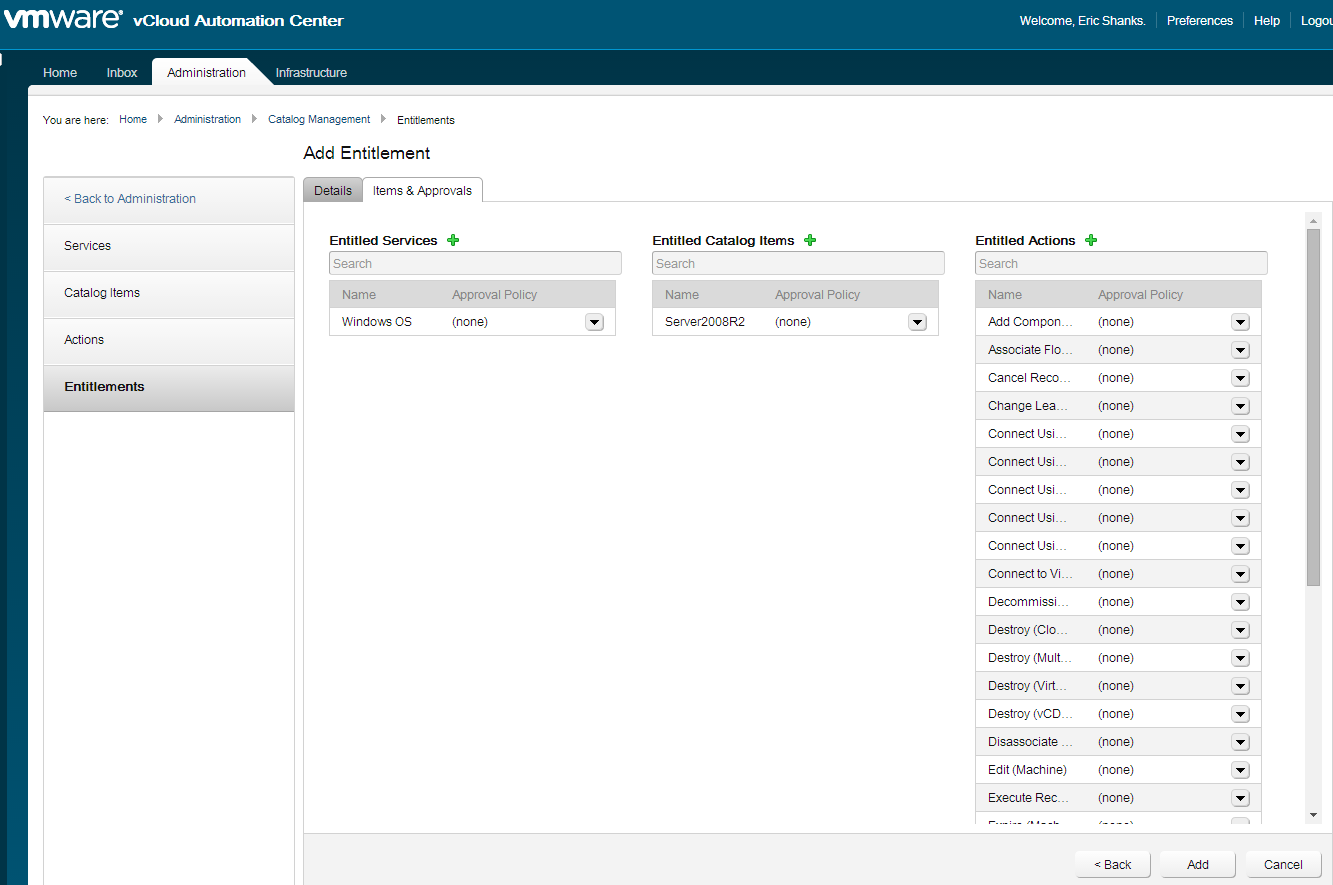
Go to the Items and Approvals tab. Select the services, Catalog Items and Actions that you’d like to assign.
Request a Catalog Item
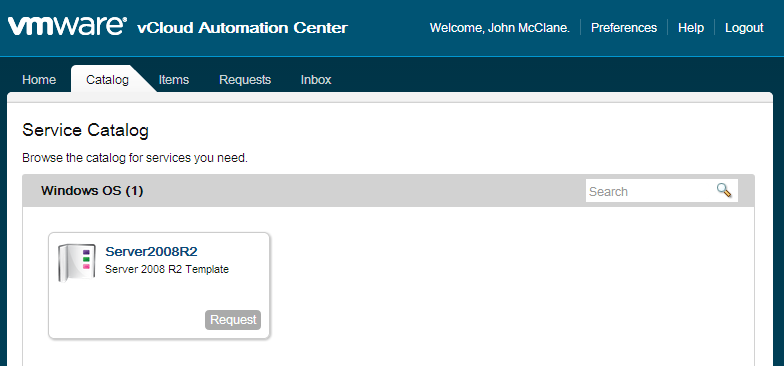
Well that was easy! (yeah, I’m kidding. This has been a long process, but if you log out of vCAC, and log back in as the user that was entitled access to the blueprint, you should see an entry listed in the “Catalog” tab.
Click Request.
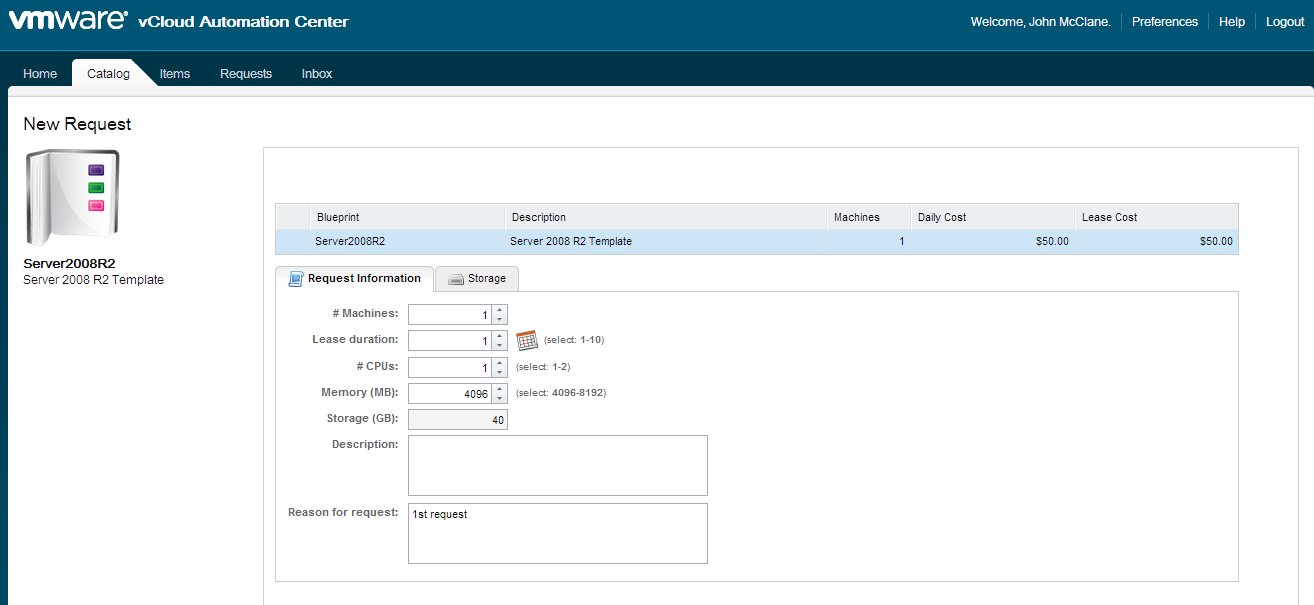
Enter some information about the Virtual Machine such as the number of Machines to create, the lease duration, the CPUs, memory and storage sizes and some reasons for the request.
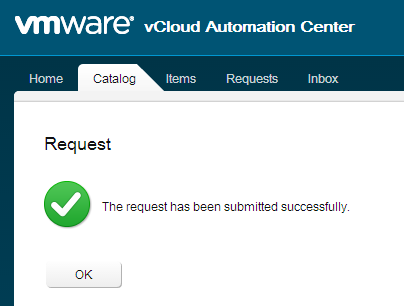
You should be taken to a very satisfying screen with a green checkmark on it, letting you know that the request was made successfully.
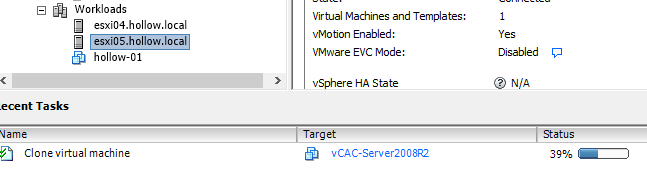
Take a peak over at your vSphere environment and you can see the VM being created.
Summary
We finally got to deploy something from vCloud Automation Center (vRealize Automation! I would take a nice break and feel good about what you’ve built and when you’re ready come back and check out the next few posts to further customize and add features to our vCAC instance.