The Kubernetes series has now ventured into some non-native k8s discussions. Helm is a relatively common tool used in the industry and it makes sense to talk about why that is. This post covers the basics of Helm so we can make our own evaluations about its use in our Kubernetes environment.
Helm - The Theory
So what is Helm? In the most simplest terms its a package manager for Kubernetes.
Think of Helm this way, Helm is to Kubernetes as yum/apt is to Linux. Yeah, sounds pretty neat now doesn’t it?
Just like yum and apt, Helm is configured with a public repository where shared software packages are maintained for users to quickly access and install. For Helm, this is called the “stable” repo and it’s managed by Google. You can of course add additional repositories if you’re managing your own Helm charts.
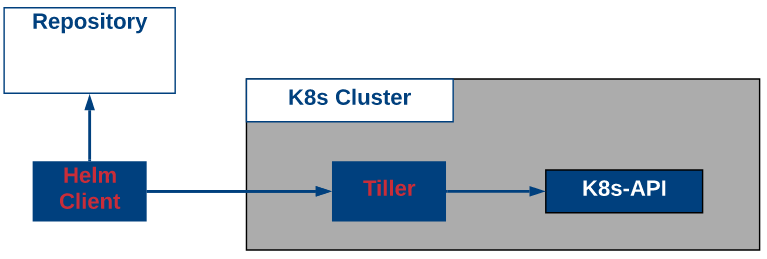
Helm (as of version 2) uses a Kubernetes pod named “Tiller” as a server that interacts with the K8s api. Helm also has its own client which as you might guess interacts with Tiller to take actions on the Kubernetes cluster. The example below shows the basic setup and interactions with Kubernetes.
Helm uses charts to define the details about software packages such as default values or variables, dependencies, templates, readmes and licenses, some of which are optional. We won’t go into much detail about this in an introductory post, but the file structure for creating Helm charts is shown below.
/chartname
   Chart.yaml #file containing information about the chart
   requirements.yaml #optional file used for listing dependencies
   values.yaml #default parameter values for the chart
   charts/ #any dependent charts would be stored here
   templates/ #templates here are combined with values to generate k8s manifests
   LICENSE #optional
   README.md #optional
The big piece to understanding what Helm is doing is in the templates. When you combine the Helm templates with Helm values it creates the valid k8s manifests for the Kubernetes API to deploy. This gives us quite a bit of flexibility to do things like calculate values dynamically before deploying a static manifest to the Kubernetes cluster.
OK, Helm sounds pretty neat, why isn’t it always used? Well, there are a couple of drawbacks at the moment. The first of which is around Tiller, which needs to be able to act as a Kubernetes administrator via RBAC. For Tiller to deploy our Deployments, Secrets, Services, etc., it will need access to all of those components. When a user uses the helm client to interact with Tiller, we’ve basically give our clients Admin access to the cluster which is a problem. Helm v3 (when released) aims to fix this RBAC by removing tiller from the k8s cluster. There are also some things to think about such as whether or not you really want to be able to use dynamic variables in your YAML or not.
Helm - In Action
For the lab portion of this post, we’ll install the Helm components and deploy a package from a repo. If you like the idea of Helm, you could continue your learning by writing your own Helm charts, but its outside the scope of this post.
To get started, we need to deploy Tiller to our Kubernetes cluster. To do this, we’ll start by deploying a manifest like we’ve done many times before. This manifest sets up a service account and role for Tiller to perform actions against the cluster with appropriate (well, maybe too much) permissions.
Copy the manifest code below to a yml file and apply it against your k8s cluster as we did in the rest of this series.
apiVersion: v1
kind: ServiceAccount
metadata:
  name: tiller
  namespace: kube-system
---
apiVersion: rbac.authorization.k8s.io/v1
kind: ClusterRoleBinding
metadata:
  name: tiller
roleRef:
  apiGroup: rbac.authorization.k8s.io
  kind: ClusterRole
  name: cluster-admin
subjects:
  - kind: ServiceAccount
    name: tiller
    namespace: kube-system

Next up, we’ll need to install the Helm client on our workstation. I am using a Mac so I used homebrew to do this, but it can be done for other operating systems as well. Please see the official documentation if you aren’t using homebrew on Mac.
https://helm.sh/docs/using_helm/#installing-helm
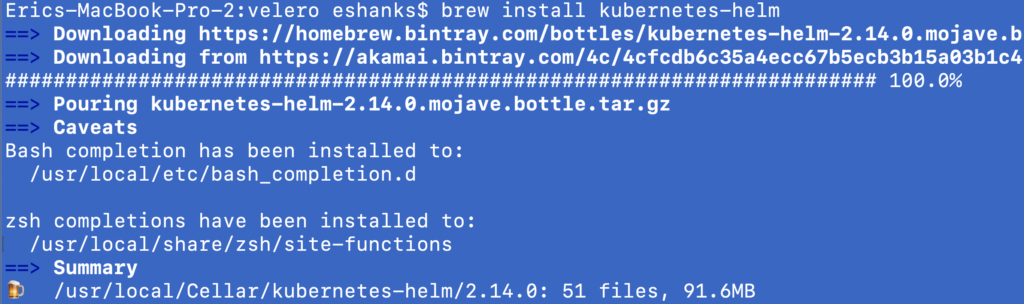
I’m running the command:
brew install kubernetes-helm
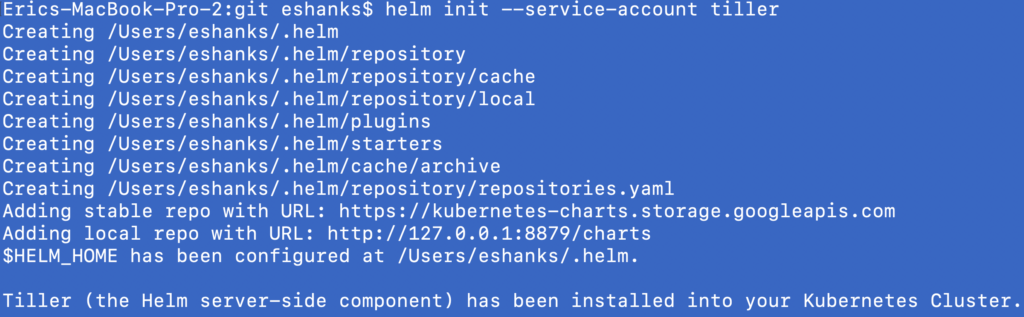
Now that the Helm client is installed, we can use it do initialize Helm which deploys Tiller for us, using the service account we created through the previously mentioned manifest file. To do this, run:
helm init --service-account [service account name]
After the init process finishes, you’re pretty much ready to use Helm to deploy packages. Lets take a look at some other Helm stuff first.
If we run “helm repo list” we can see a list of the available repositories where our packages could be stored. You’ll notice taht out of the box, the “stable” repo is already configured for us.

Its usually a good idea to update your repos, just like you might do with yum or apt so lets run a helm repo update before we try to apply anything.

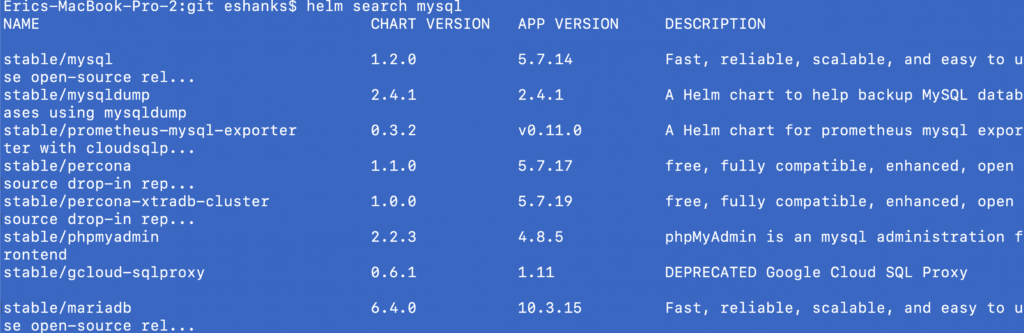
OK, now lets go find some software to deploy. We can use the search feature to look for software we might want to deploy. Below I’ve used search to find both Jenkins as well as mysql. You’ll notice there are many versions of mysql but only one version of Jenkins at the moment.

Now as a deployment test, we’ll try to deploy Jenkins through Helm. Here we’ll run the helm install command and the name of the package + our common name that we’ll use for the package. For example:
helm install [repo]/[package] --name [common name]

You’ll notice from the screenshot above, that jenkins was deployed into the default namespace and there are a list of resources (the full list is truncated) that were deployed in our k8s cluster. You’ll also notice that at the bottom of the return data there are some notes.
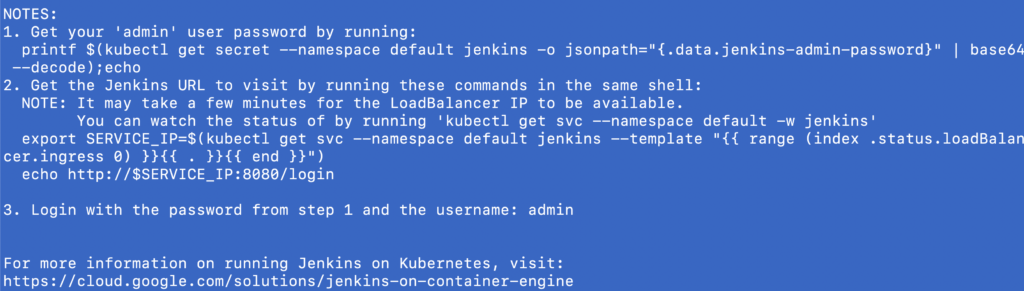
These notes are pretty helpful in getting stated with the package we just deployed. For example in this case it shows how to start using Jenkins and the URL to access.
If we were to use the kubectl client, we can see our new pod and service in our cluster.

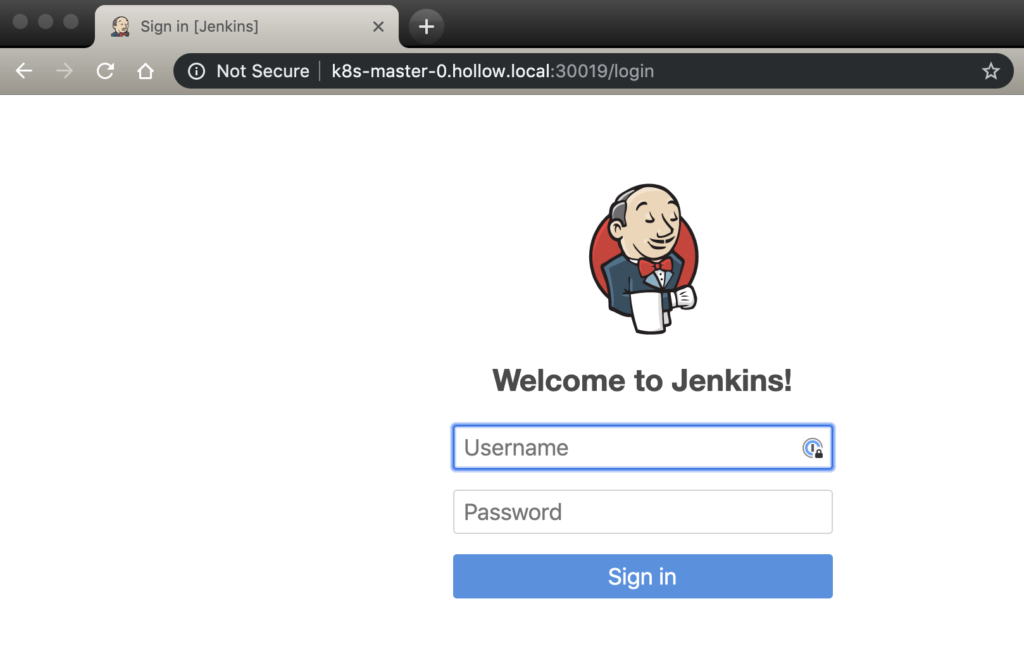
And even better, we can see that we can access the Jenkins service and the application.
Summary
Helm, may be a pretty great way to deploy common packages from vendors just like apt/yum have been for linux. Its also a great tool if you want to dynamically update parameters for your Kubernetes manifests at deployment time without re-writing your static manifest files for each environment. Play around with Helm and see what you think, and watch out for Helm v3 if permissions are a concern of yours.