This post is part of the Red Hat Platform series. If you want the full picture of what we’re building toward, start there.
What if we had a situation where our application didn’t run as a container for some reason. What if the Brix Pizzaria ran virtual machines instead? Will our OpenShift platform be capable of managing these as well as our containerized workloads? The short answer is yes.
In this post we’ll focus on OpenShift Virtualization and how we can leverage this solution to run our VMs on our existing OpenShift cluster.
Virtualization
Virtual machines still make up a large majority of most organization’s workloads. Containers might be the preferred deployment model for new applications, but not always, and there are still plenty of monolithic apps out there running virtual machines without any need to convert to something different. So even though we’re keen to make a move to Kubernetes and OpenShift, we still need to have a place for our virtual machines to live.
Oftentimes we see two stacks. A virtualization stack to house our VMs, and a totally separate stack for containers. Each of these stacks typically has a different set of tools for backups, monitoring, logging, disaster recovery, patching and updates. Not only that, but you’re probably running two different platforms as well, each specifically built for either containers or VMs.
But what if we could run a consolidated stack? One stack of software that could manage both VMs and containers. One stack with monitoring capabilities, backup options, logging solutions, and disaster recovery routines that were the same for both deployment models. One stack… to rule them all.
This is what OpenShift Virtualization gives us. Built on the open source project Kubevirt, OpenShift Virtualization lets us run virtual machines side by side with the containers on our OpenShift cluster, leveraging one set of tools to manage both.
VMs on Kubernetes
Kernel-based Virtual Machines or KVM as we more commonly refer to it, is a type-1 hypervisor that is built into the Linux Kernel. It’s been around since 2006 and is baked into many of the virtualization options on the marketplace today. Many public cloud vendors, and some VMware competitors use KVM as their hypervisor.
Since KVM is built into the Linux Kernel, and OpenShift nodes run on Linux, we can utilize this tool ourselves to run virtual machines on our OpenShift Nodes. Since KVM is a process, and processes can run containerized, we can place this virtual machine process inside a container.
Don’t get me wrong, KVM is running our virtual machines, but the processes used to run this virtual machine can run in a container with the same constructs as a regular containerized process. Things like Cgroups can be used to assign CPU and memory to VM process to assign physical resources. Linux namespaces also prevent the virtual machine process from “seeing” other processes on the host, effectively isolating them from each other without special configurations. So these containerized VMs can run in a Kubernetes Pod like any other container.
OpenShift just needs to orchestrate the virtual machines across nodes to give us our virtualization platform.
Capabilities
OpenShift Virtualization might provide us a unified platform to run our VMs and containers, but does it really have the virtualization capabilities we need to run my workloads? Let’s discuss some of those must haves.
-
Live Migration: Yes. You can move a running virtual machine from one node to another while only losing a momentary blip while memory is cut over between hosts. How this works on Kubernetes is worth a blog post on its own, so watch for that.
-
High Availability: Yes. Conveniently, HA is a native capability in Kubernetes. Since OpenShift runs workloads based on a desired state, any object that is supposed to be running will be restarted if it’s not. So in the event that a VM fails, it’s no longer meeting the desired state of
running = 1so the OpenShift control plane starts another one. This is effectively HA and it works for VMs. -
Node Placement: Yes. Since VMs run in Kubernetes Pods, we can use taints and tolerations and other affinity rules to place workloads on specific nodes. A practical example: pin GPU-accelerated VMs exclusively to nodes that have GPUs installed.
-
Templates: Yes. We can create a virtual machine and save the config and state. Then later we can clone this template to build a new virtual machine from it.
-
Maintenance Mode: Yes. You can take nodes out of production to perform regular maintenance. Doing so moves virtual machines to other nodes in the cluster and restarts pods.
Beyond these basics, Kubernetes and OpenShift provide capabilities used for all containerized workloads like load balancing, service discovery, authentication mechanisms, role-based access controls, affinity and anti-affinity rules, and overcommitment of resources.
Installation
Like the other capabilities in this series, OpenShift Virtualization is installed through an operator. From the ecosystem tab, you can search for OpenShift Virtualization in the Software Catalog tab.
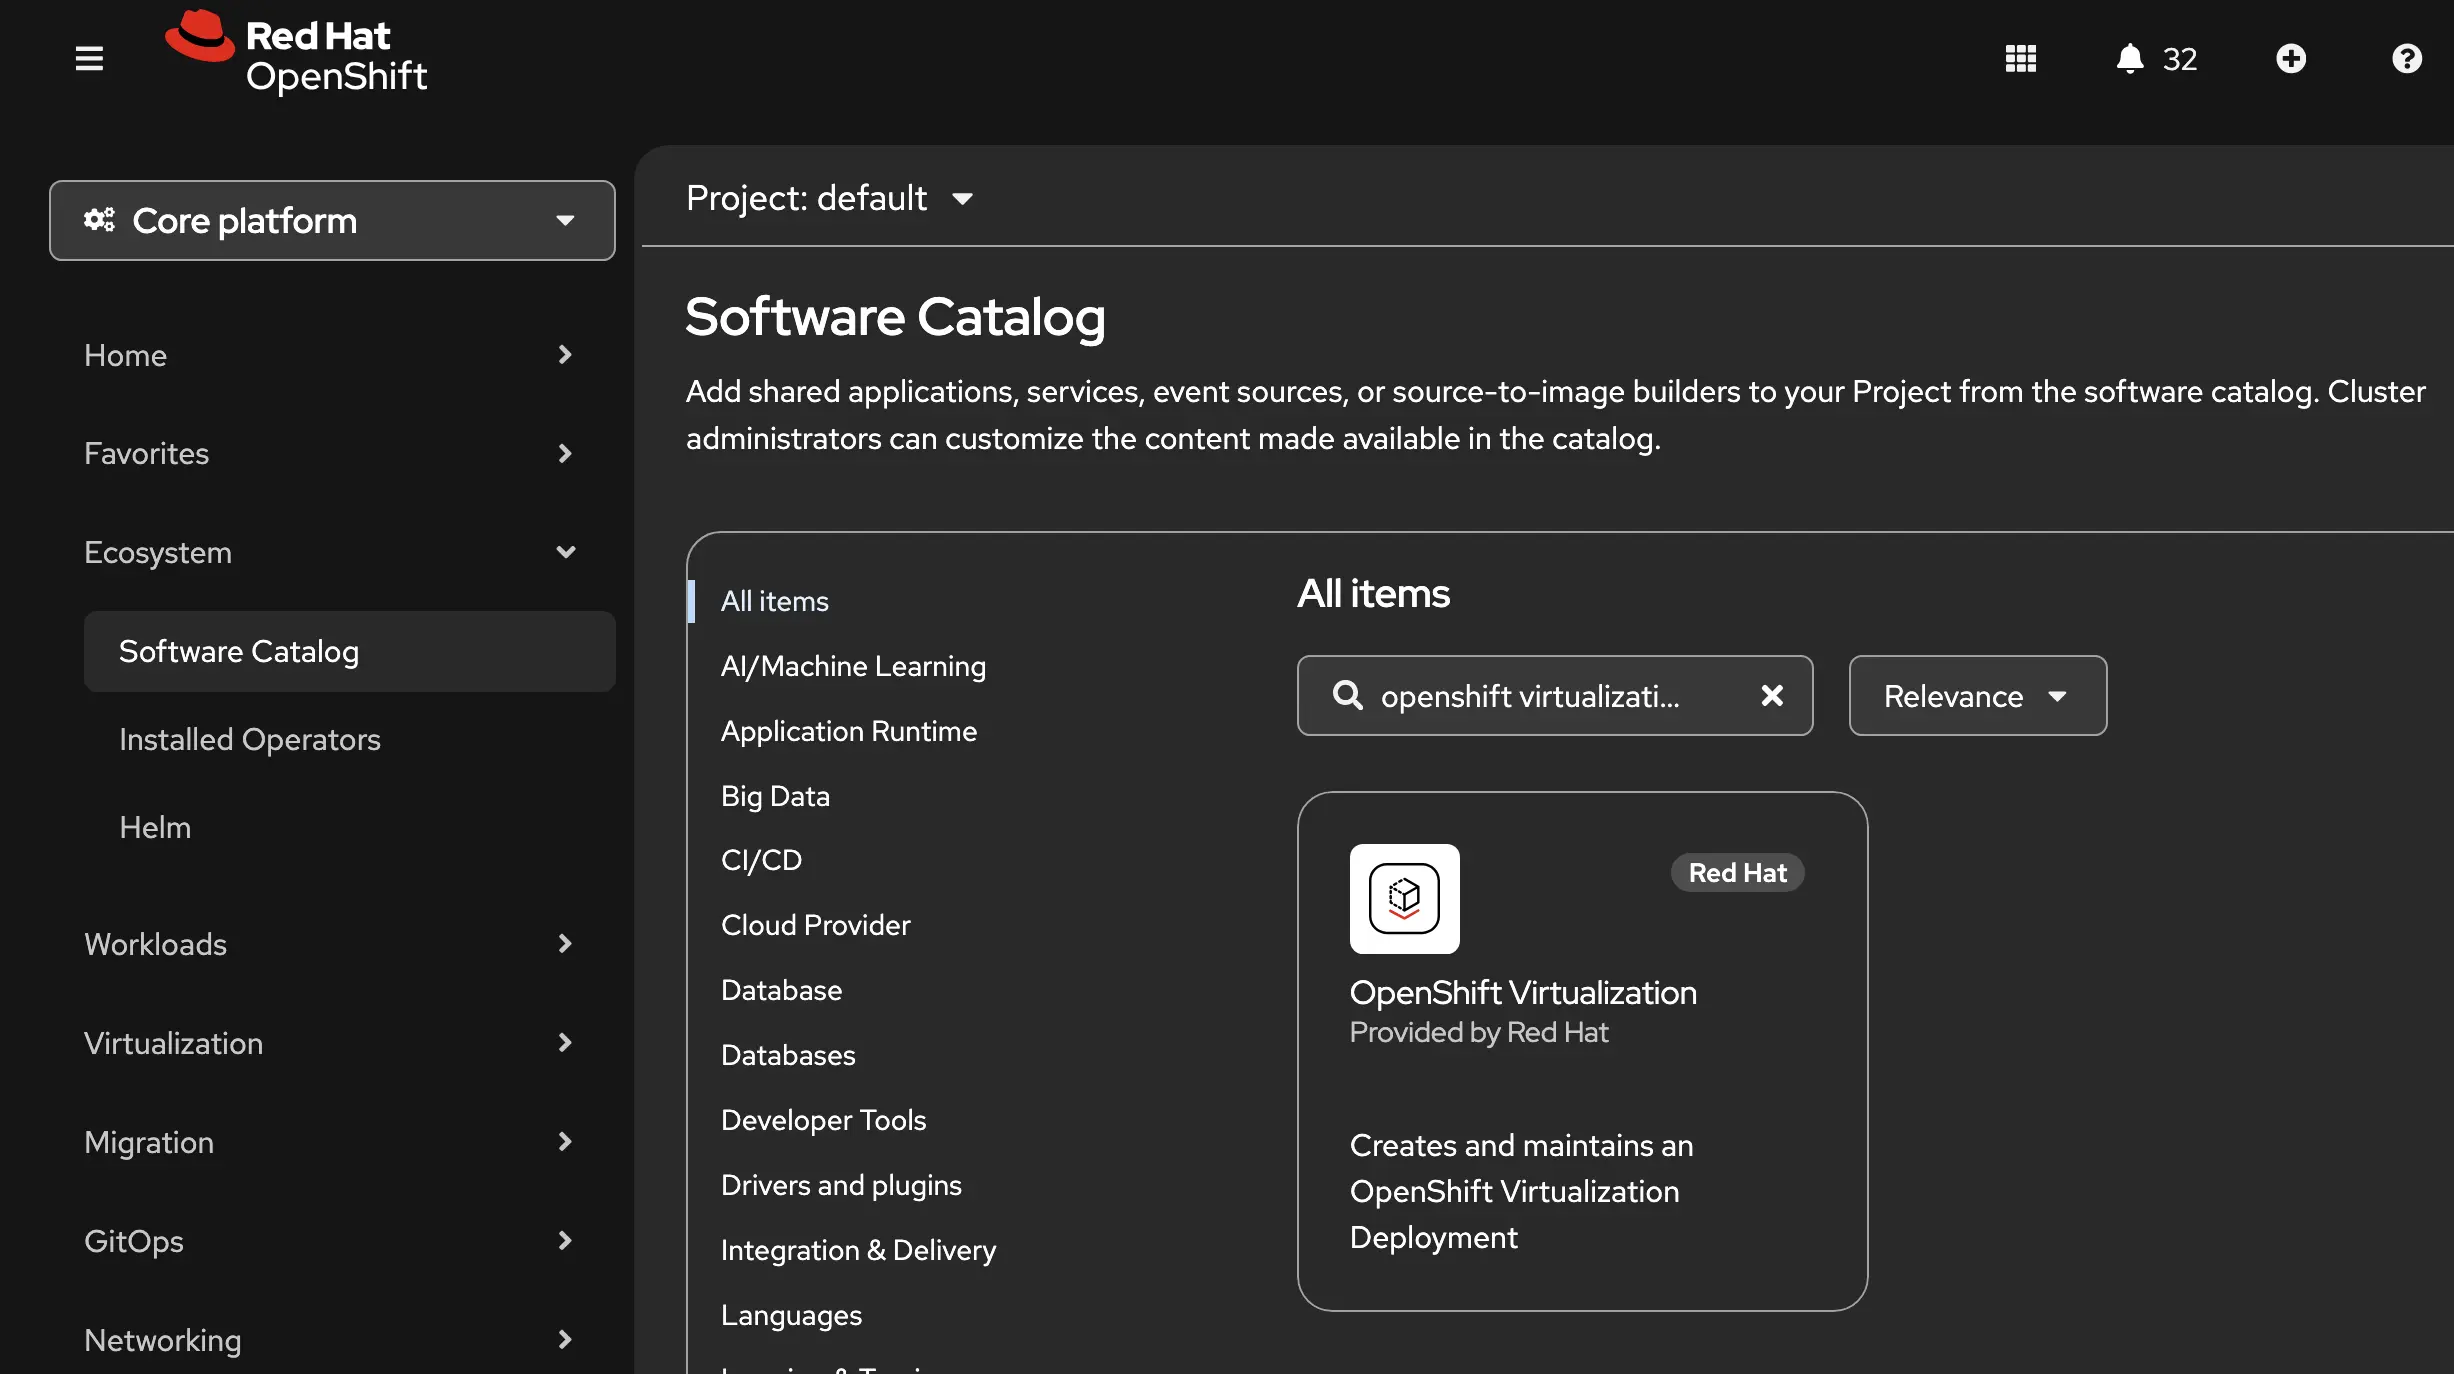
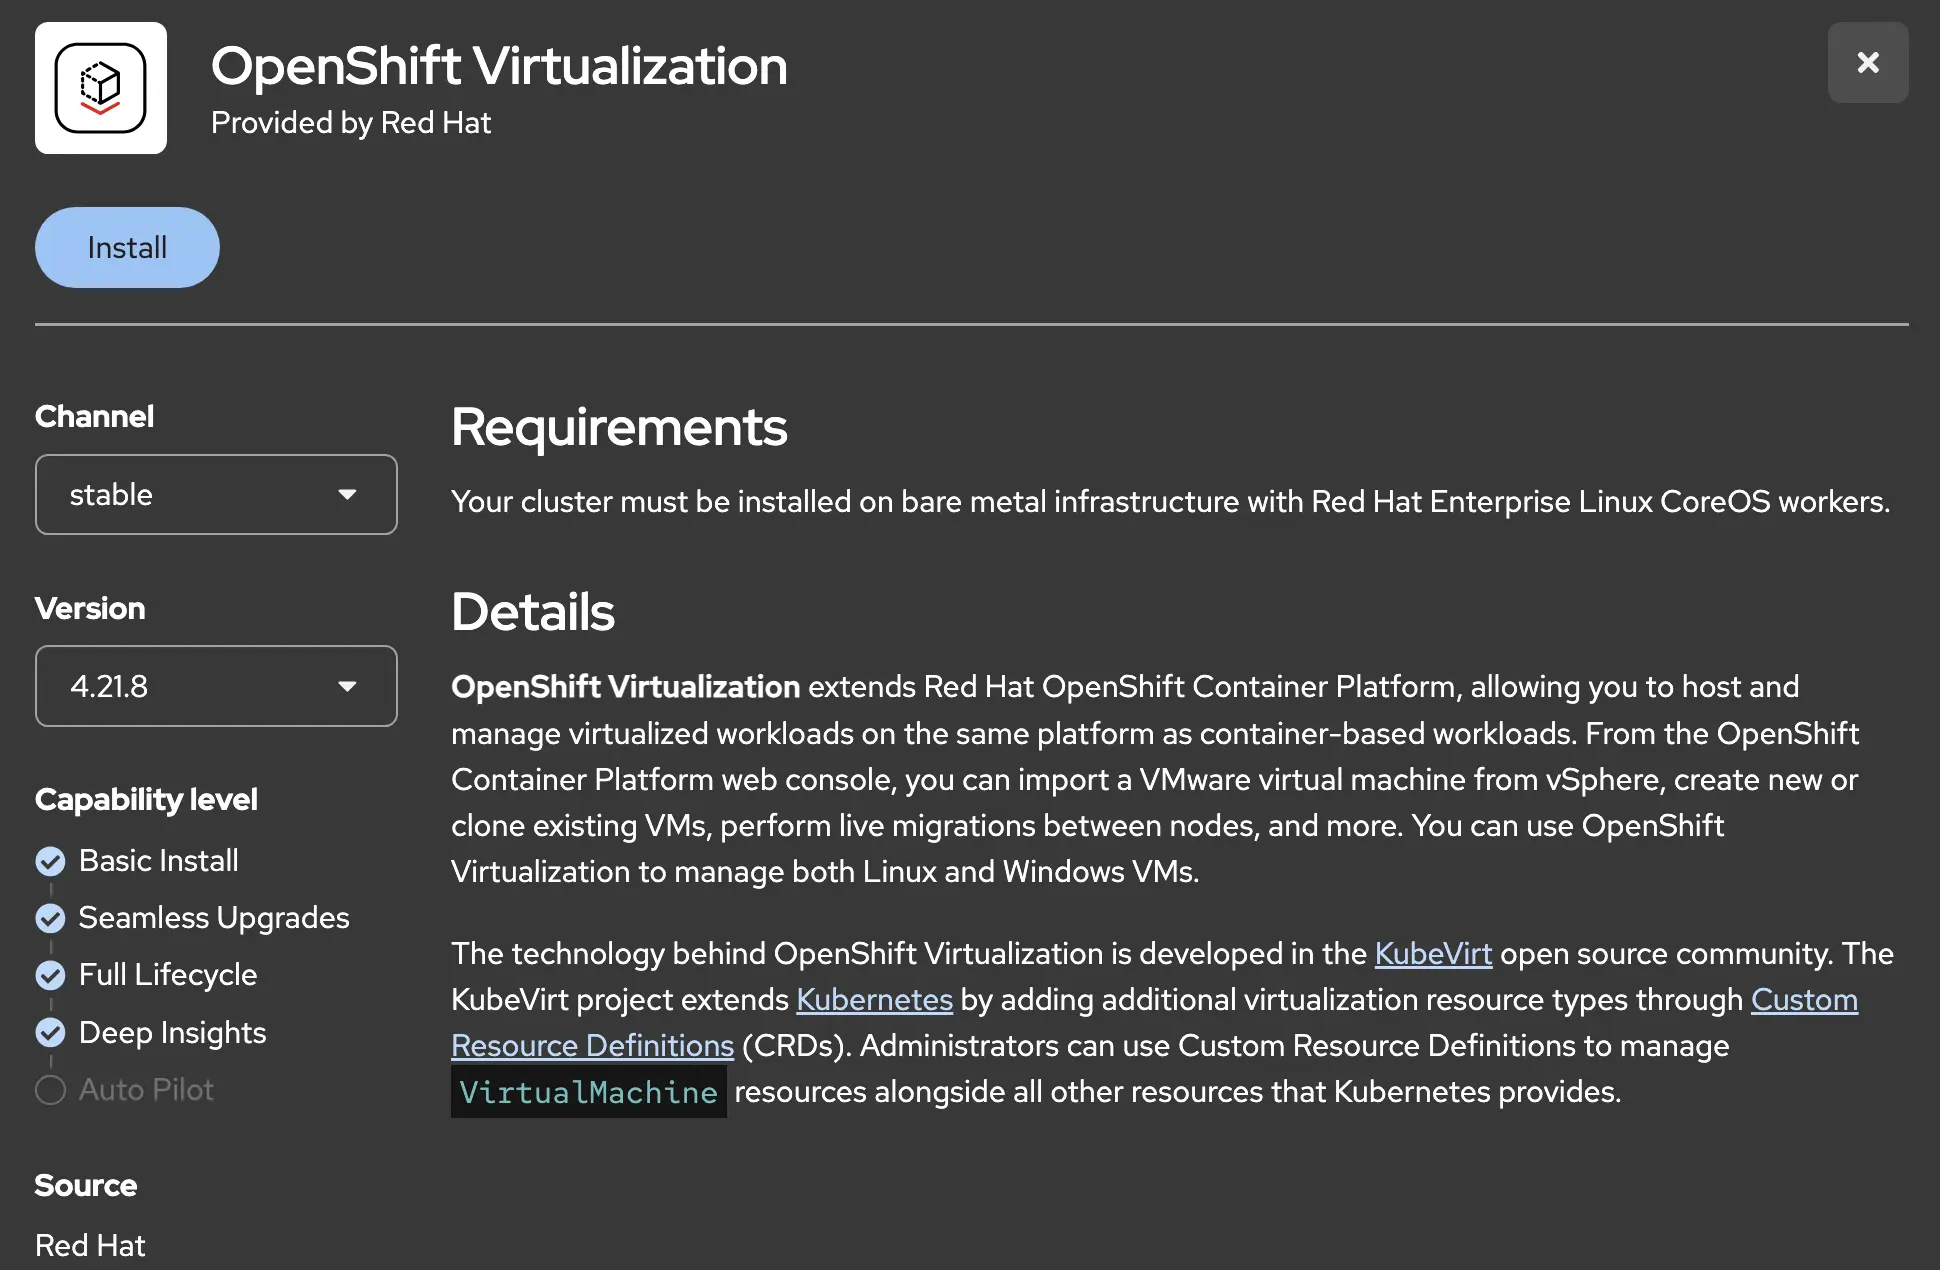
When you find it you can click the tile, and then click the install button to install the operator.
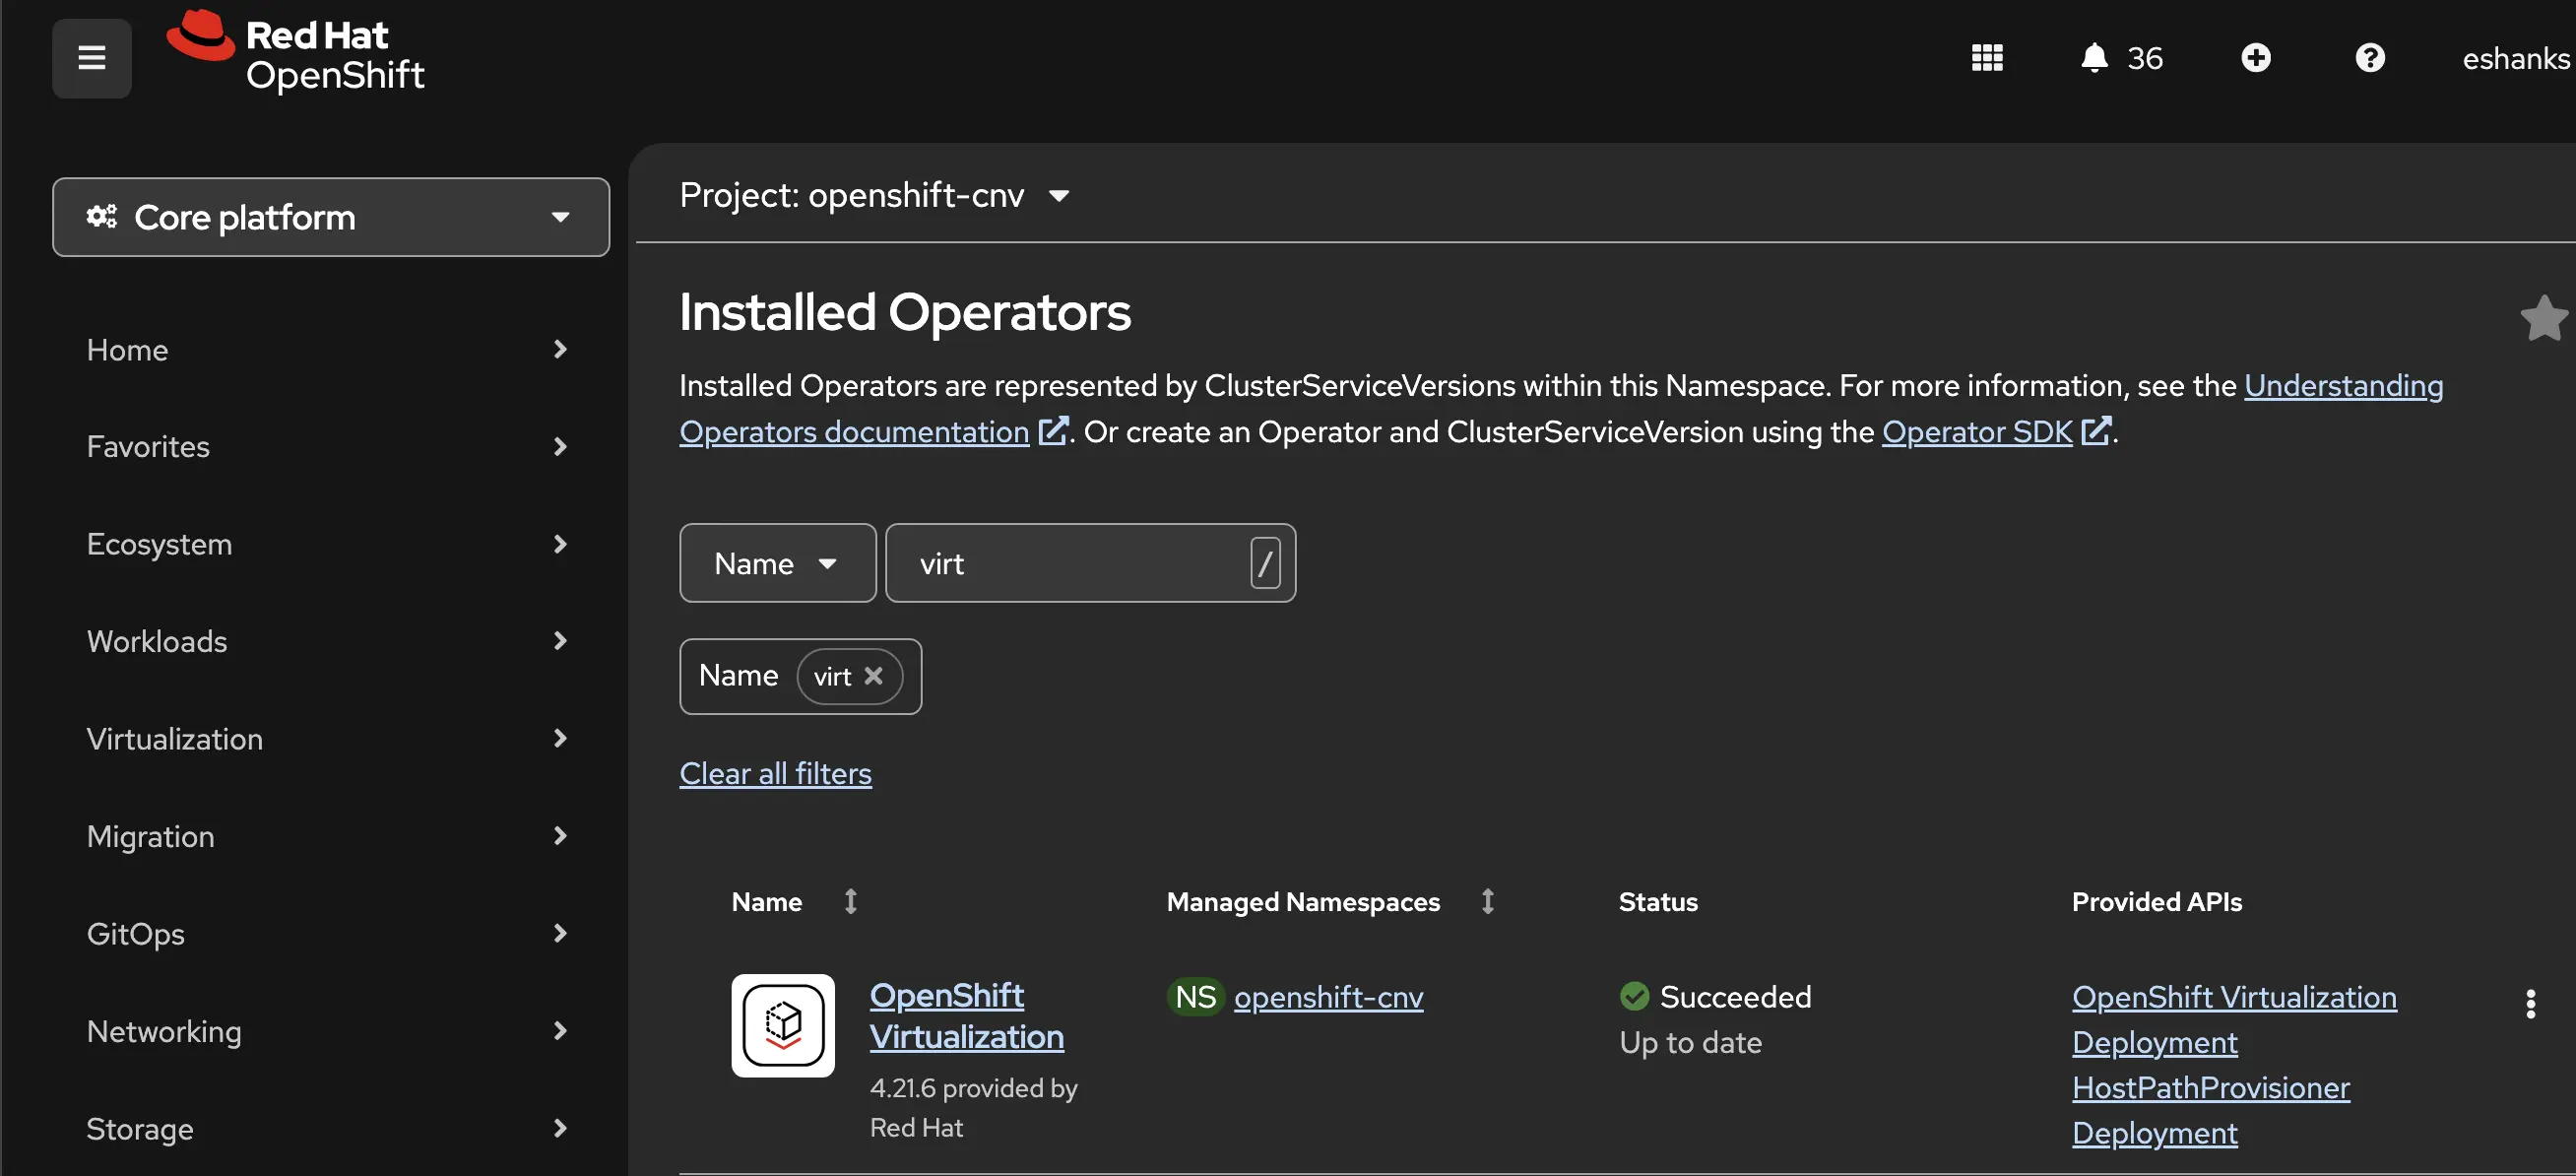
Once it’s installed, you’ll be able to find it in the list of other operators in your cluster.
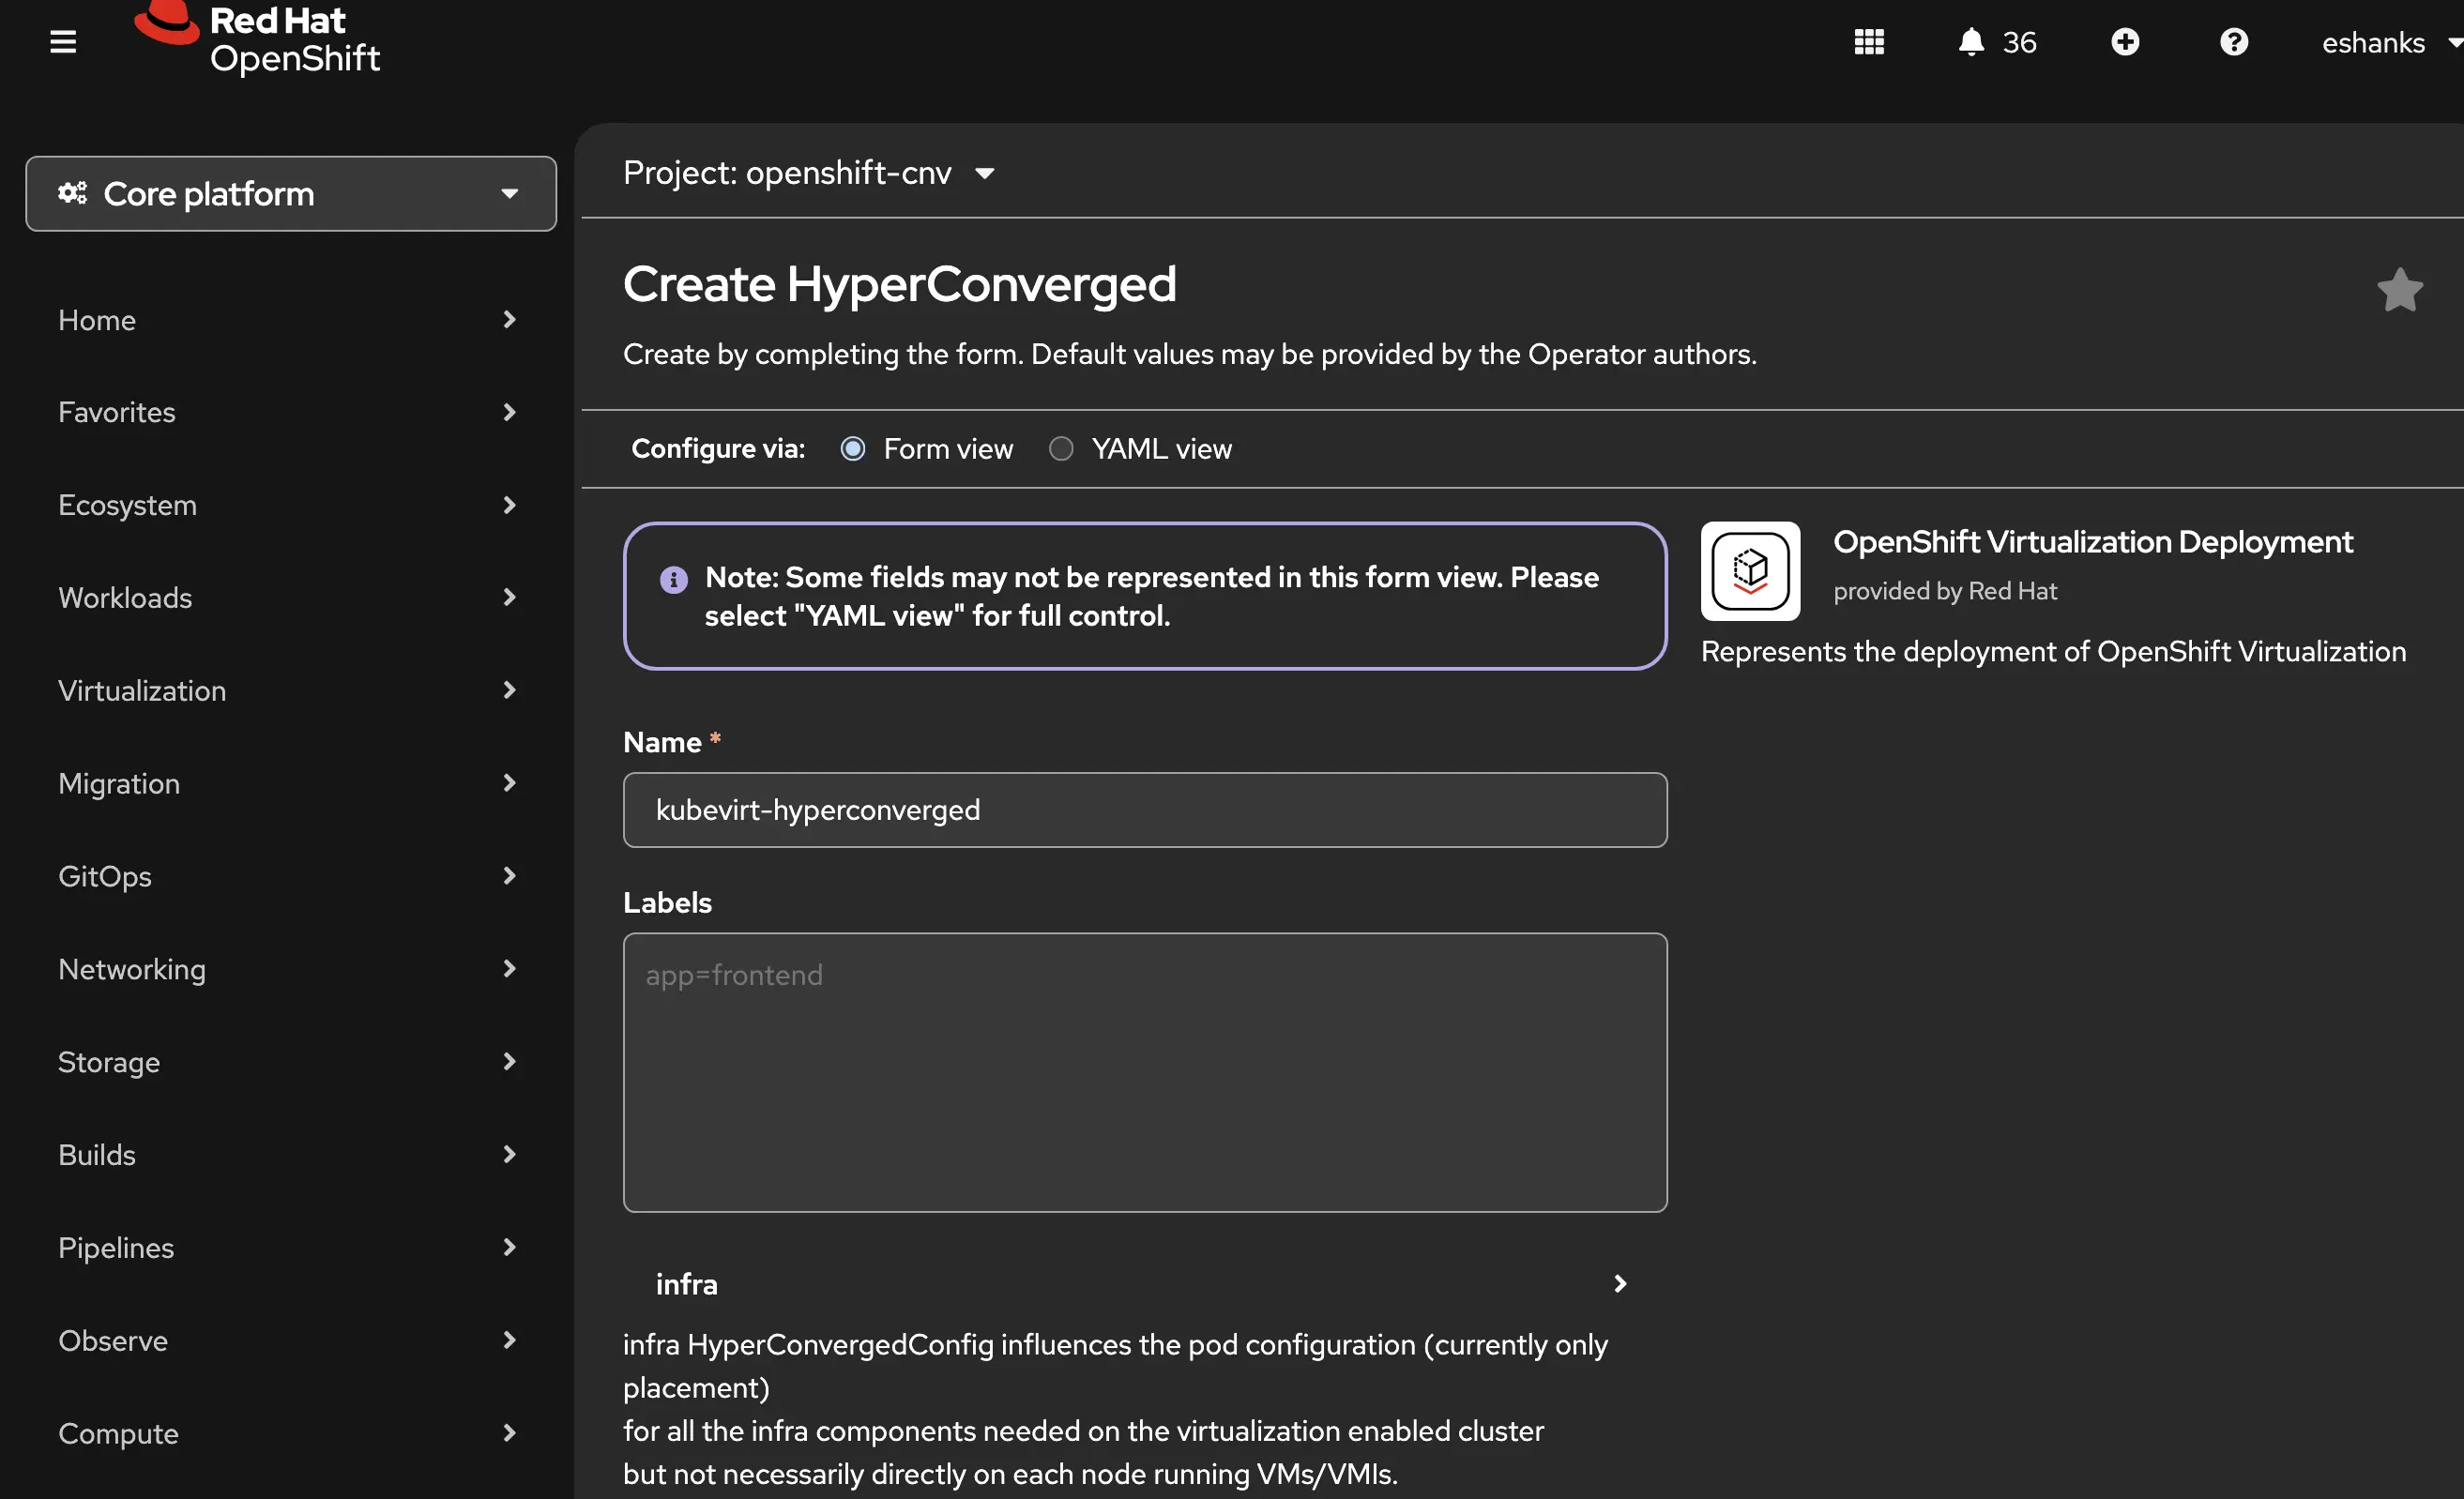
The operator needs some configuration before it’s useable. We need to specify some settings that explain how the virtualization platform will serve VMs. This includes things like knowing what storage class to use by default, not only for VM disks, but also for things like trusted platform modules used by Windows VMs. This config is also where you’d adjust how Live Migration worked, how eviction strategies are configured, and feature gates are added. This configuration object is known as the HyperConverged object, or HCO for short. The name comes from the upstream KubeVirt Hyperconverged operator project and doesn’t refer to hyperconverged infrastructure in the traditional storage sense. Think of it as the single config object that ties all the virtualization components together.
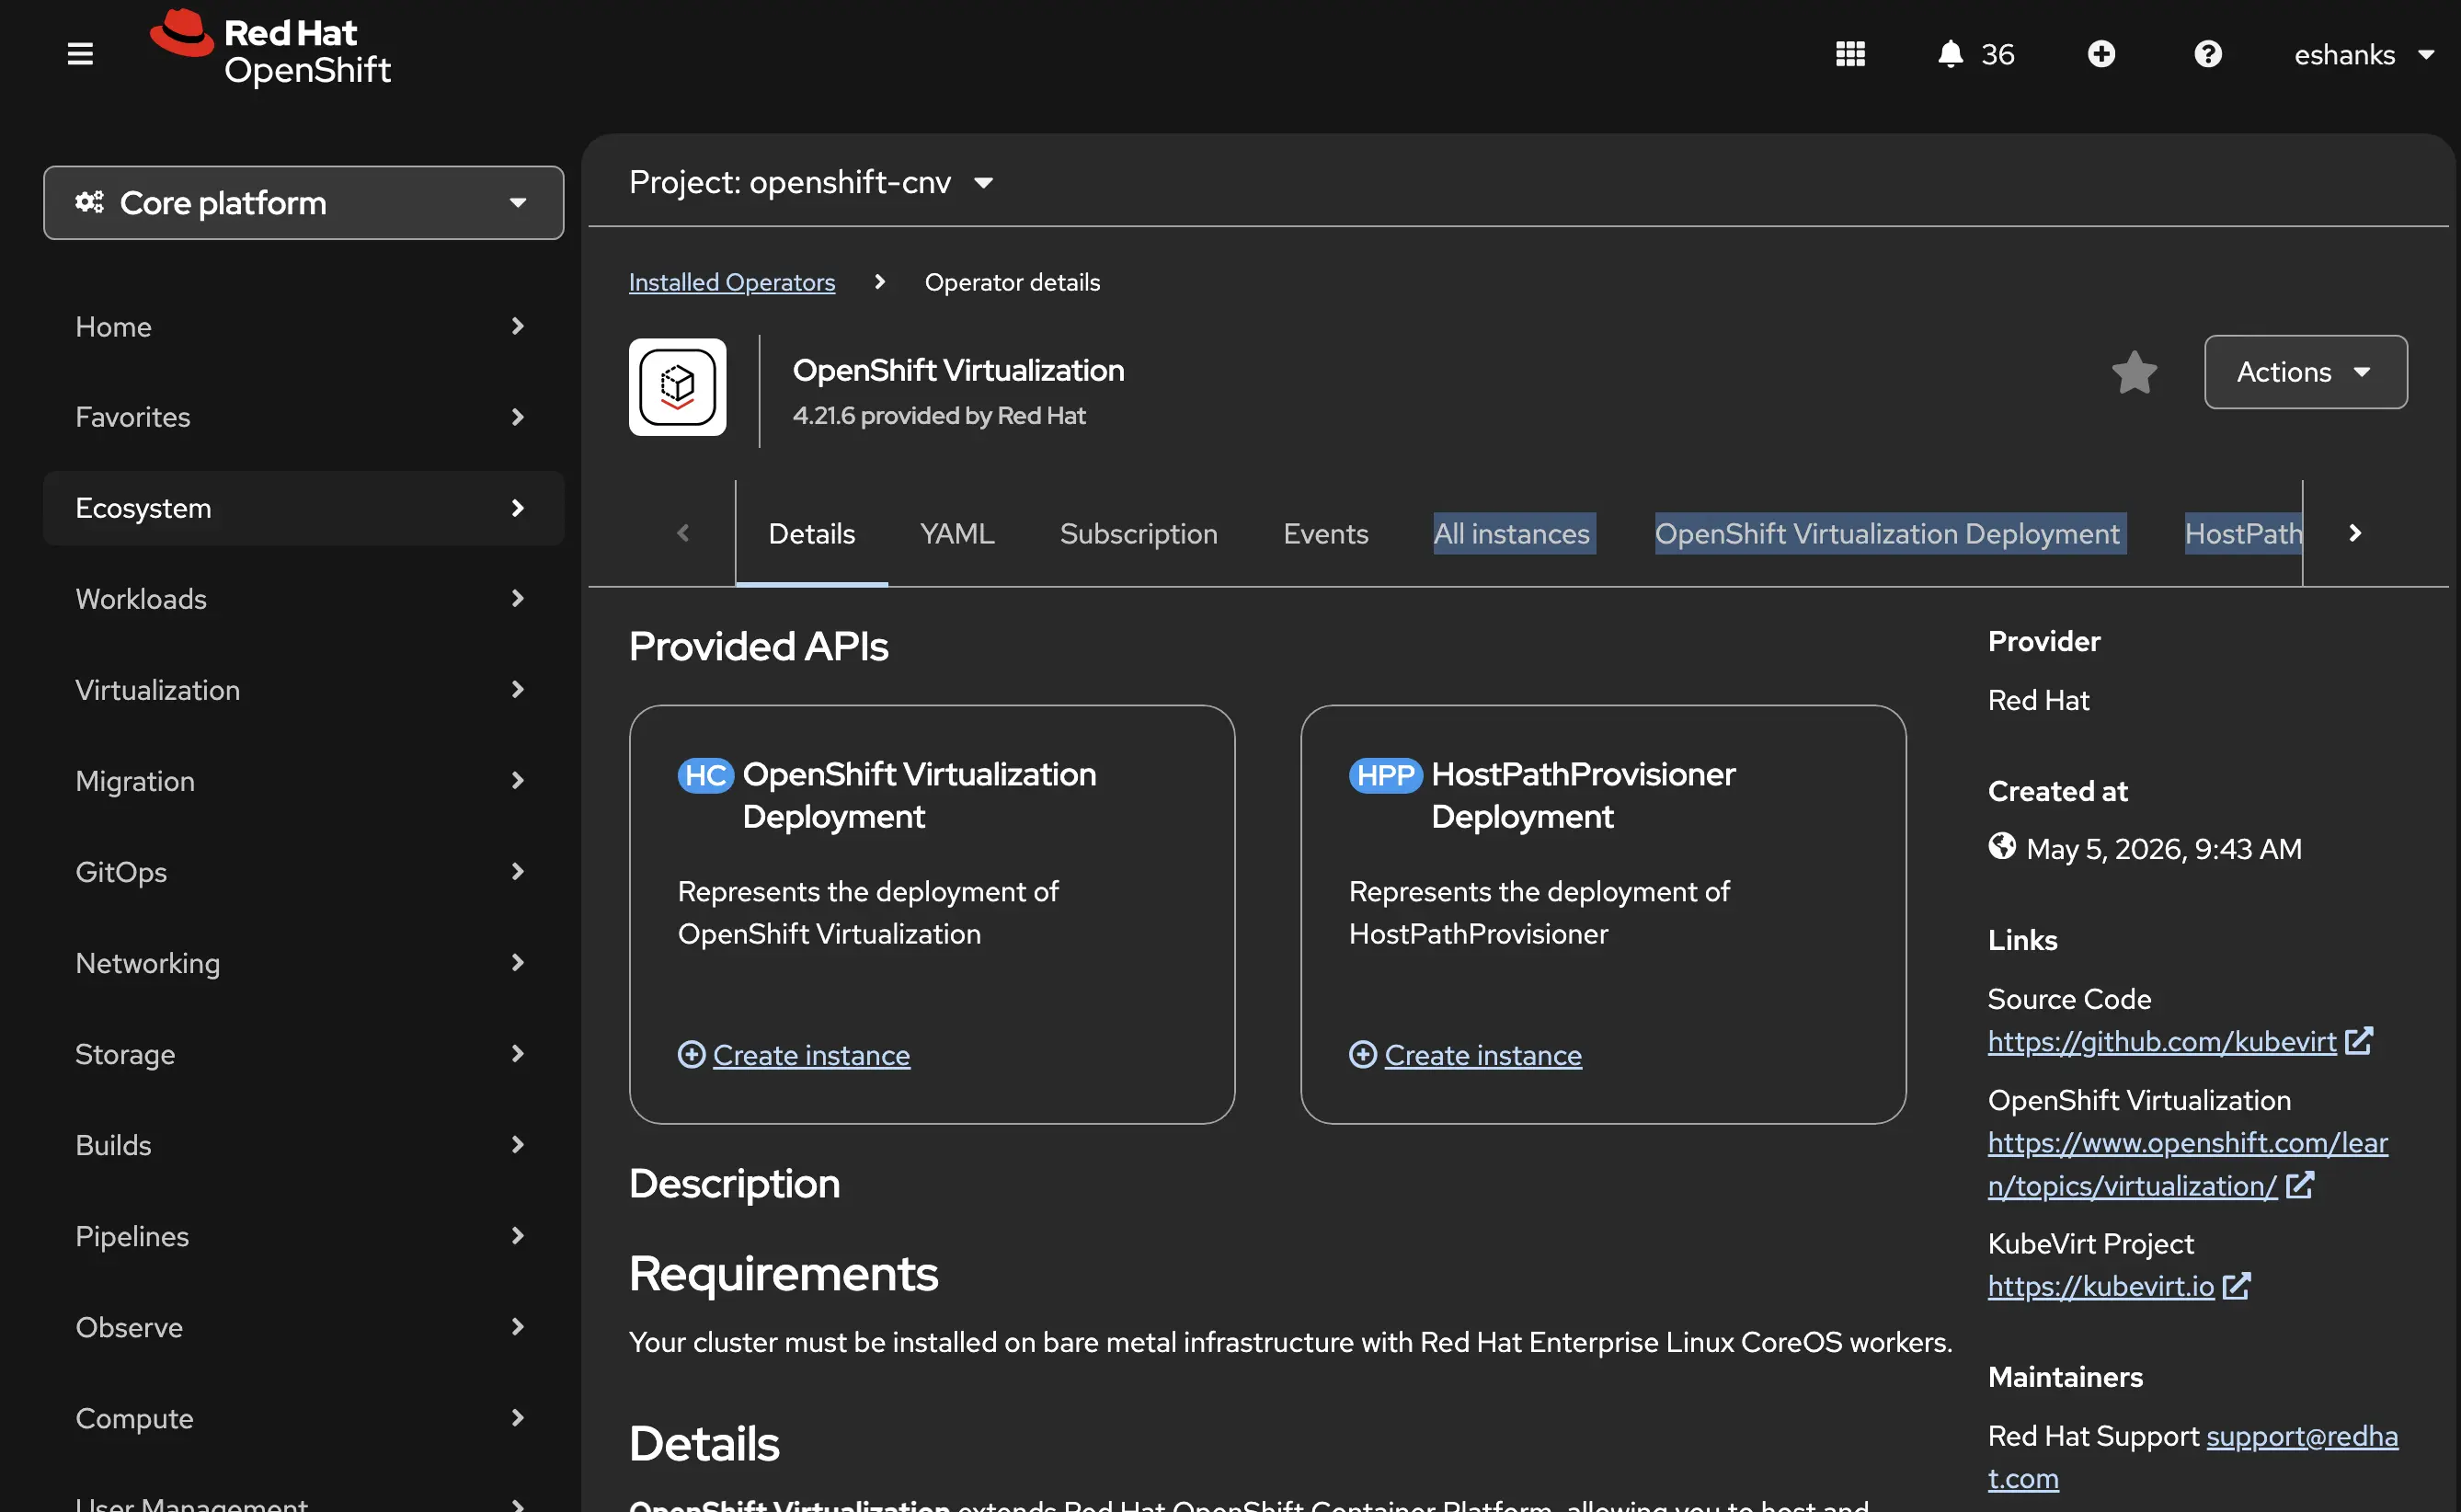
Click the OpenShift Virtualization Deployment tab to set the options for your cluster where you can update form fields or as always edit the YAML.
Deploy a VM
After the operator install and HCO deployment, we’re ready to start using our OpenShift cluster to run virtual machines alongside our containers.
If you’re a VMware administrator who hasn’t put a lot of focus on Kubernetes or desired state configurations and Infrastructure as code principles, this might be a concerning moment. But just because this virtualization solution is built on Kubernetes, doesn’t mean we don’t have familiar tools like a GUI. Let’s see how a virtual machine can be deployed through the console and then actually deploy one with a YAML manifest.
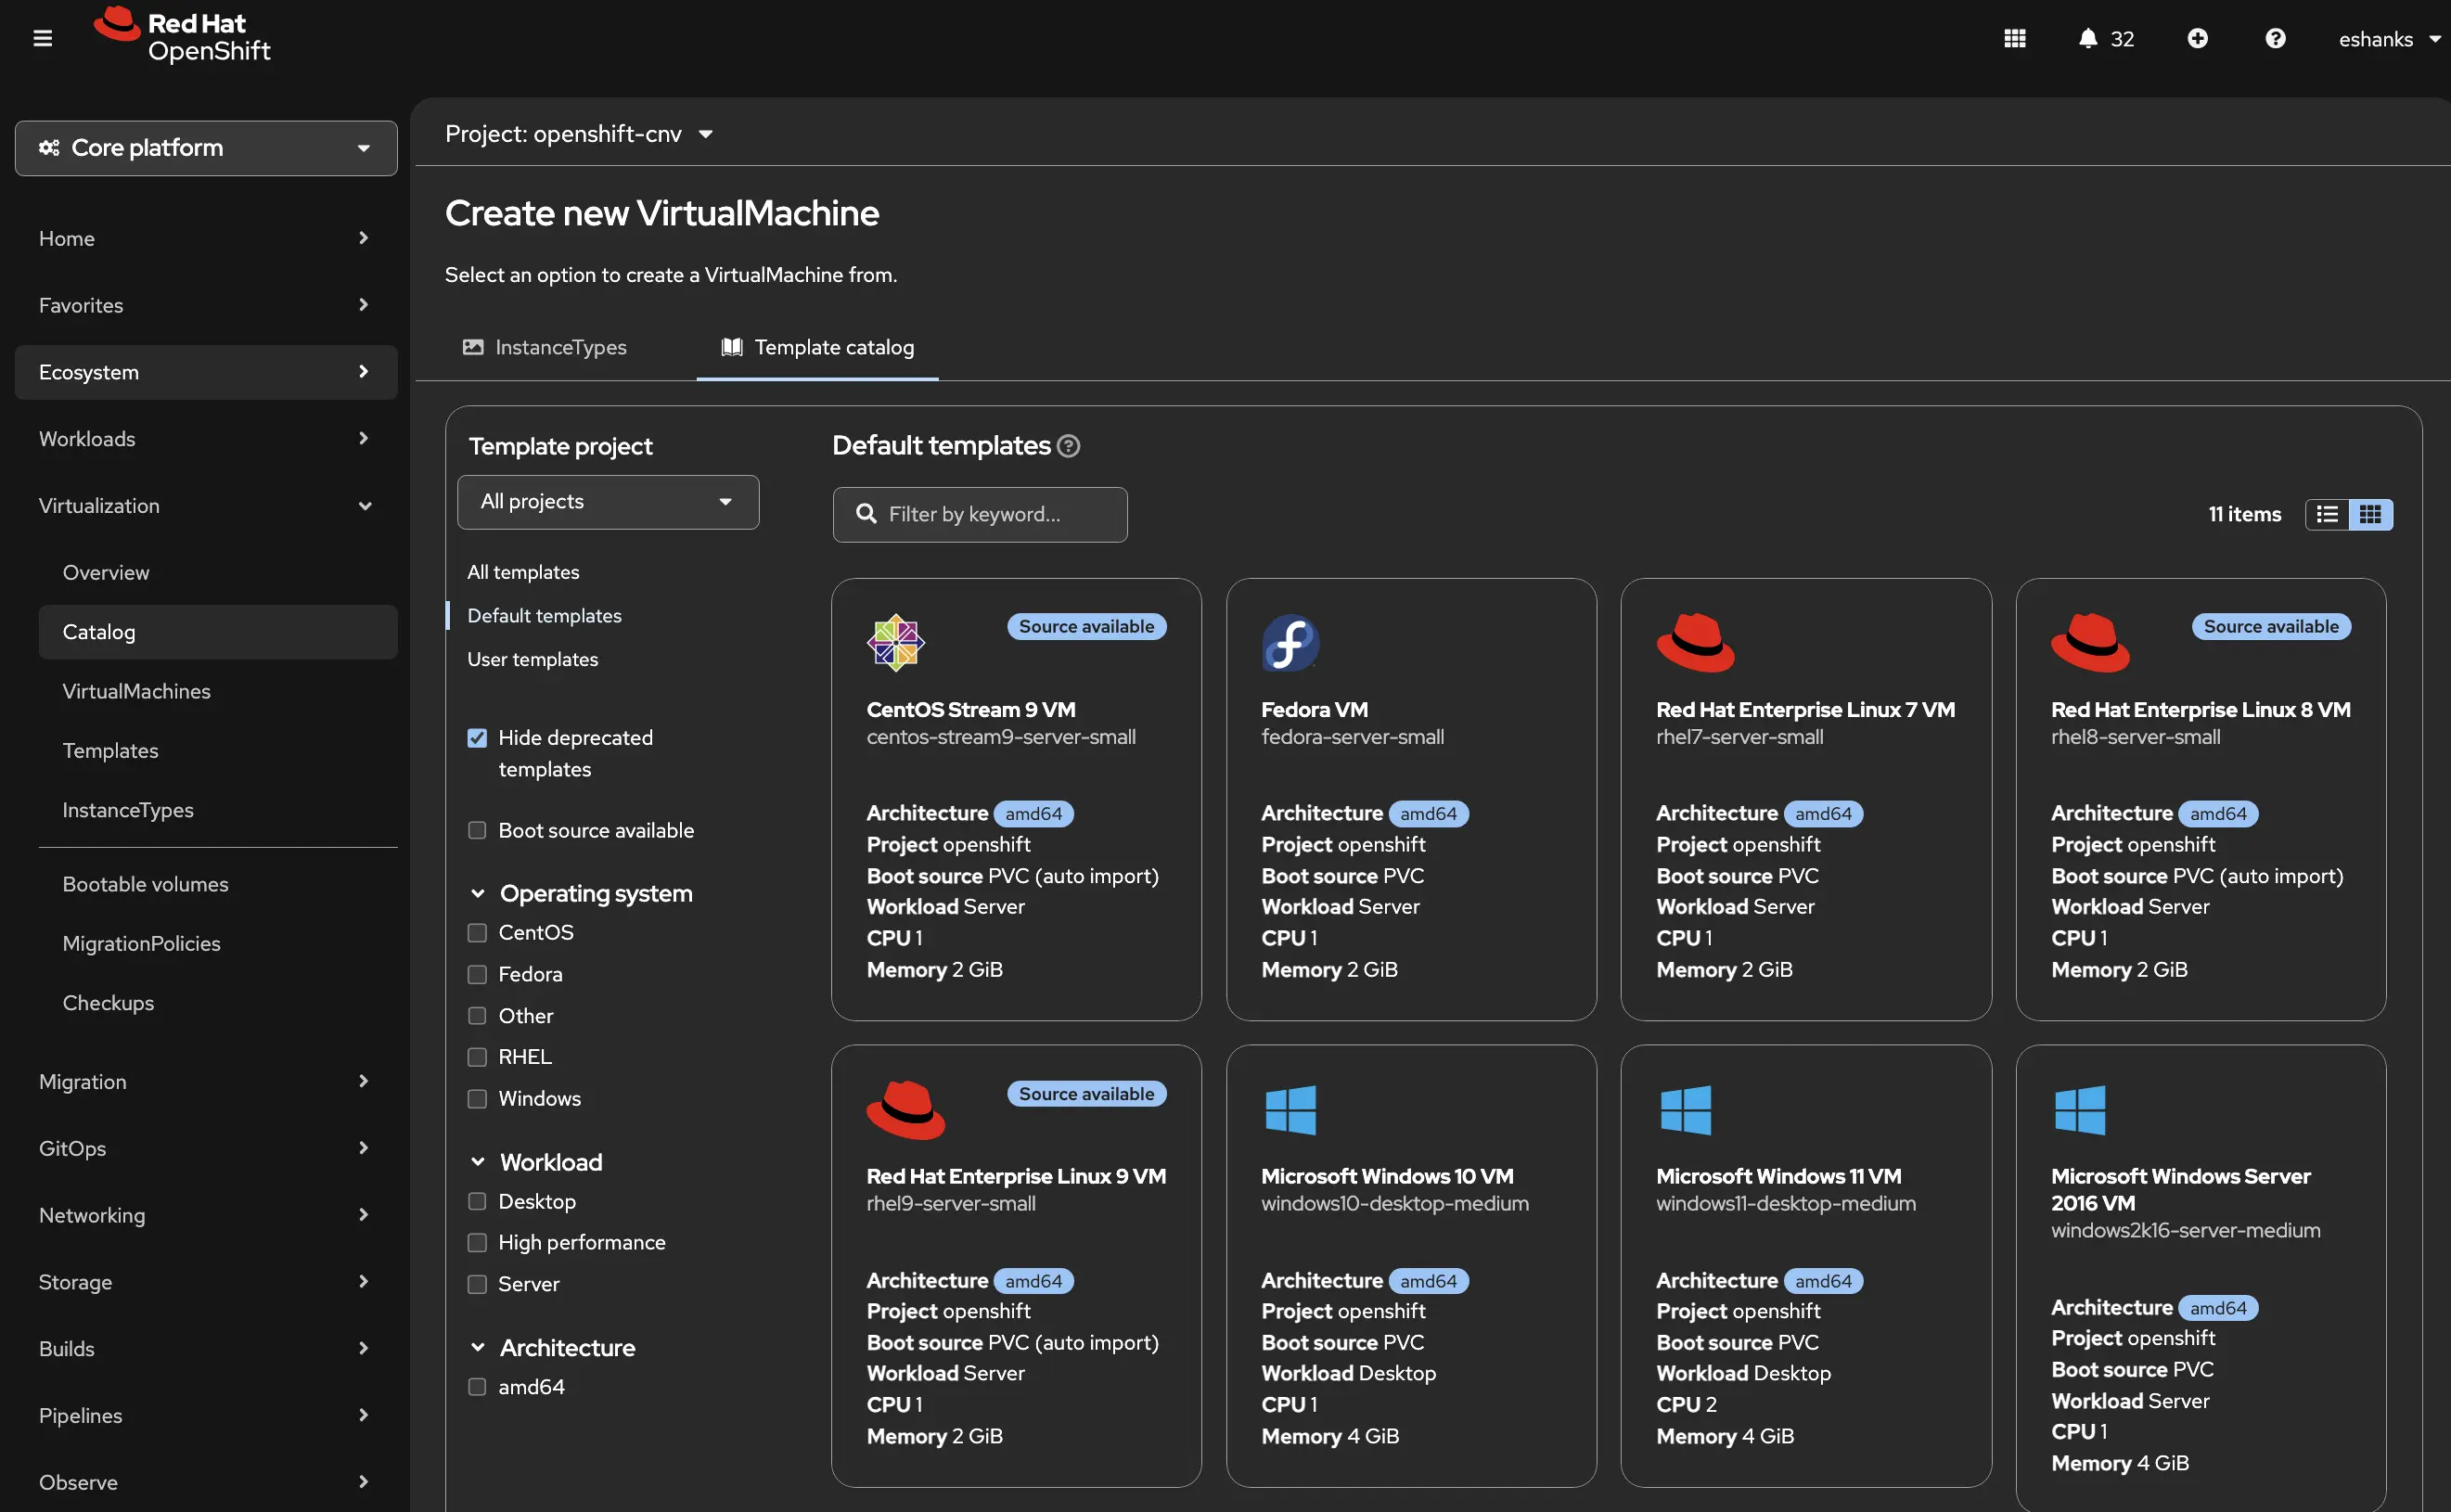
From the virtualization panel, we can find a catalog of prebuilt templates including RHEL, CentOS, Fedora, and even Windows operating systems. To deploy one of them just click the icon.
Note: the catalog items with
source availablemeans the boot disk image has been downloaded to the cluster and is ready to be used.
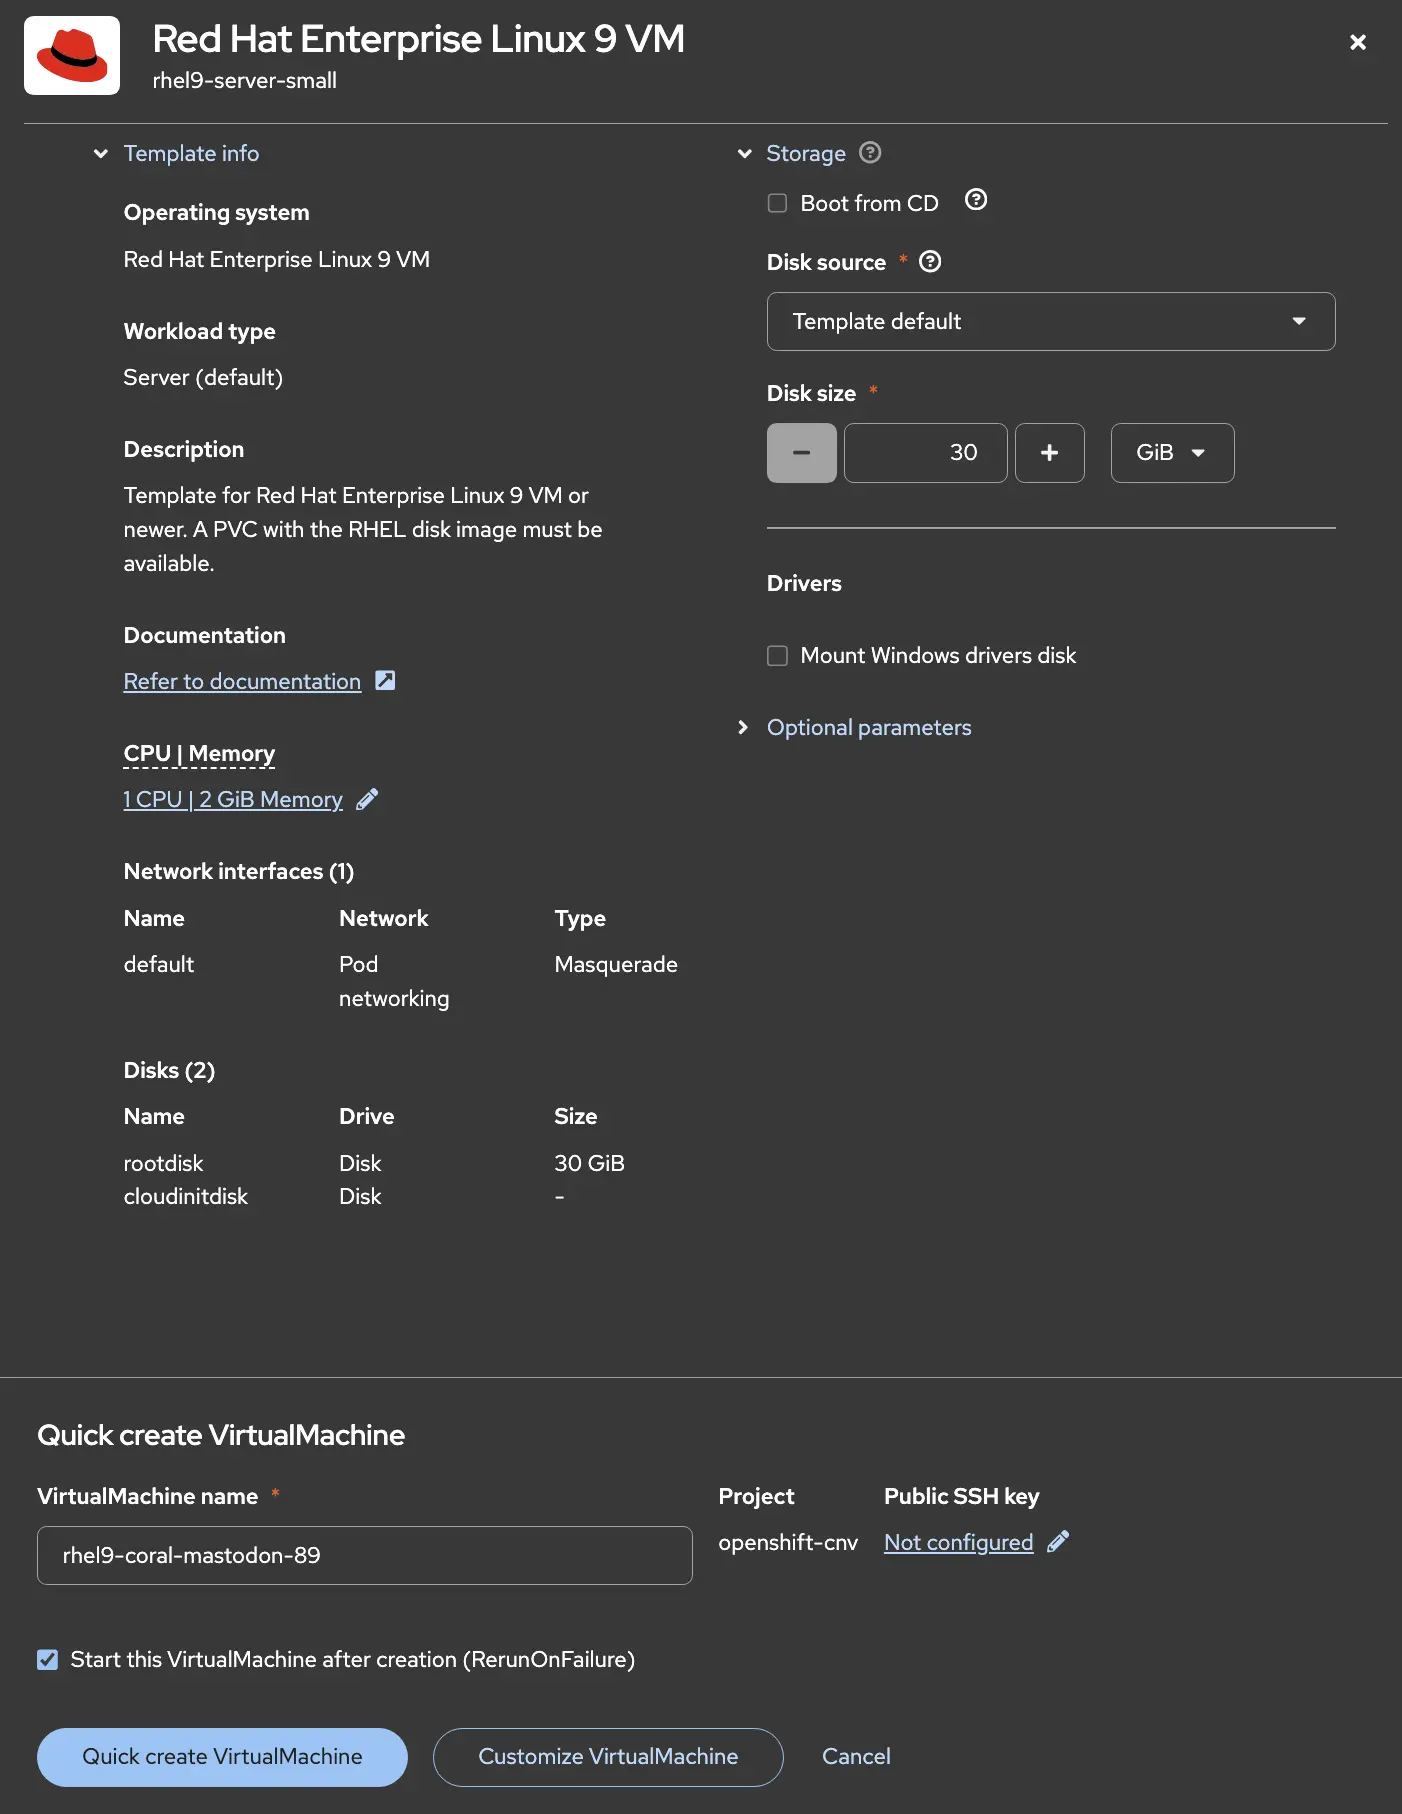
The window that pops up lets you make some basic changes but deploys the template as is if you choose the Quick create VirtualMachine option. But if you need to make more sophisticated changes click Customize VirtualMachine instead.
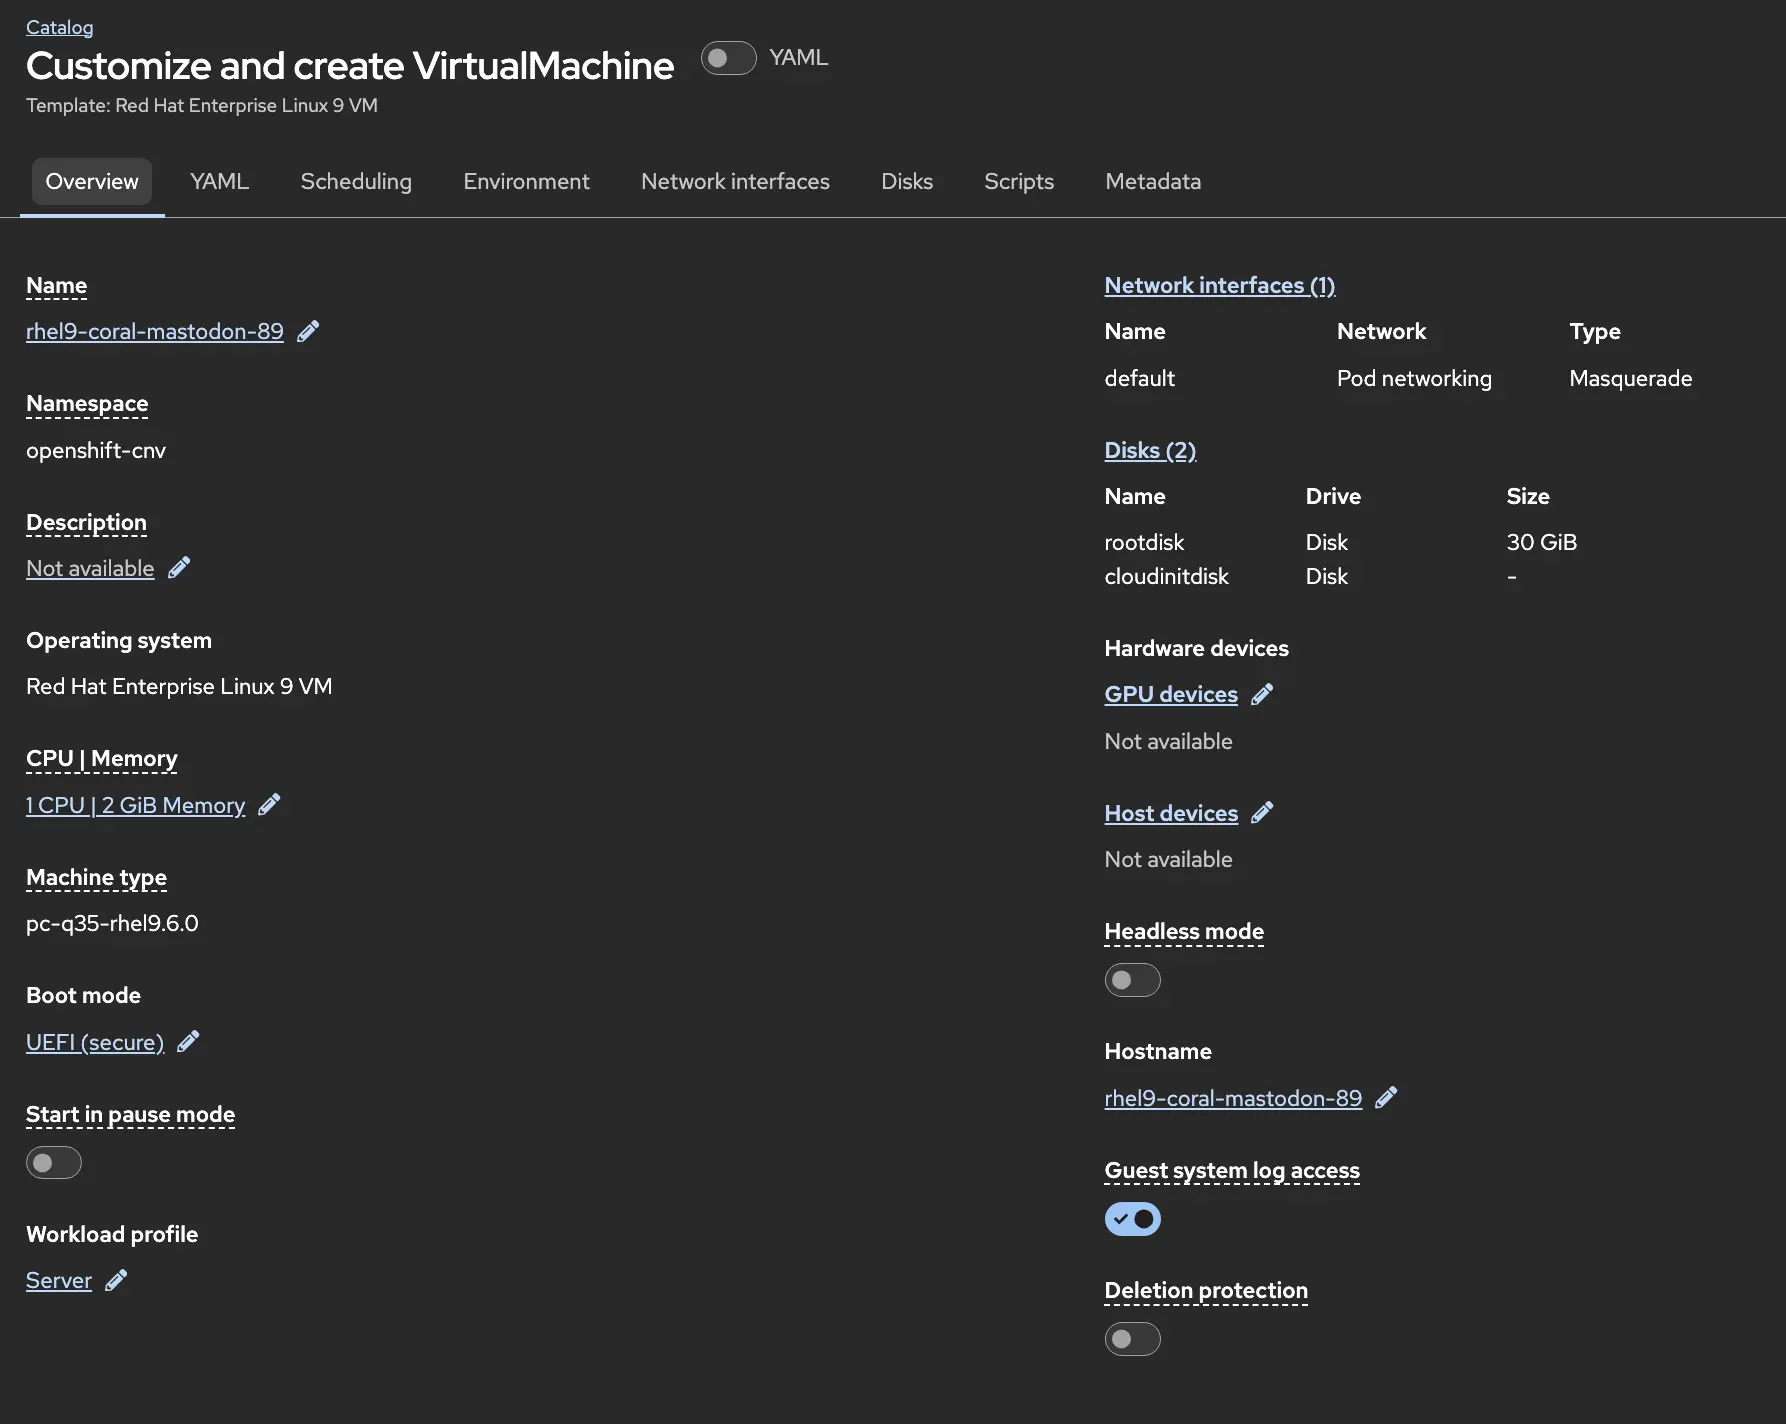
In the customization screens we can modify all kinds of settings in the console. CPU/memory, boot options, descriptions, GPUs, and of course the VM name.
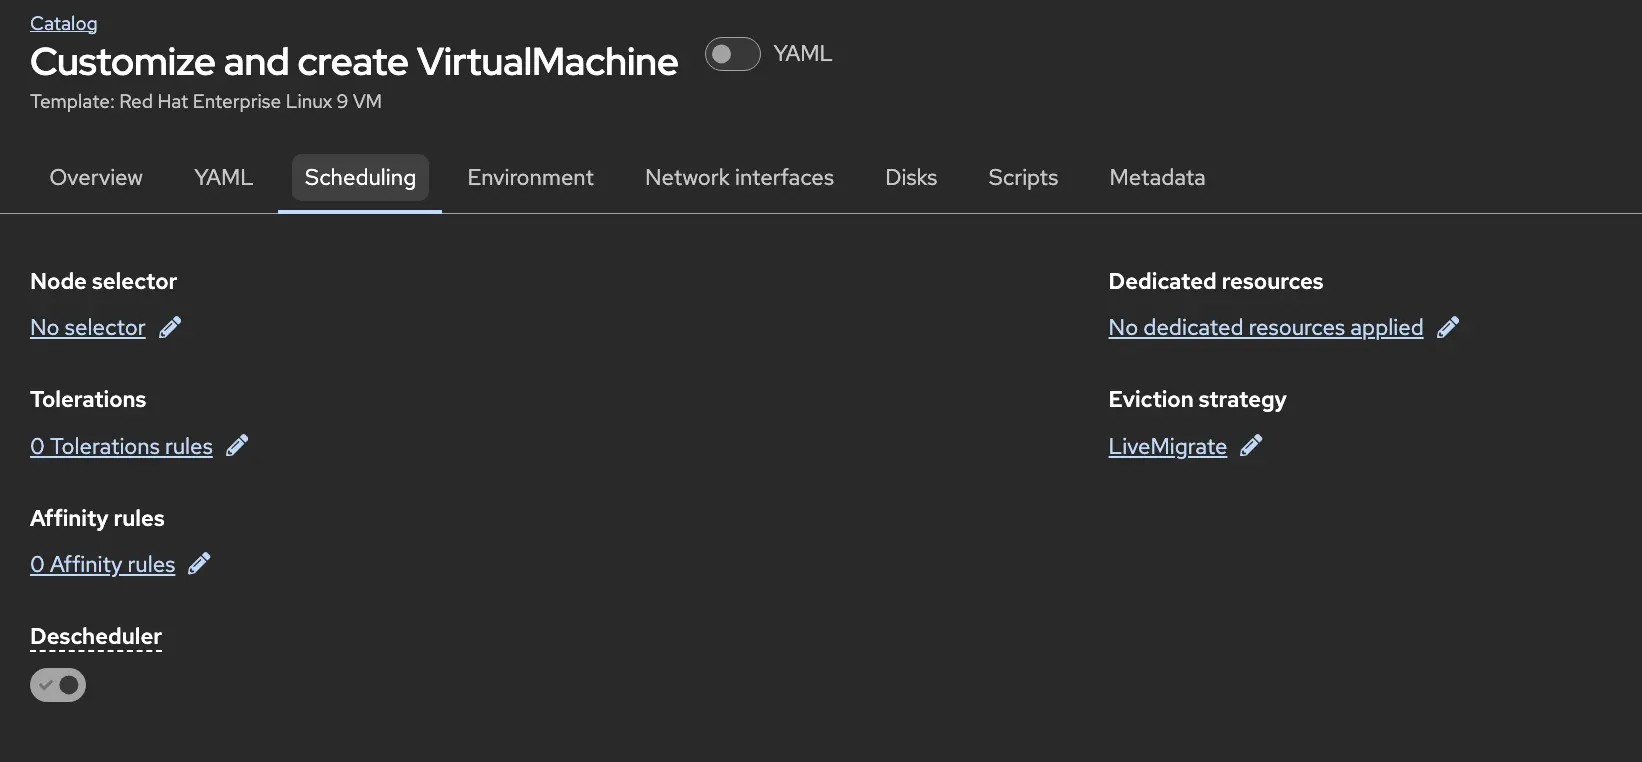
Under the scheduling tab we can force the VM to run on specific nodes, set affinity/anti-affinity rules, and define the eviction strategy. This is what defines what should happen to a VM when the underlying node goes into maintenance mode (or cordoned).
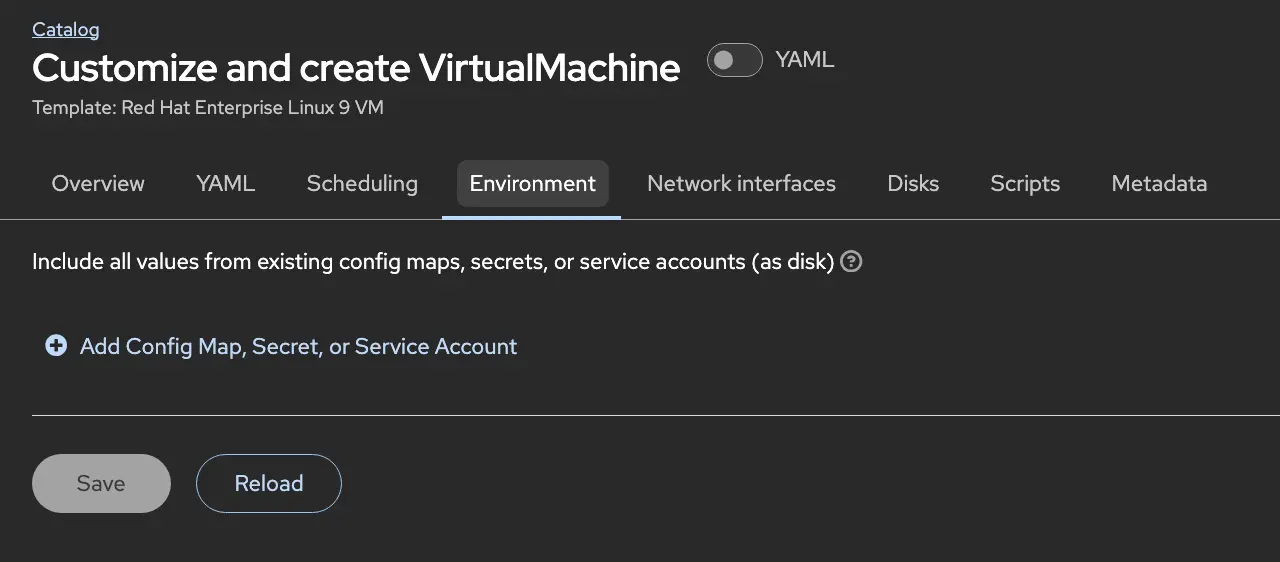
The environment tab is one of my favorite features in OpenShift Virtualization. You can attach a Kubernetes Secret or ConfigMap directly to a VM. So you create one secret for production credentials and a different one for dev, then the VM boots up and those values are available as environment variables inside the guest OS. No more hardcoded passwords in VM templates or manual credential management per environment. This is Kubernetes-native config management applied to virtual machines and it’s a genuinely useful pattern, especially if you have many VMs that could benefit from sharing these credentials.
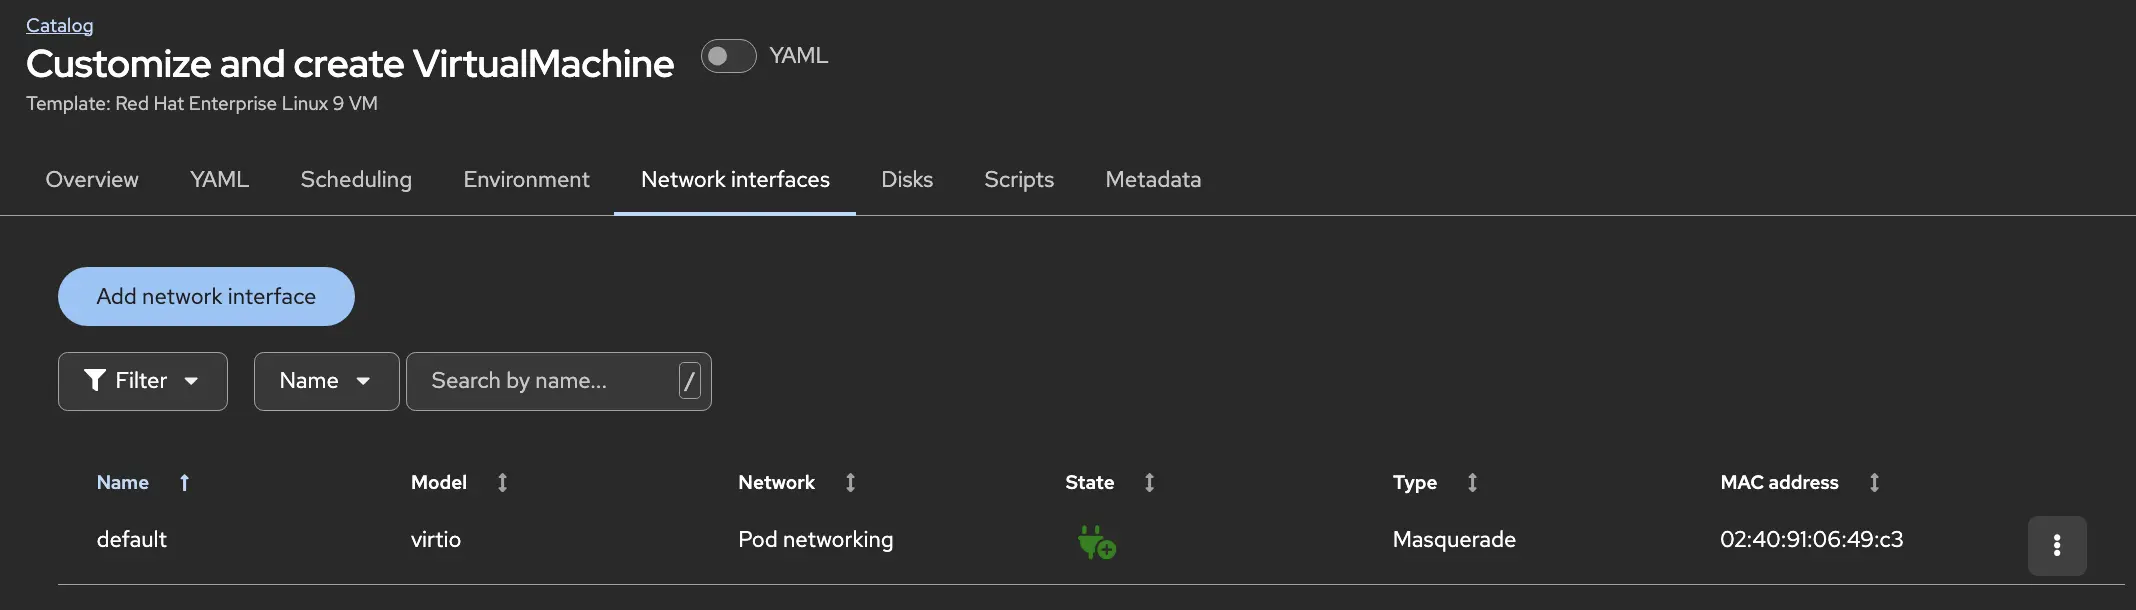
It wouldn’t be much of a virtualization solution without being able to adjust networks. By default OpenShift will just simply use the pod network for your VMs, but you can create your own networks and then connect to them on this screen. You can also add additional NICs if you need them to be dual-homed VMs.
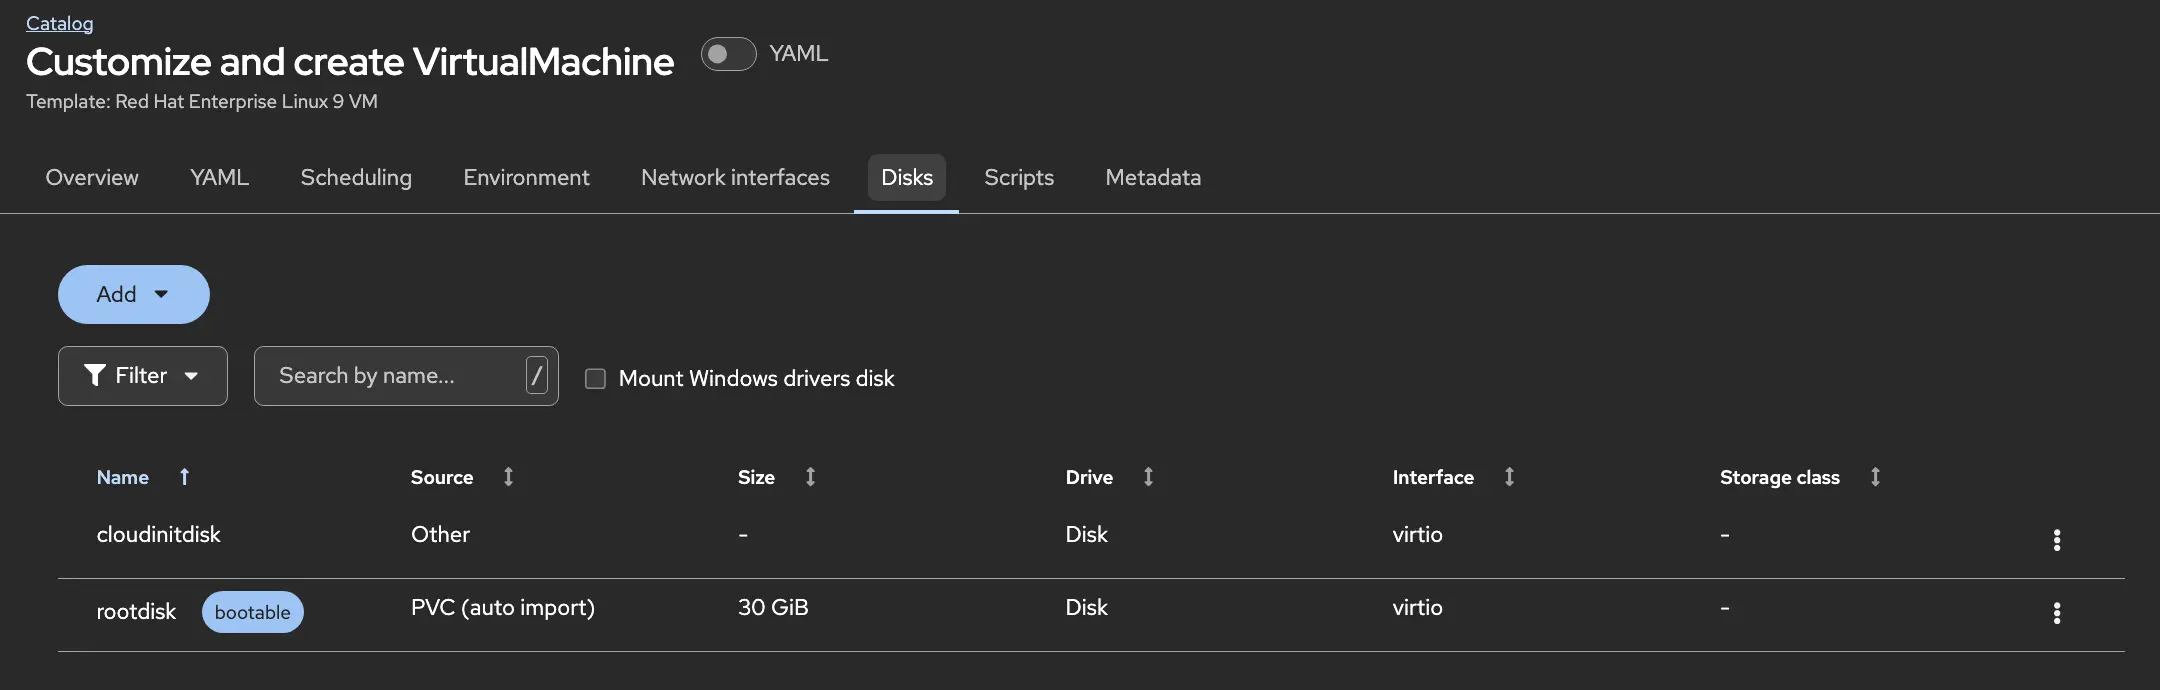
VMs also commonly have multiple disks associated with them. The customization screens let you add additional disks, edit capacity and define a different virtual bus in which to access the disk.
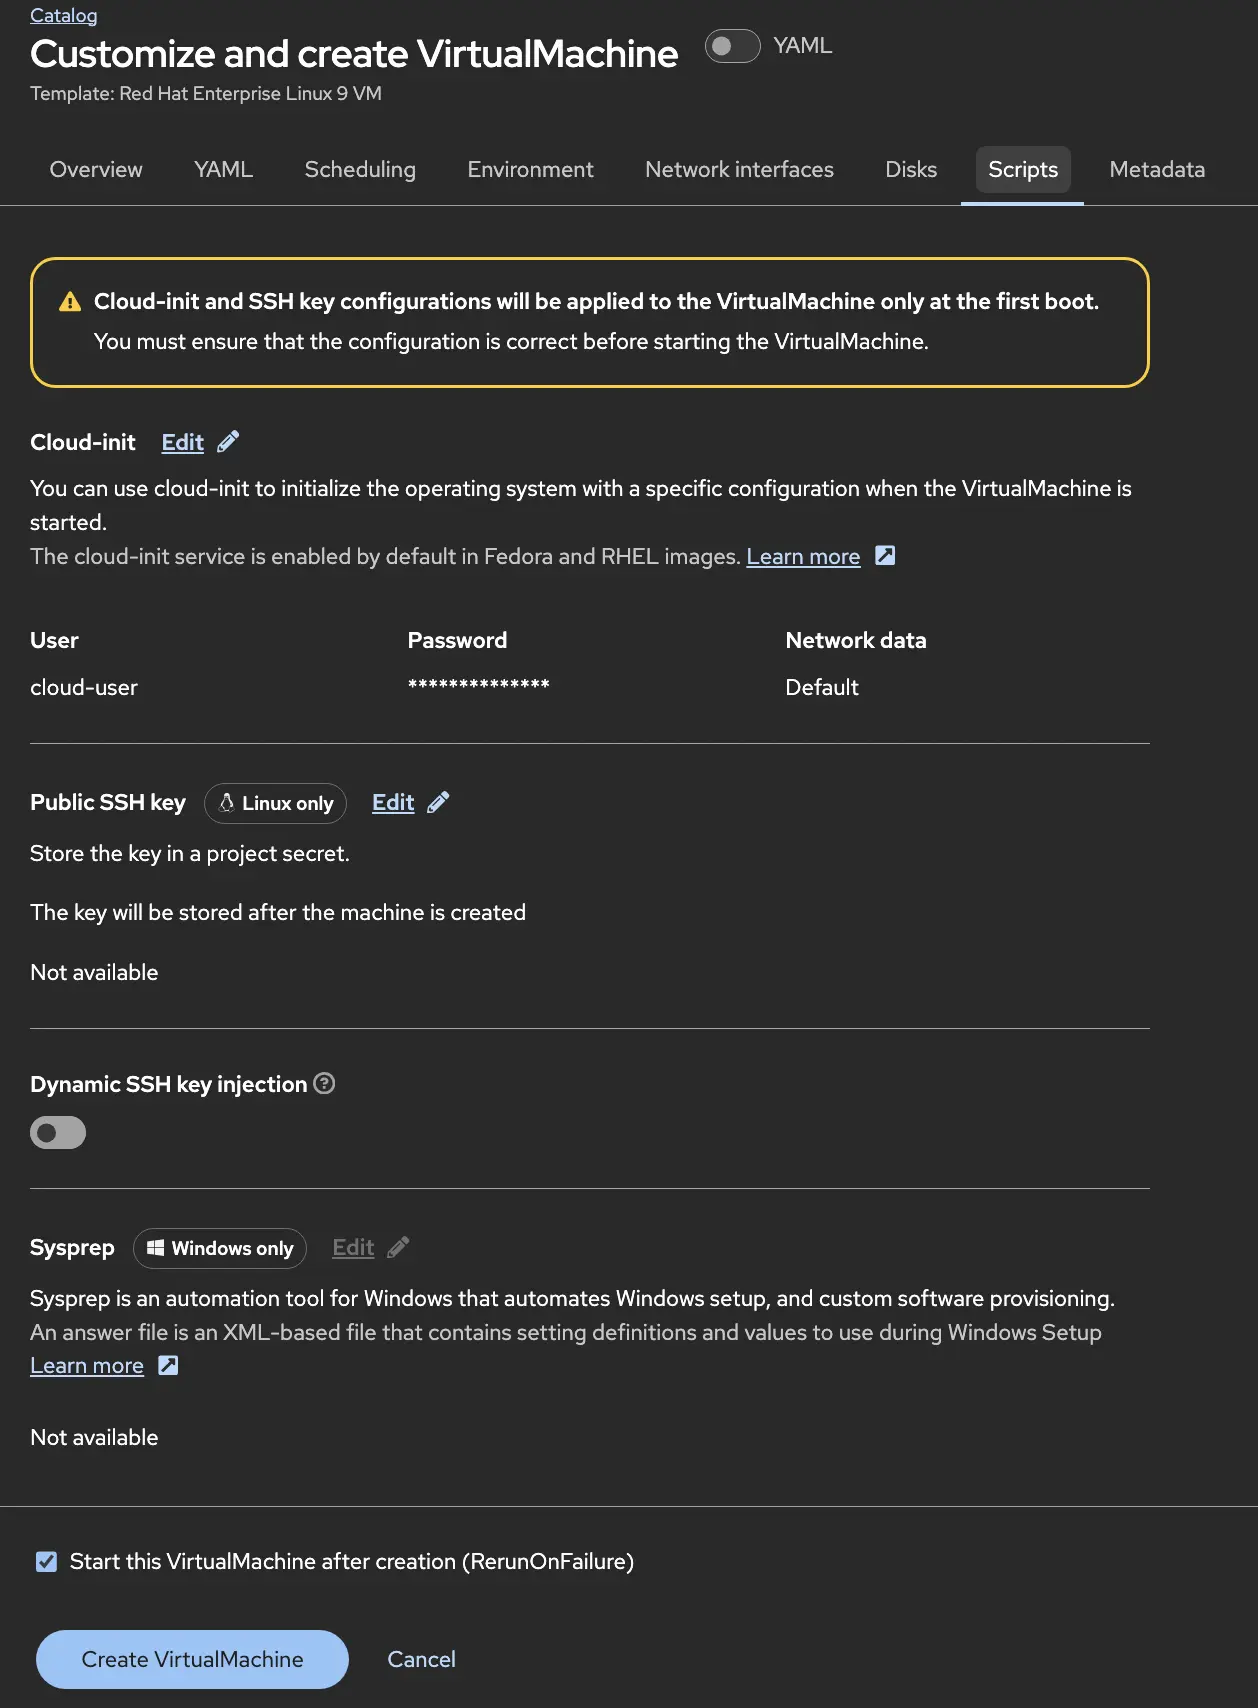
On the Scripts tab, you can update your cloud-init information to make the VM do something on first startup. A great place to initialize Ansible or run some Ansible playbooks to configure the Operating System post deployment. But you’ll want to add some credentials and SSH keys on this screen so you can access the VM later for day 2 operations.
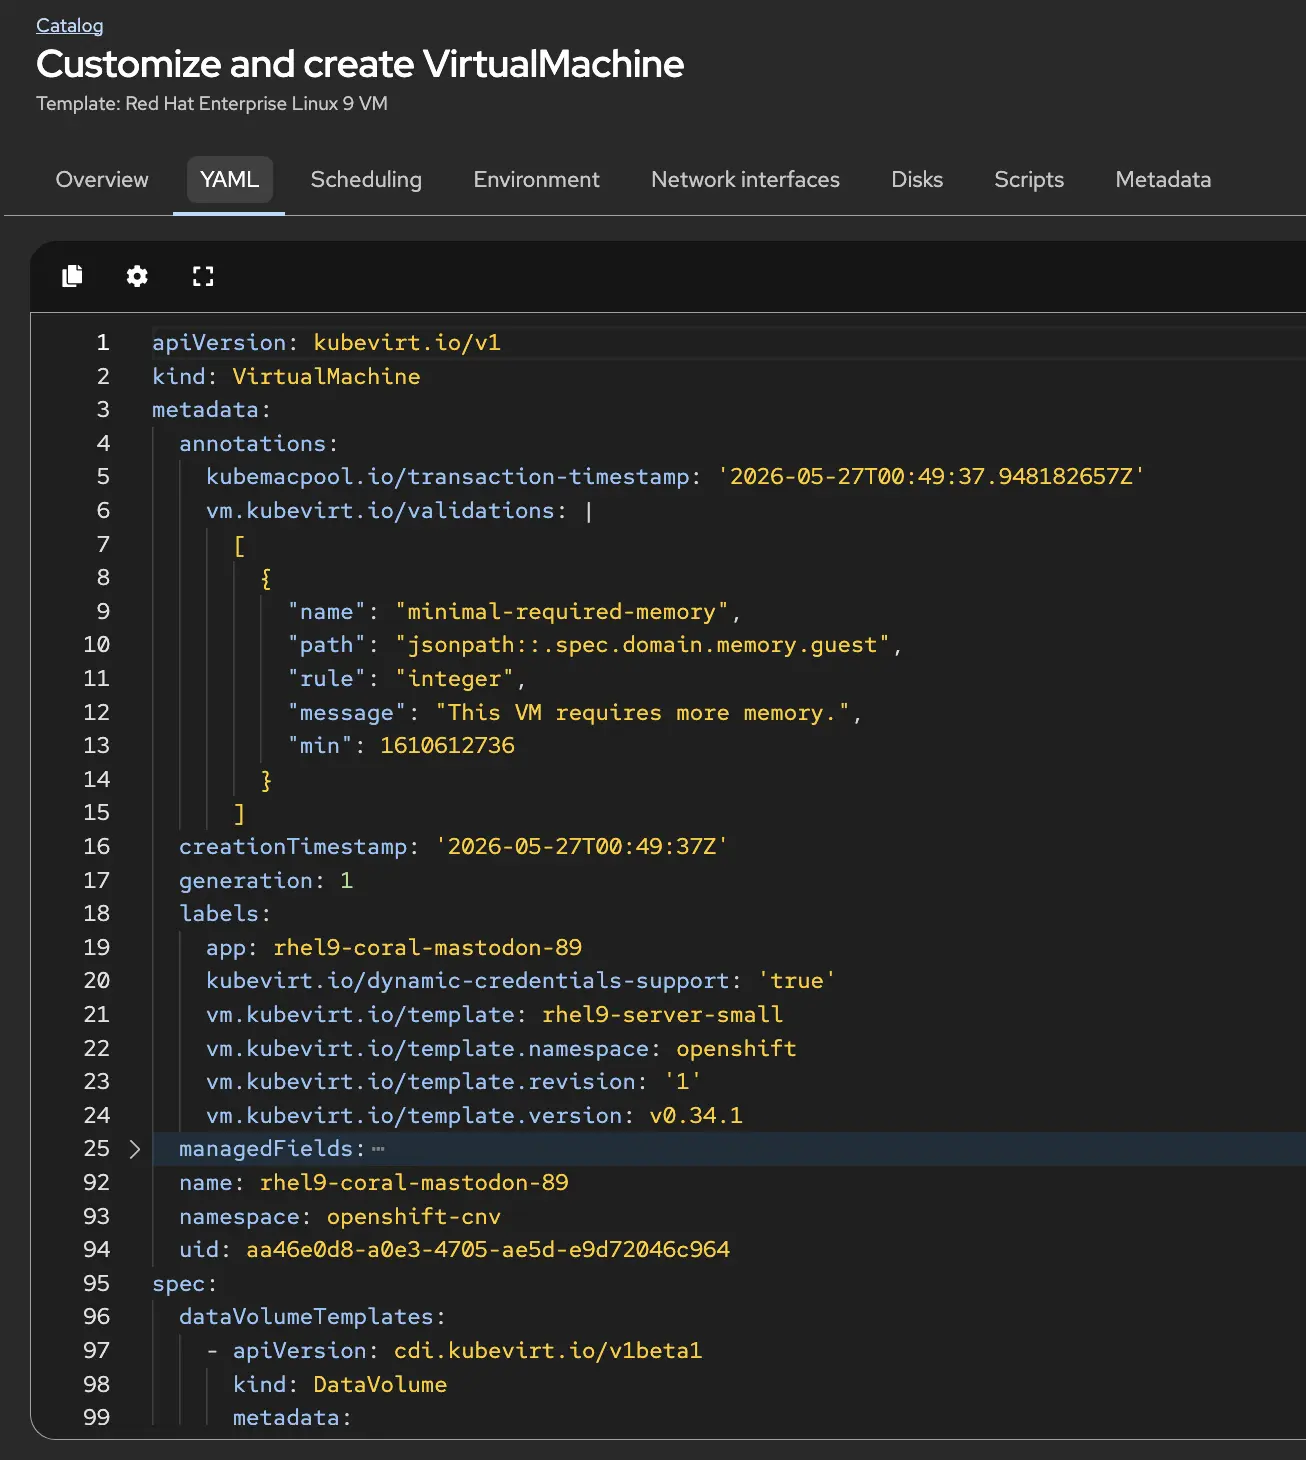
And of course at some point we’ll want to automate things and we’ll just want the desired state config to use for future deployments. You can build the VM in the console and then copy the YAML to re-use if you wish.
Brix MySQL Server VM Deployment
Instead of using the GUI I’m just going to apply a YAML manifest that consists of a MySQL VM running on CentOS. This file can be found in the Brix Pizza demo app repository.
Here is the VirtualMachine YAML that I’m using.
apiVersion: kubevirt.io/v1
kind: VirtualMachine
metadata:
  name: mysql-vm
  namespace: brix
  labels:
    app: mysql
    component: database
spec:
  runStrategy: Always
  dataVolumeTemplates:
    - metadata:
        name: mysql-vm-rootdisk
      spec:
        # Clone from the cluster's CentOS Stream 9 golden image managed by OCP-Virt.
        # The DataSource is kept up-to-date by the cluster automatically.
        sourceRef:
          kind: DataSource
          name: centos-stream9
          namespace: openshift-virtualization-os-images
        storage:
          accessModes:
            - ReadWriteOnce
          resources:
            requests:
              storage: 30Gi
  template:
    metadata:
      labels:
        kubevirt.io/domain: mysql-vm
        vm.kubevirt.io/name: mysql-vm
        app: mysql
    spec:
      domain:
        cpu:
          cores: 2
          sockets: 1
          threads: 1
        memory:
          guest: 2Gi
        devices:
          disks:
            - name: rootdisk
              bootOrder: 1
              disk:
                bus: virtio
            - name: cloudinitdisk
              disk:
                bus: virtio
          interfaces:
            - name: default
              masquerade: {}
              ports:
                - name: mysql
                  port: 3306
                  protocol: TCP
          rng: {}
      networks:
        - name: default
          pod: {}
      volumes:
        - name: rootdisk
          dataVolume:
            name: mysql-vm-rootdisk
        - name: cloudinitdisk
          cloudInitNoCloud:
            userData: |
              #cloud-config
              package_update: true
              packages:
                - mysql-server

              write_files:
                - path: /etc/my.cnf.d/brix-custom.cnf
                  permissions: '0644'
                  owner: root:root
                  content: |
                    [mysqld]
                    bind-address = 0.0.0.0
                    character-set-server = utf8mb4
                    collation-server = utf8mb4_unicode_ci

                - path: /root/init-mysql.sh
                  permissions: '0700'
                  owner: root:root
                  content: |
                    #!/bin/bash
                    set -euo pipefail

                    echo "[init-mysql] Waiting for MySQL to start..."
                    for i in $(seq 1 60); do
                      mysqladmin ping --silent 2>/dev/null && break || true
                      sleep 2
                    done

                    # MySQL Community Server RPMs write a temporary root password to
                    # /var/log/mysqld.log on first start. CentOS mysql-server starts
                    # with no root password (auth_socket). Handle both cases.
                    TEMP_PASS=$(grep 'temporary password' /var/log/mysqld.log 2>/dev/null \
                      | tail -1 | awk '{print $NF}' || true)

                    SQL="$(cat <<'SQL_BLOCK'
                    ALTER USER 'root'@'localhost' IDENTIFIED BY 'demo-root-pass-CHANGE-ME';
                    CREATE DATABASE IF NOT EXISTS brix_pizza
                      CHARACTER SET utf8mb4
                      COLLATE utf8mb4_unicode_ci;
                    CREATE USER IF NOT EXISTS 'brix_user'@'%'
                      IDENTIFIED WITH mysql_native_password BY 'demo-brix-pass-CHANGE-ME';
                    GRANT ALL PRIVILEGES ON brix_pizza.* TO 'brix_user'@'%';
                    FLUSH PRIVILEGES;
                    SQL_BLOCK
                    )"

                    if [ -n "$TEMP_PASS" ]; then
                      echo "$SQL" | mysql -u root -p"${TEMP_PASS}" --connect-expired-password
                    else
                      echo "$SQL" | mysql -u root
                    fi

                    echo "[init-mysql] MySQL initialization complete"

              runcmd:
                - systemctl enable --now mysqld
                - /root/init-mysql.sh

              final_message: "Brix MySQL VM ready after $UPTIME seconds"
      terminationGracePeriodSeconds: 180
      readinessProbe:
        tcpSocket:
          port: 3306
        initialDelaySeconds: 120
        periodSeconds: 15
        timeoutSeconds: 5
        failureThreshold: 6
A few things worth calling out in there. The dataVolumeTemplates block is how OpenShift Virtualization clones a boot disk from the CentOS golden image the cluster maintains automatically. So I don’t have to manage a base image myself. The cloudInitNoCloud volume is where the cloud-init script lives. On first boot it installs MySQL, writes the config file, and runs the init script to create the database and user. After that the VM is ready for the app to connect. I’ll use a Kubernetes Service to front this VM the same way I’d front any containerized workload.
apiVersion: v1
kind: Service
metadata:
  name: mysql-service
  namespace: brix
  labels:
    app: mysql
    component: database
spec:
  selector:
    vm.kubevirt.io/name: mysql-vm
  ports:
    - name: mysql
      port: 3306
      targetPort: 3306
      protocol: TCP
  type: ClusterIP
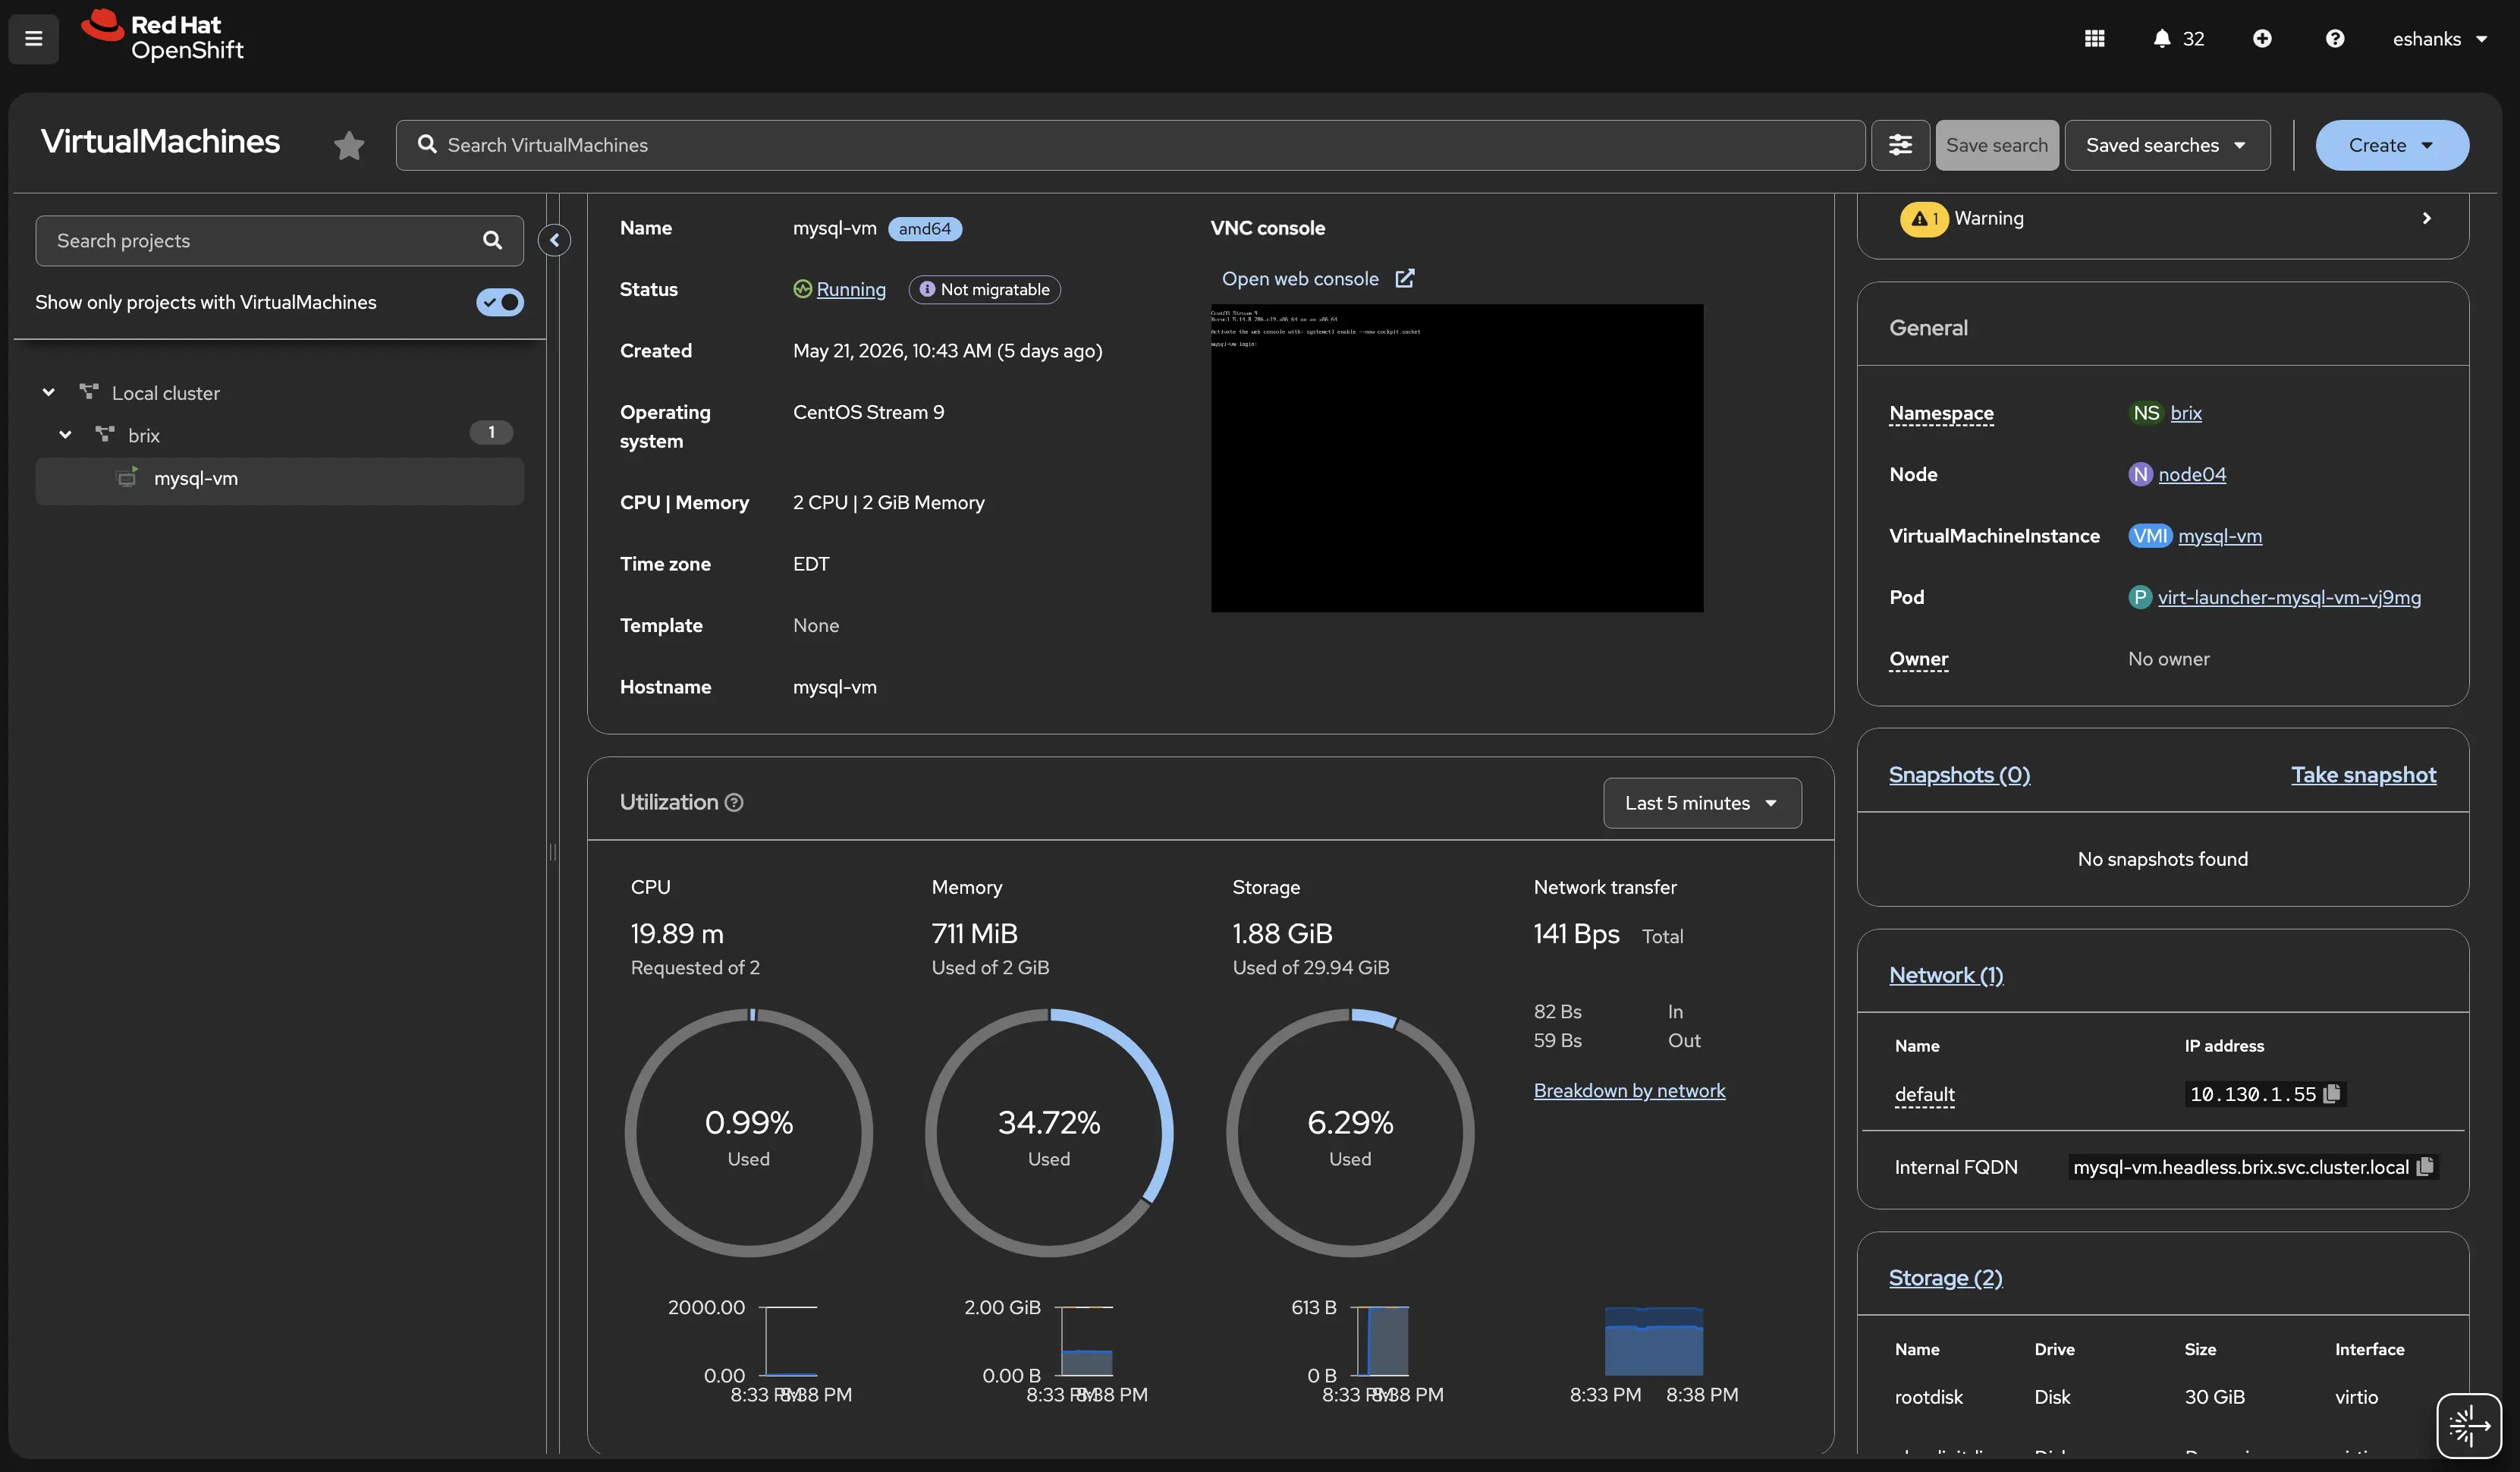
After applying the YAML, we can see the VM as a Kubernetes resource, and also in our Virtualization console. You manage the VM however you feel most comfortable.
From the console we can see important information about our VM. How it’s performing, any alerts, and we can also open the console in a web browser.
Summary
There’s lots more to discuss when it comes to OpenShift Virtualization. How does a Live Migration work? How is remote access configured? How do I handle backups and DR? This topic deserves more blog posts and I intend to do them at some point in this series, but for now it’s simply important to understand that the OpenShift platform is more than capable of running both VMs and containers on the same cluster. Stay tuned on this series for more posts on some specifics about how we can create templates, perform cloning, and other VM subjects.
OpenShift Virtualization is part of a broader platform story. Continue reading the Red Hat Platform series to see how all the pieces fit together.