This post is part of the Red Hat Platform series. If you want the full picture of what we’re building toward, start there.
Well, these days it’s hard to consider myself a technologist unless there is some AI stuff on my blog. So, in this post we’ll focus on an introduction to OpenShift AI specifically on inferencing.
AI has taken the world by storm for better or worse. It’s not just technologists who are buzzing about how AI is going to impact them, the whole world has an opinion on it. While the debates rage on, technologists are trying to find ways to make AI easier to manage. Many people use the SaaS based way to get access to AI models. They use an AI endpoint from Claude (Anthropic), ChatGPT (Microsoft), or Gemini (Google) and pay for each request through the allocation of tokens, and it’s simple to get started. But as your workloads consume more and more tokens, and the SaaS providers charge more and more money for those tokens, this way of leveraging AI gets very expensive very quickly. So you look to buy your own GPUs and servers and plan to host your models yourself. Now we’re met with new problems. How do I lifecycle my models and replace old models when new ones are available? How do I change model types without updating my applications for a new API spec each time? How do I match my finite GPUs to the right models, and how do I keep users from accessing models they don’t need? The challenge is daunting… unless you have OpenShift AI.
OpenShift AI
OpenShift AI is Red Hat’s answer to all of those challenges. It’s built on top of OpenShift and covers a lot of AI topics including: notebooks and pipeline tooling for data scientists, a model registry to track what’s in production, and a consistent serving layer so apps can consume models without caring about the infrastructure underneath. There’s even support for multi-step, tool-calling AI workflows if you need them. This post is focused on one part of that: model inferencing. Inferencing is the act of using a trained model to generate responses. It’s the “run the model” half of AI as opposed to train the model half.
In this post, we’ll walk through basic inferencing to show how to serve a model with OpenShift AI. Then we’ll query it with a standard API call, so you can see just how approachable self-hosted inferencing on OpenShift AI can be.
Installation
As we’ve discussed previously in this series most things are deployed in OpenShift using an operator from a Catalog. For OpenShift AI this is the same process as you’ve used before but OpenShift AI will require some additional dependencies as well. These dependencies play a critical role in traffic routing, or providing serverless capabilities provided by KServe that OpenShift AI leverages to spin up components.
This post isn’t going into all of the OpenShift AI components and as such, not all the components were installed. For this post I installed the following operators:
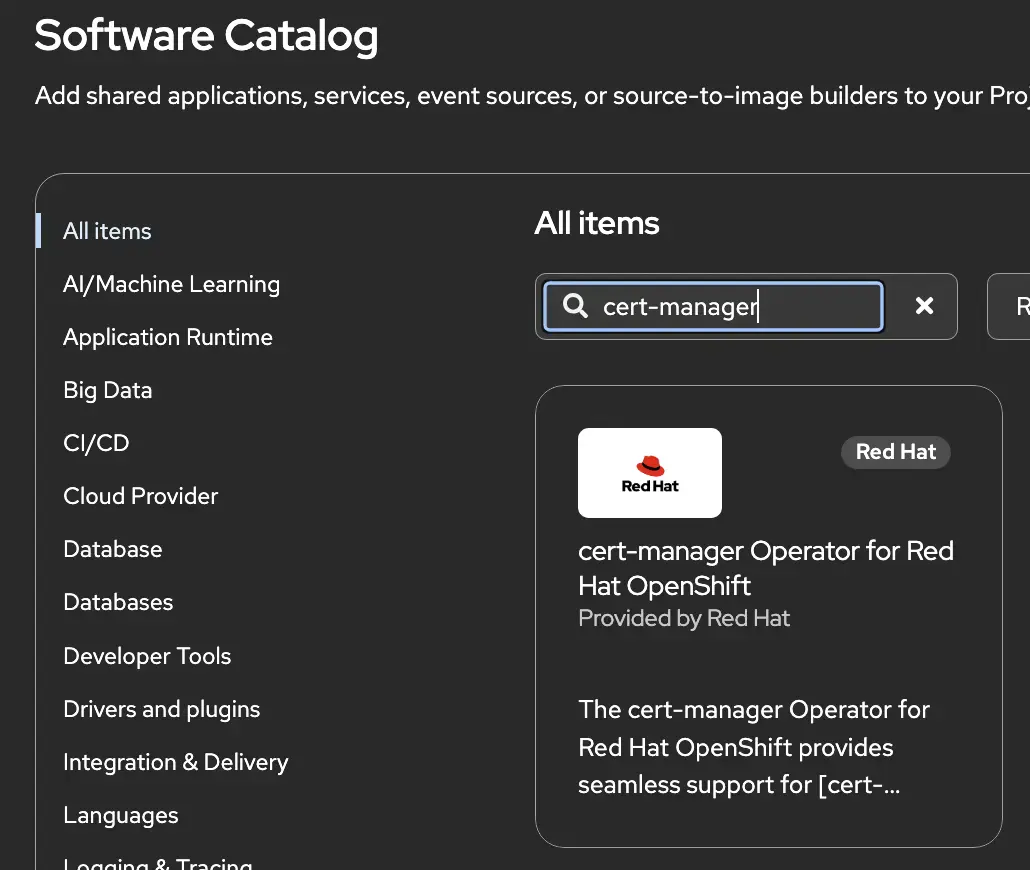
- Cert Manager: A tool used to automatically create and manage certificates.
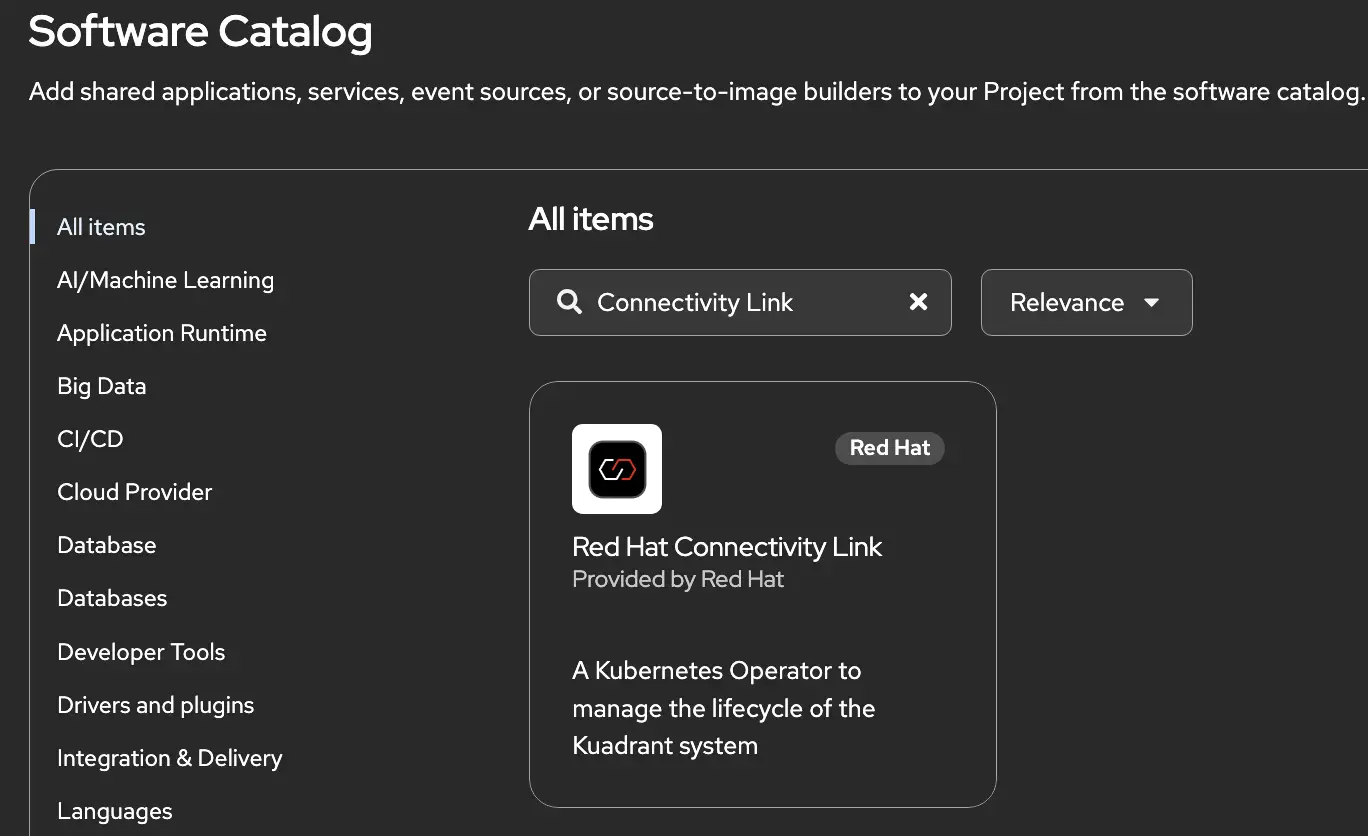
- Connectivity Link: Handles traffic management and API Gateway functions
I won’t go through each of the steps, but they are pretty straightforward if you’re using the OpenShift UI. In the Ecosystem tab, look for an operator named cert-manager and follow the instructions.
Repeat the steps for Connectivity Link.
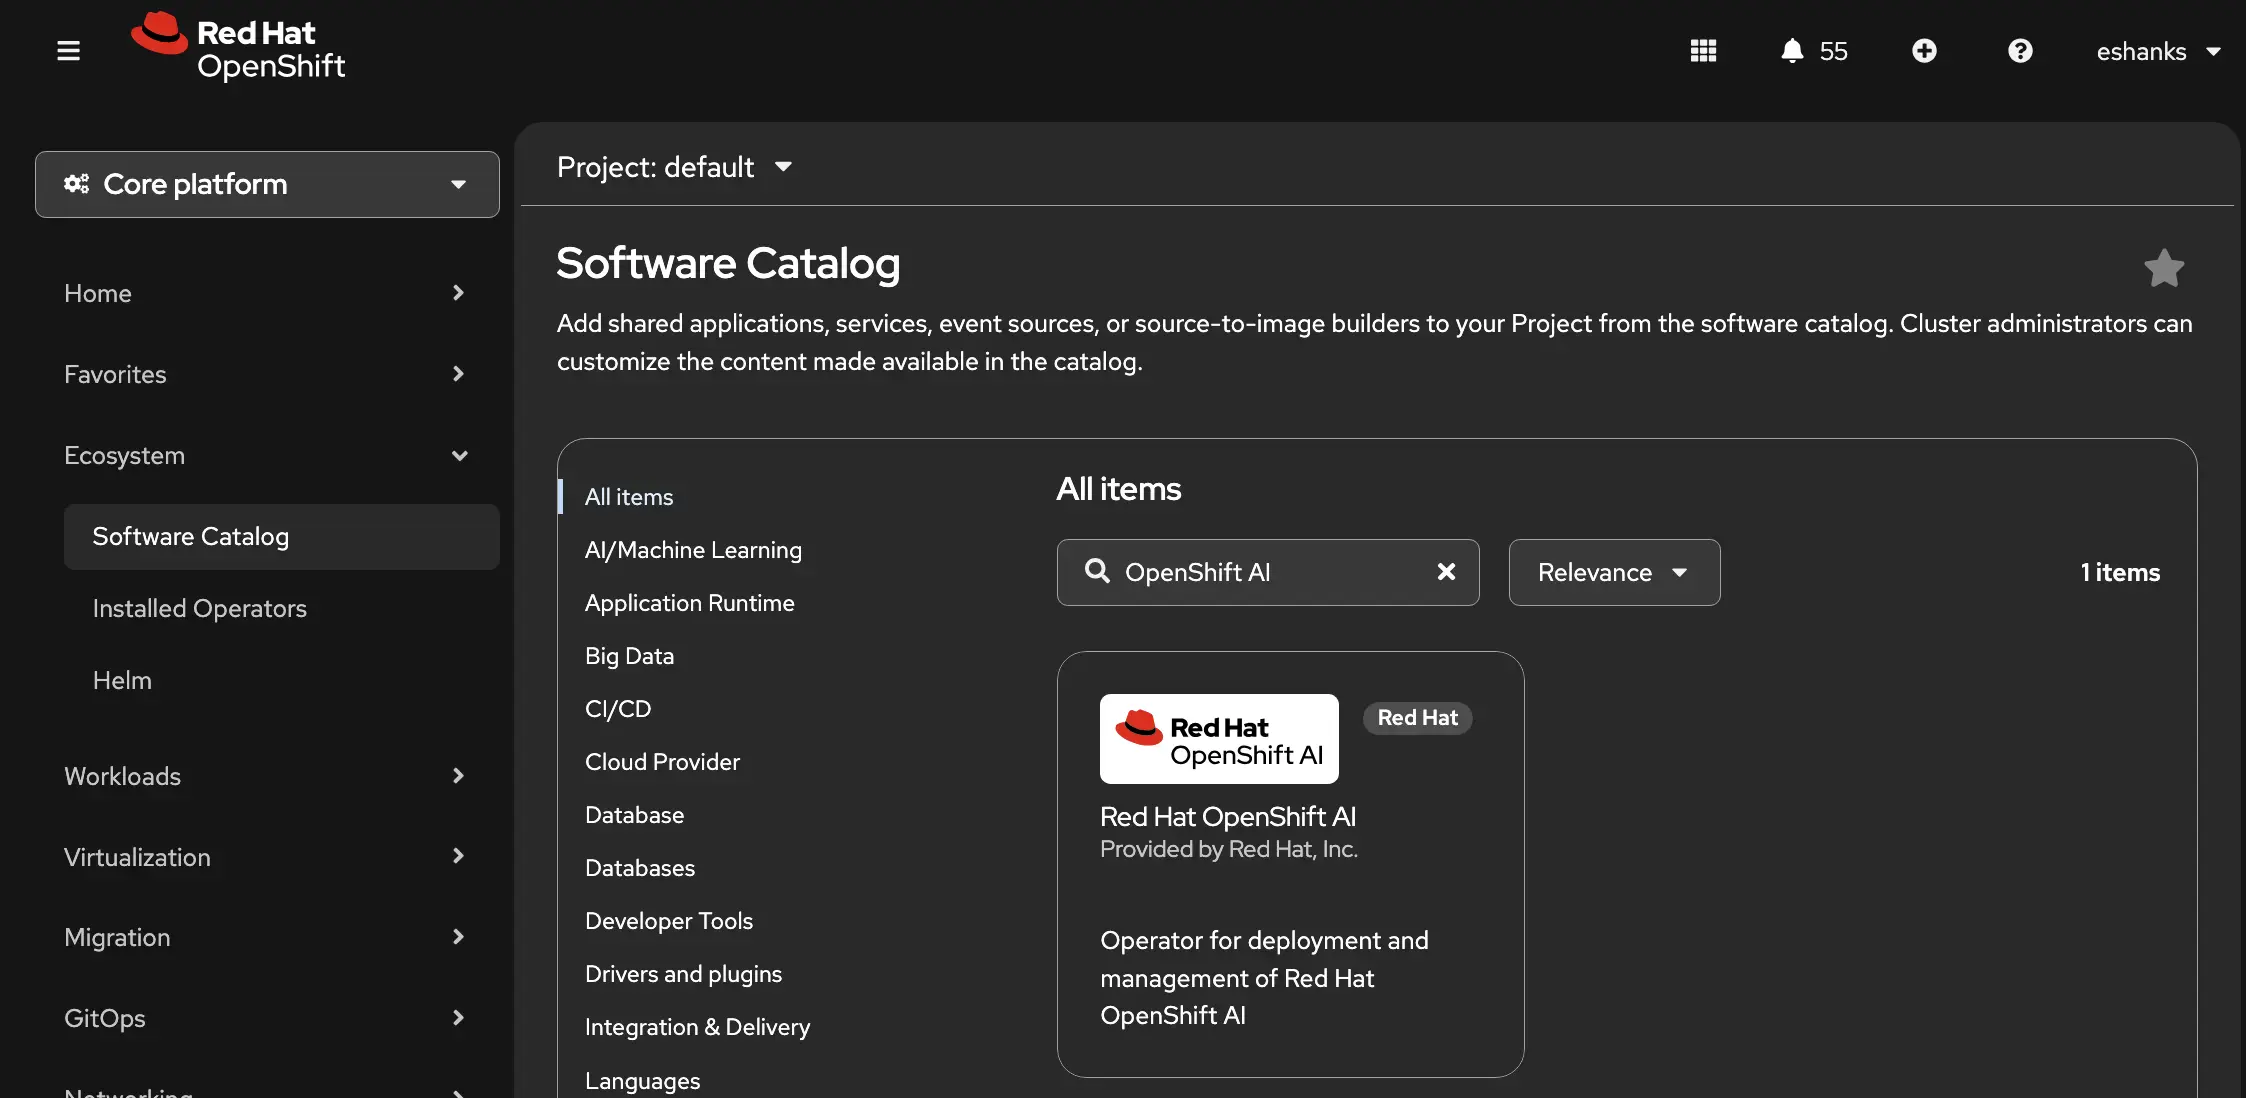
Once the dependency operators are installed, we can install OpenShift AI using the same method. We find OpenShift AI in the operator catalog.
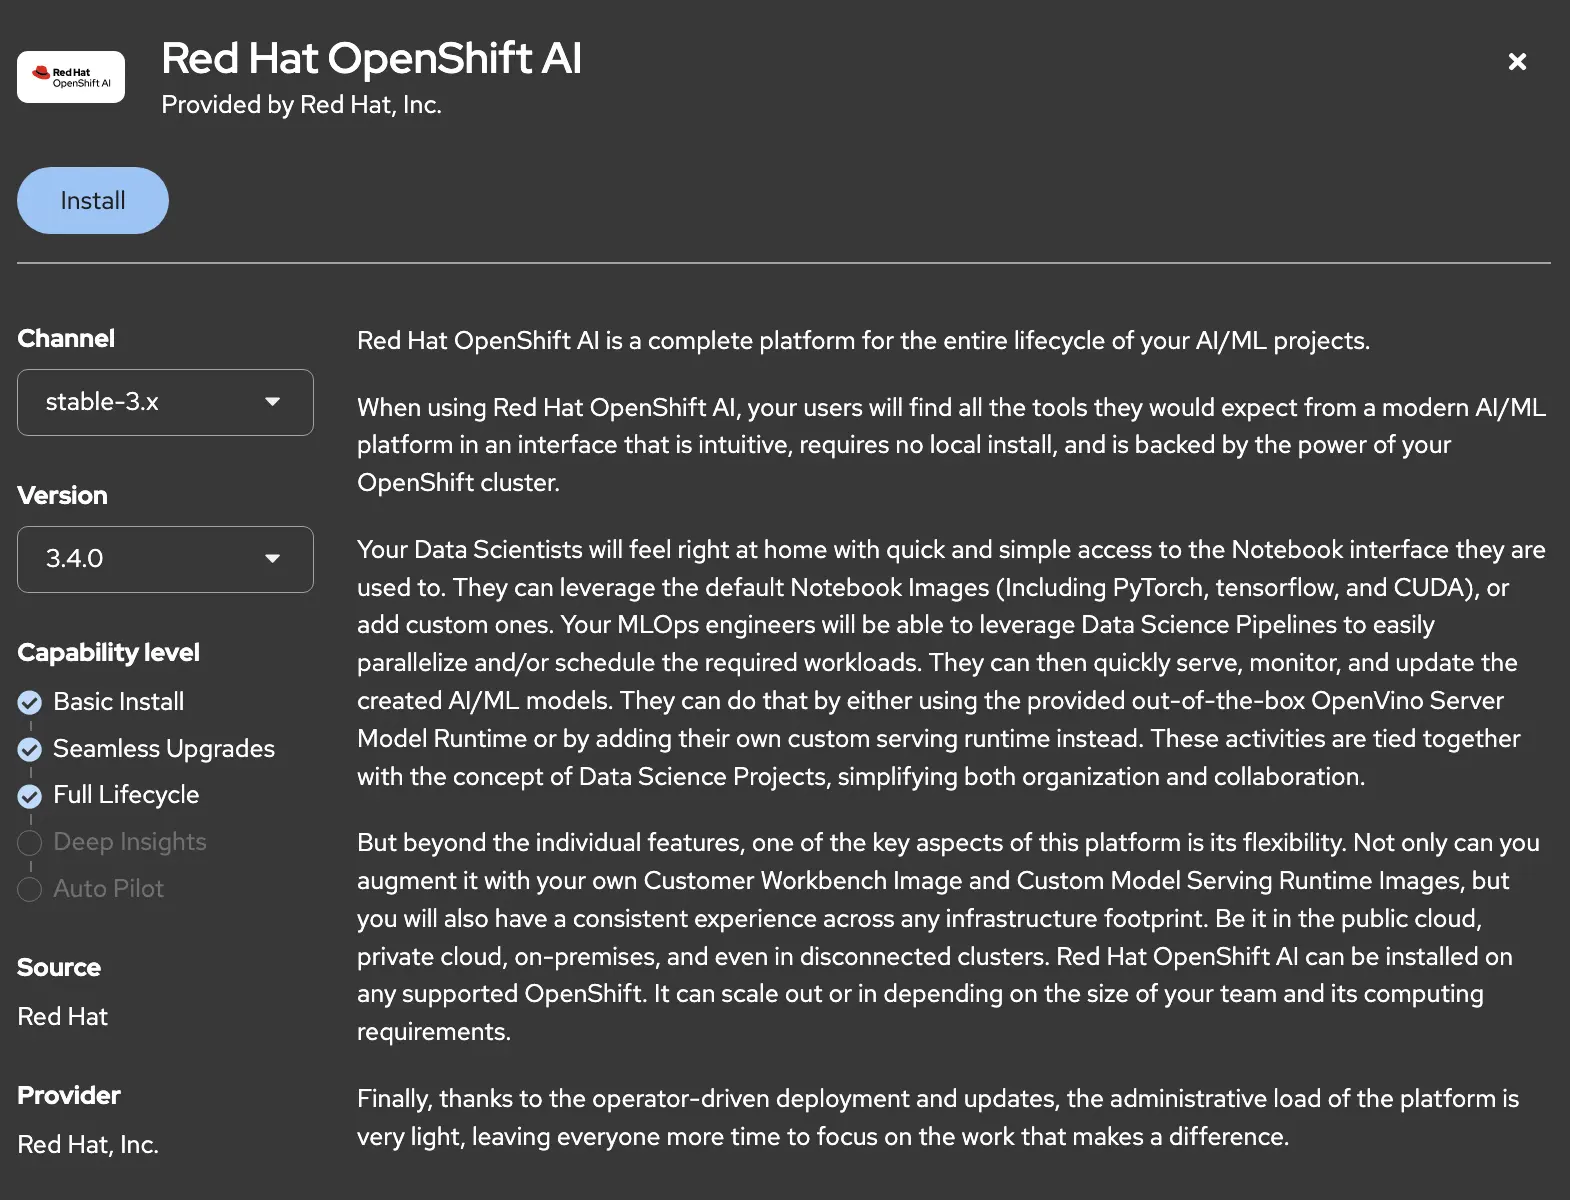
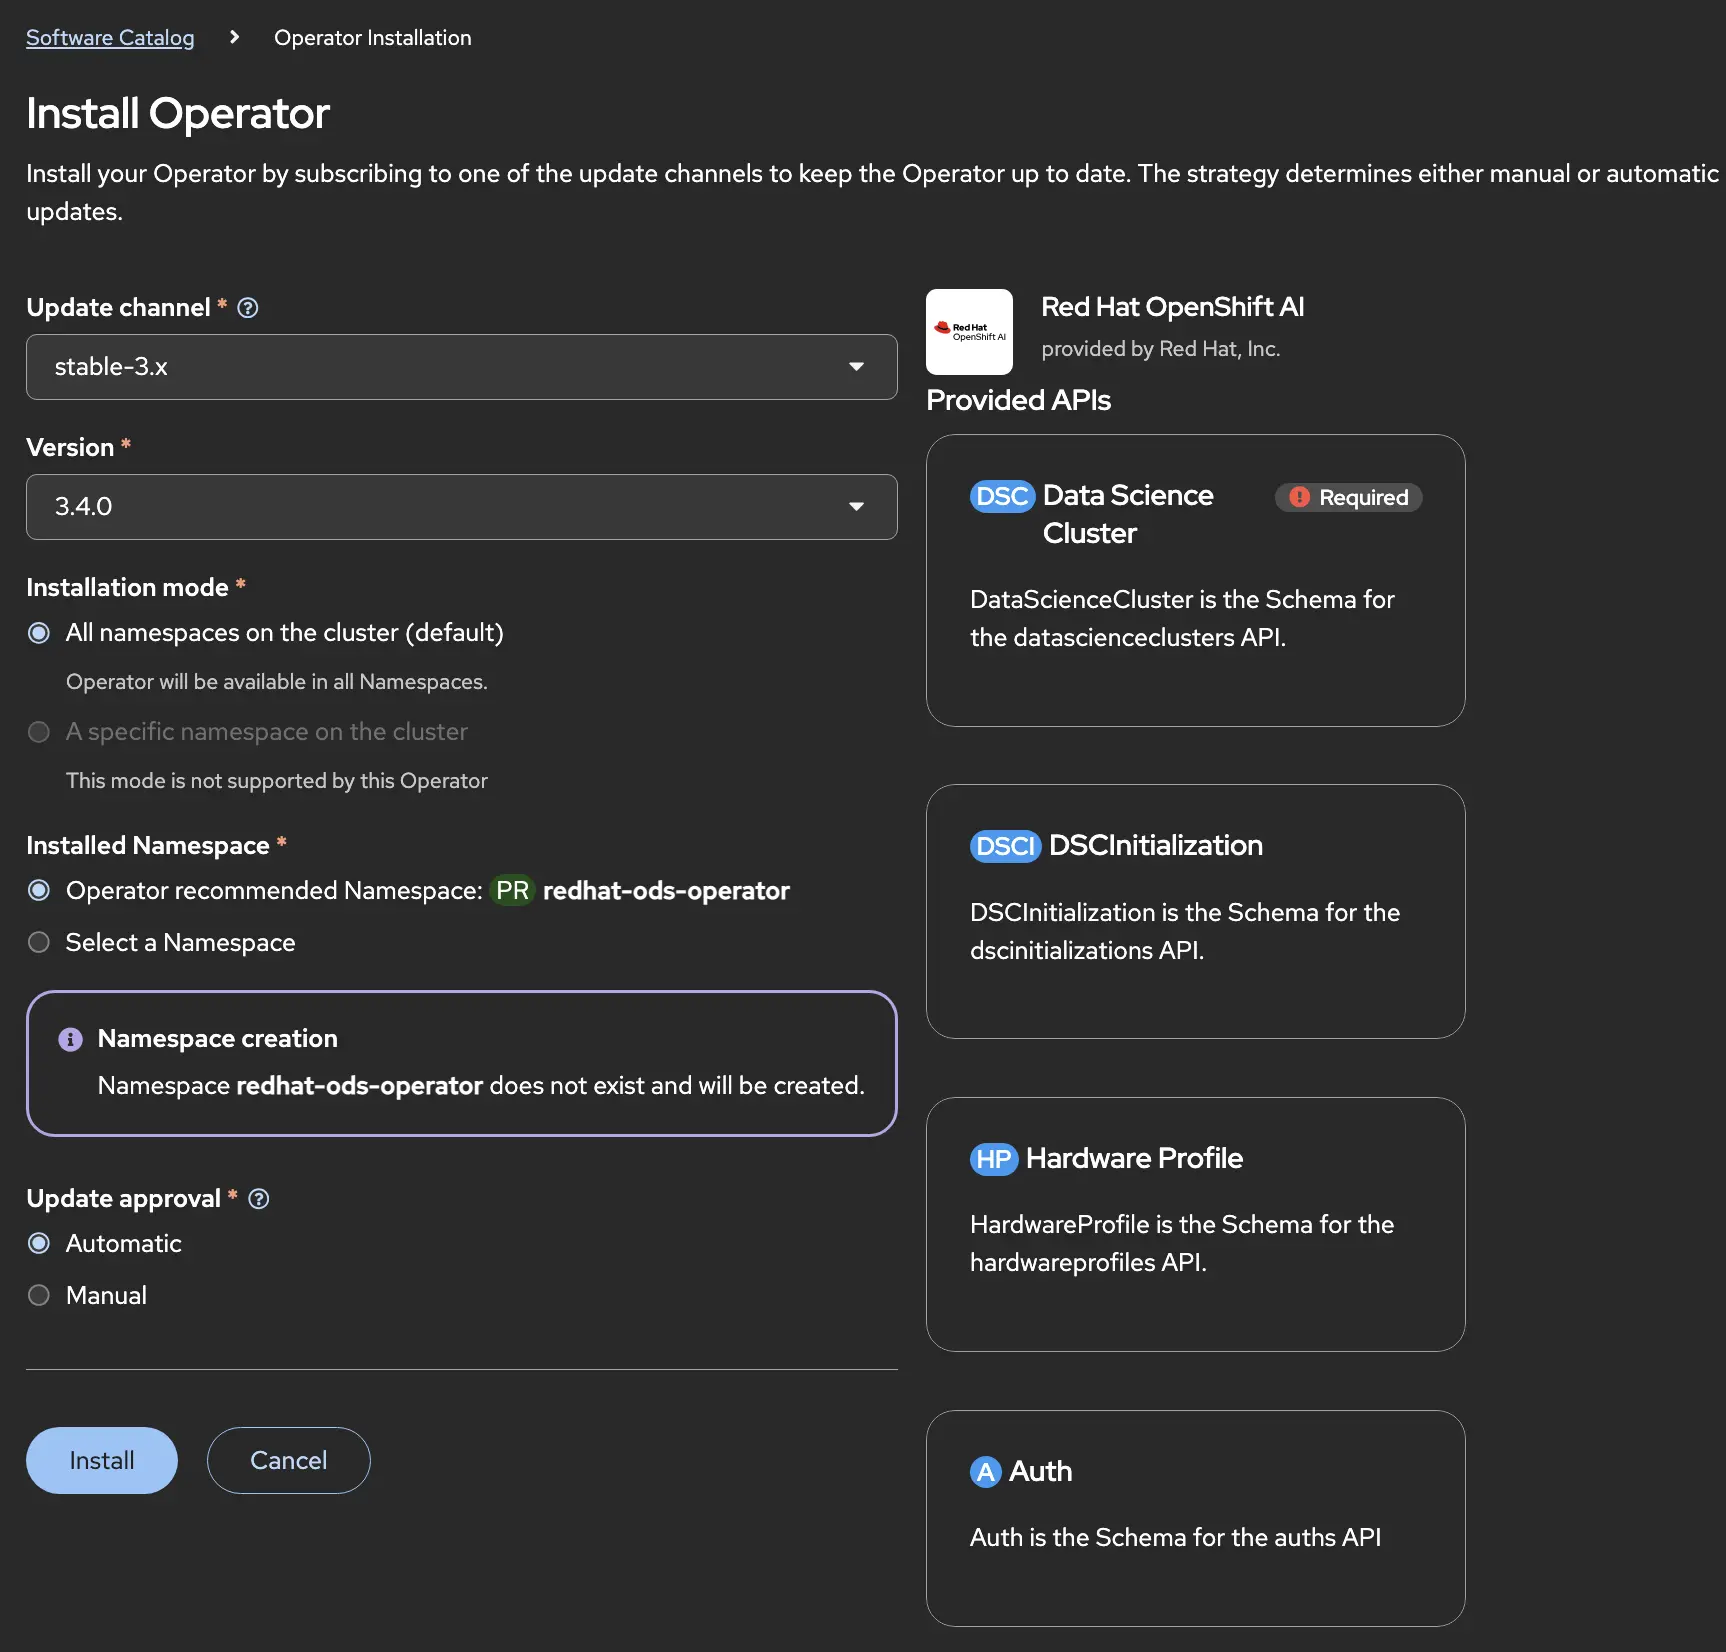
From there we specify the channel and the version before clicking install.
Specify the namespace/project and the update mode for handling new versions.
When the operator installation is complete, the UI will present you with a message that you need to create a Data Science Cluster (DSC). A DSC is the platform layer that provides notebooks, model serving, pipelines, training and other services to data scientists.
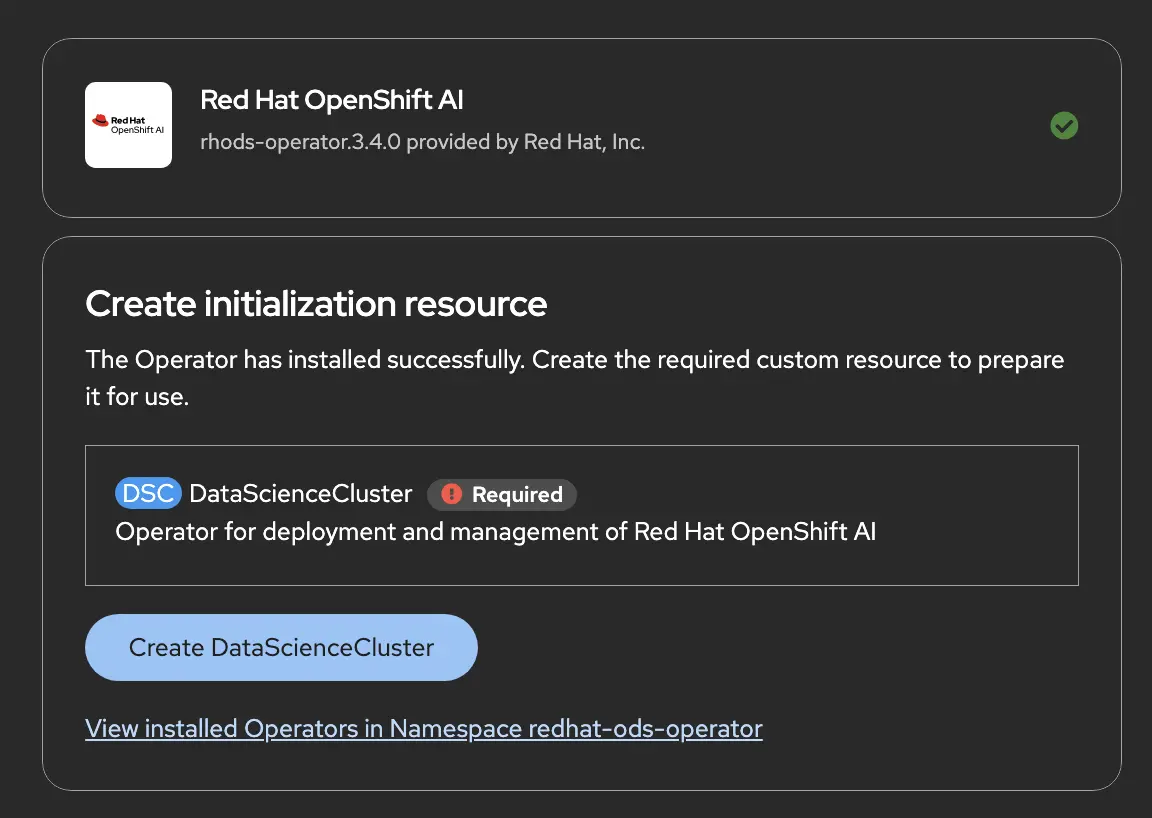
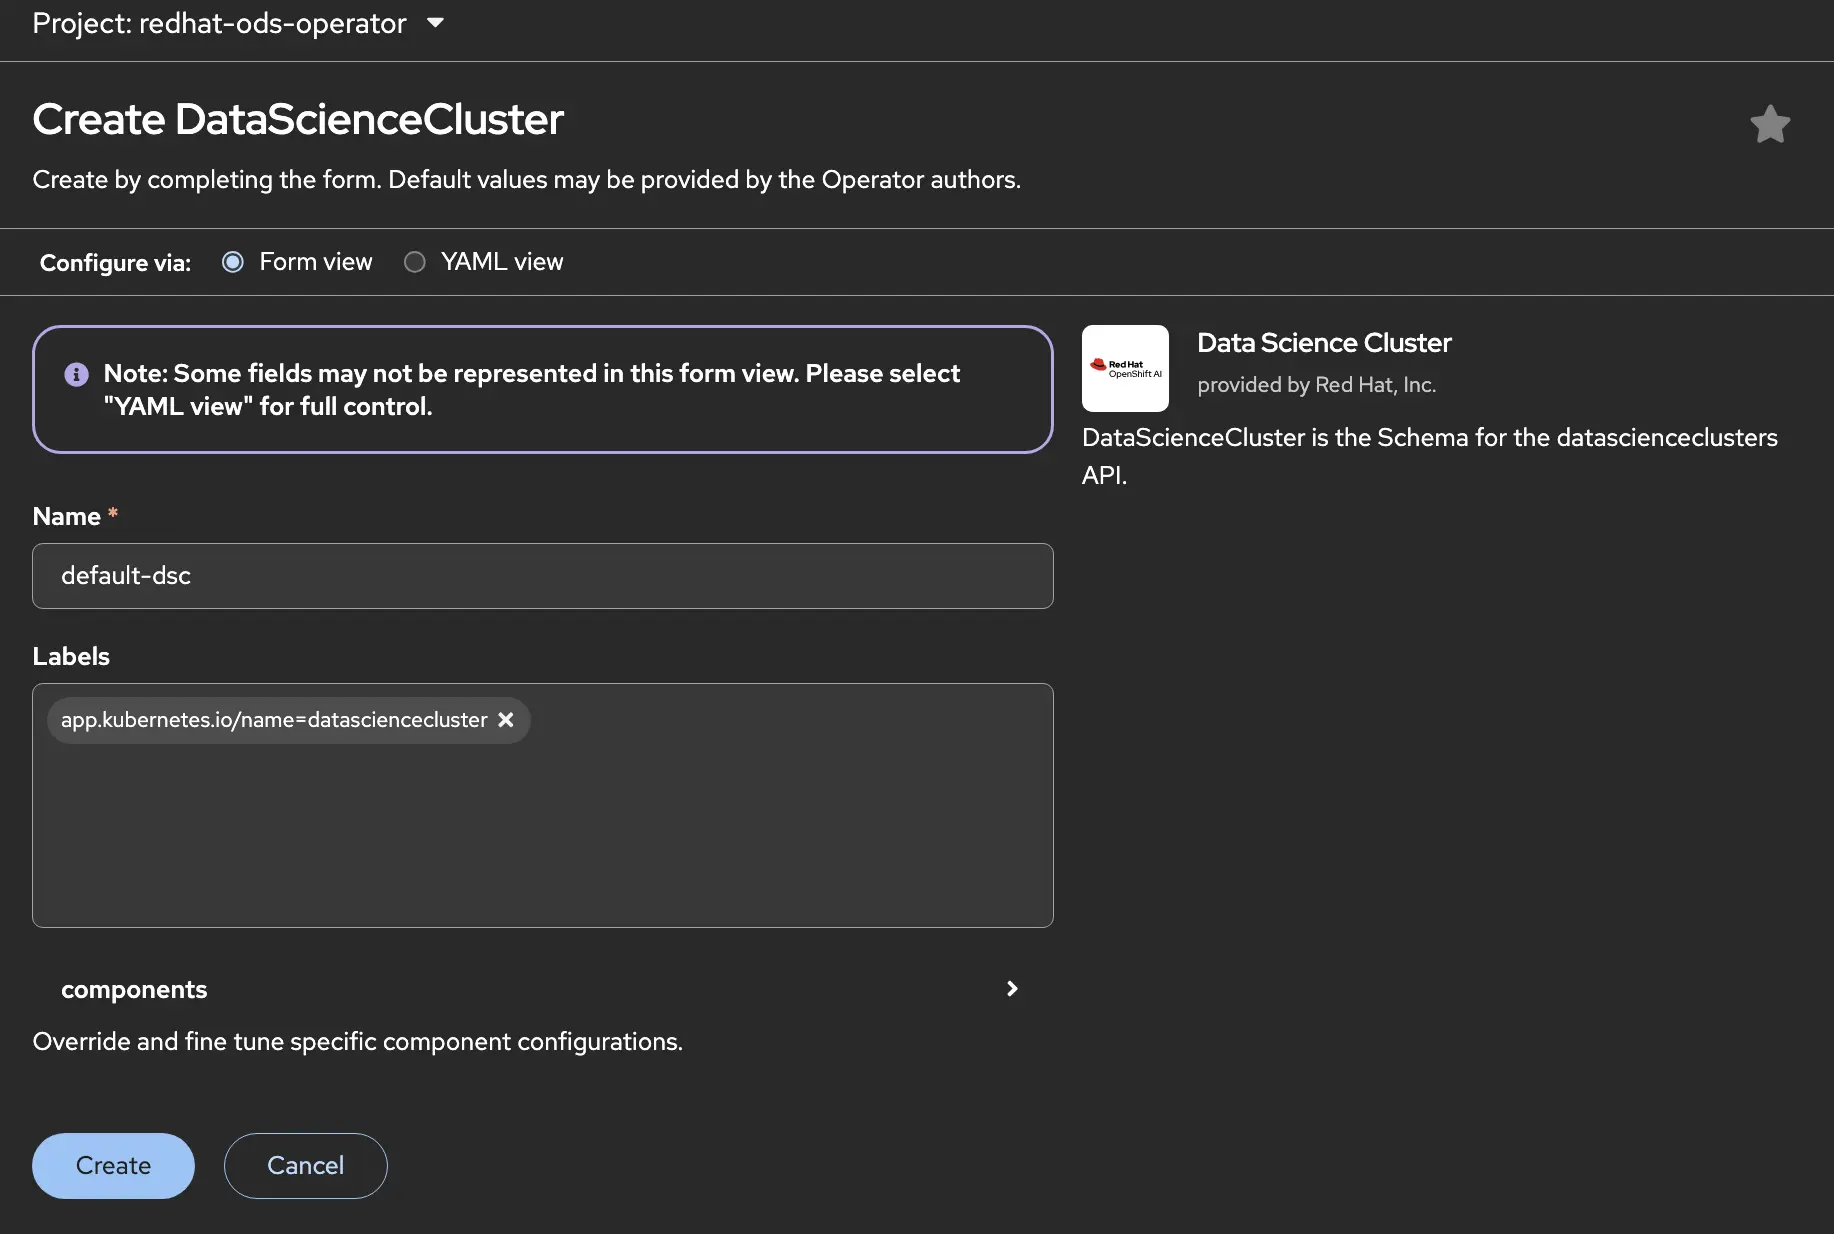
Click the DataScience Cluster button and complete the steps to enable the OpenShift AI capabilities layer.
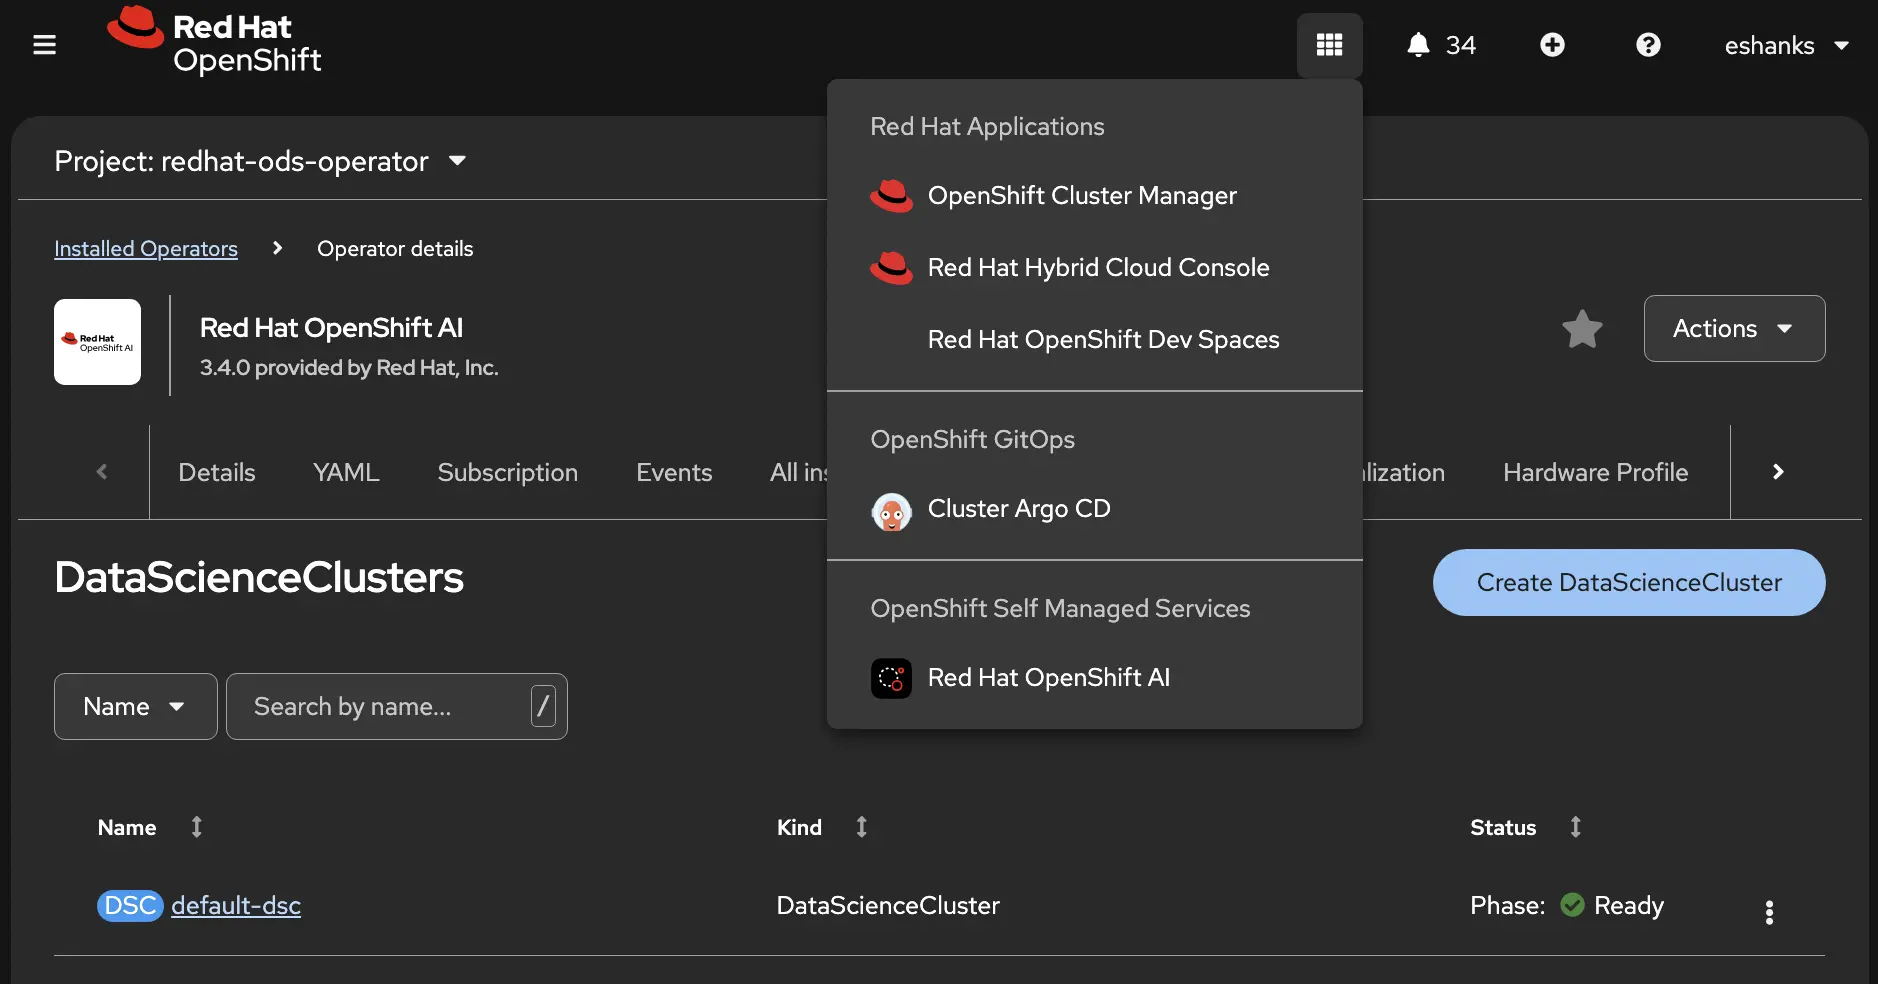
When the DSC has finished installing, you’ll find the OpenShift AI dashboard in the OpenShift Application Launcher (9-dot menu).
Using Inference
Now that we’ve gotten access to the OpenShift AI dashboard we can use it to provide inferencing for our Brix Pizza application, that we’ve used in previous posts in this series. In this case, let’s assume we need to add a chatbot to the Brix Pizza app so that our loyal pizza customers can quickly ask questions and get responses. Maybe we need this as a way for customers to communicate issues with us or ask questions about our business that aren’t clearly shown on our site. Whatever the reason is, we’re going to use OpenShift AI inferencing to back our chatbot.
Create a Project
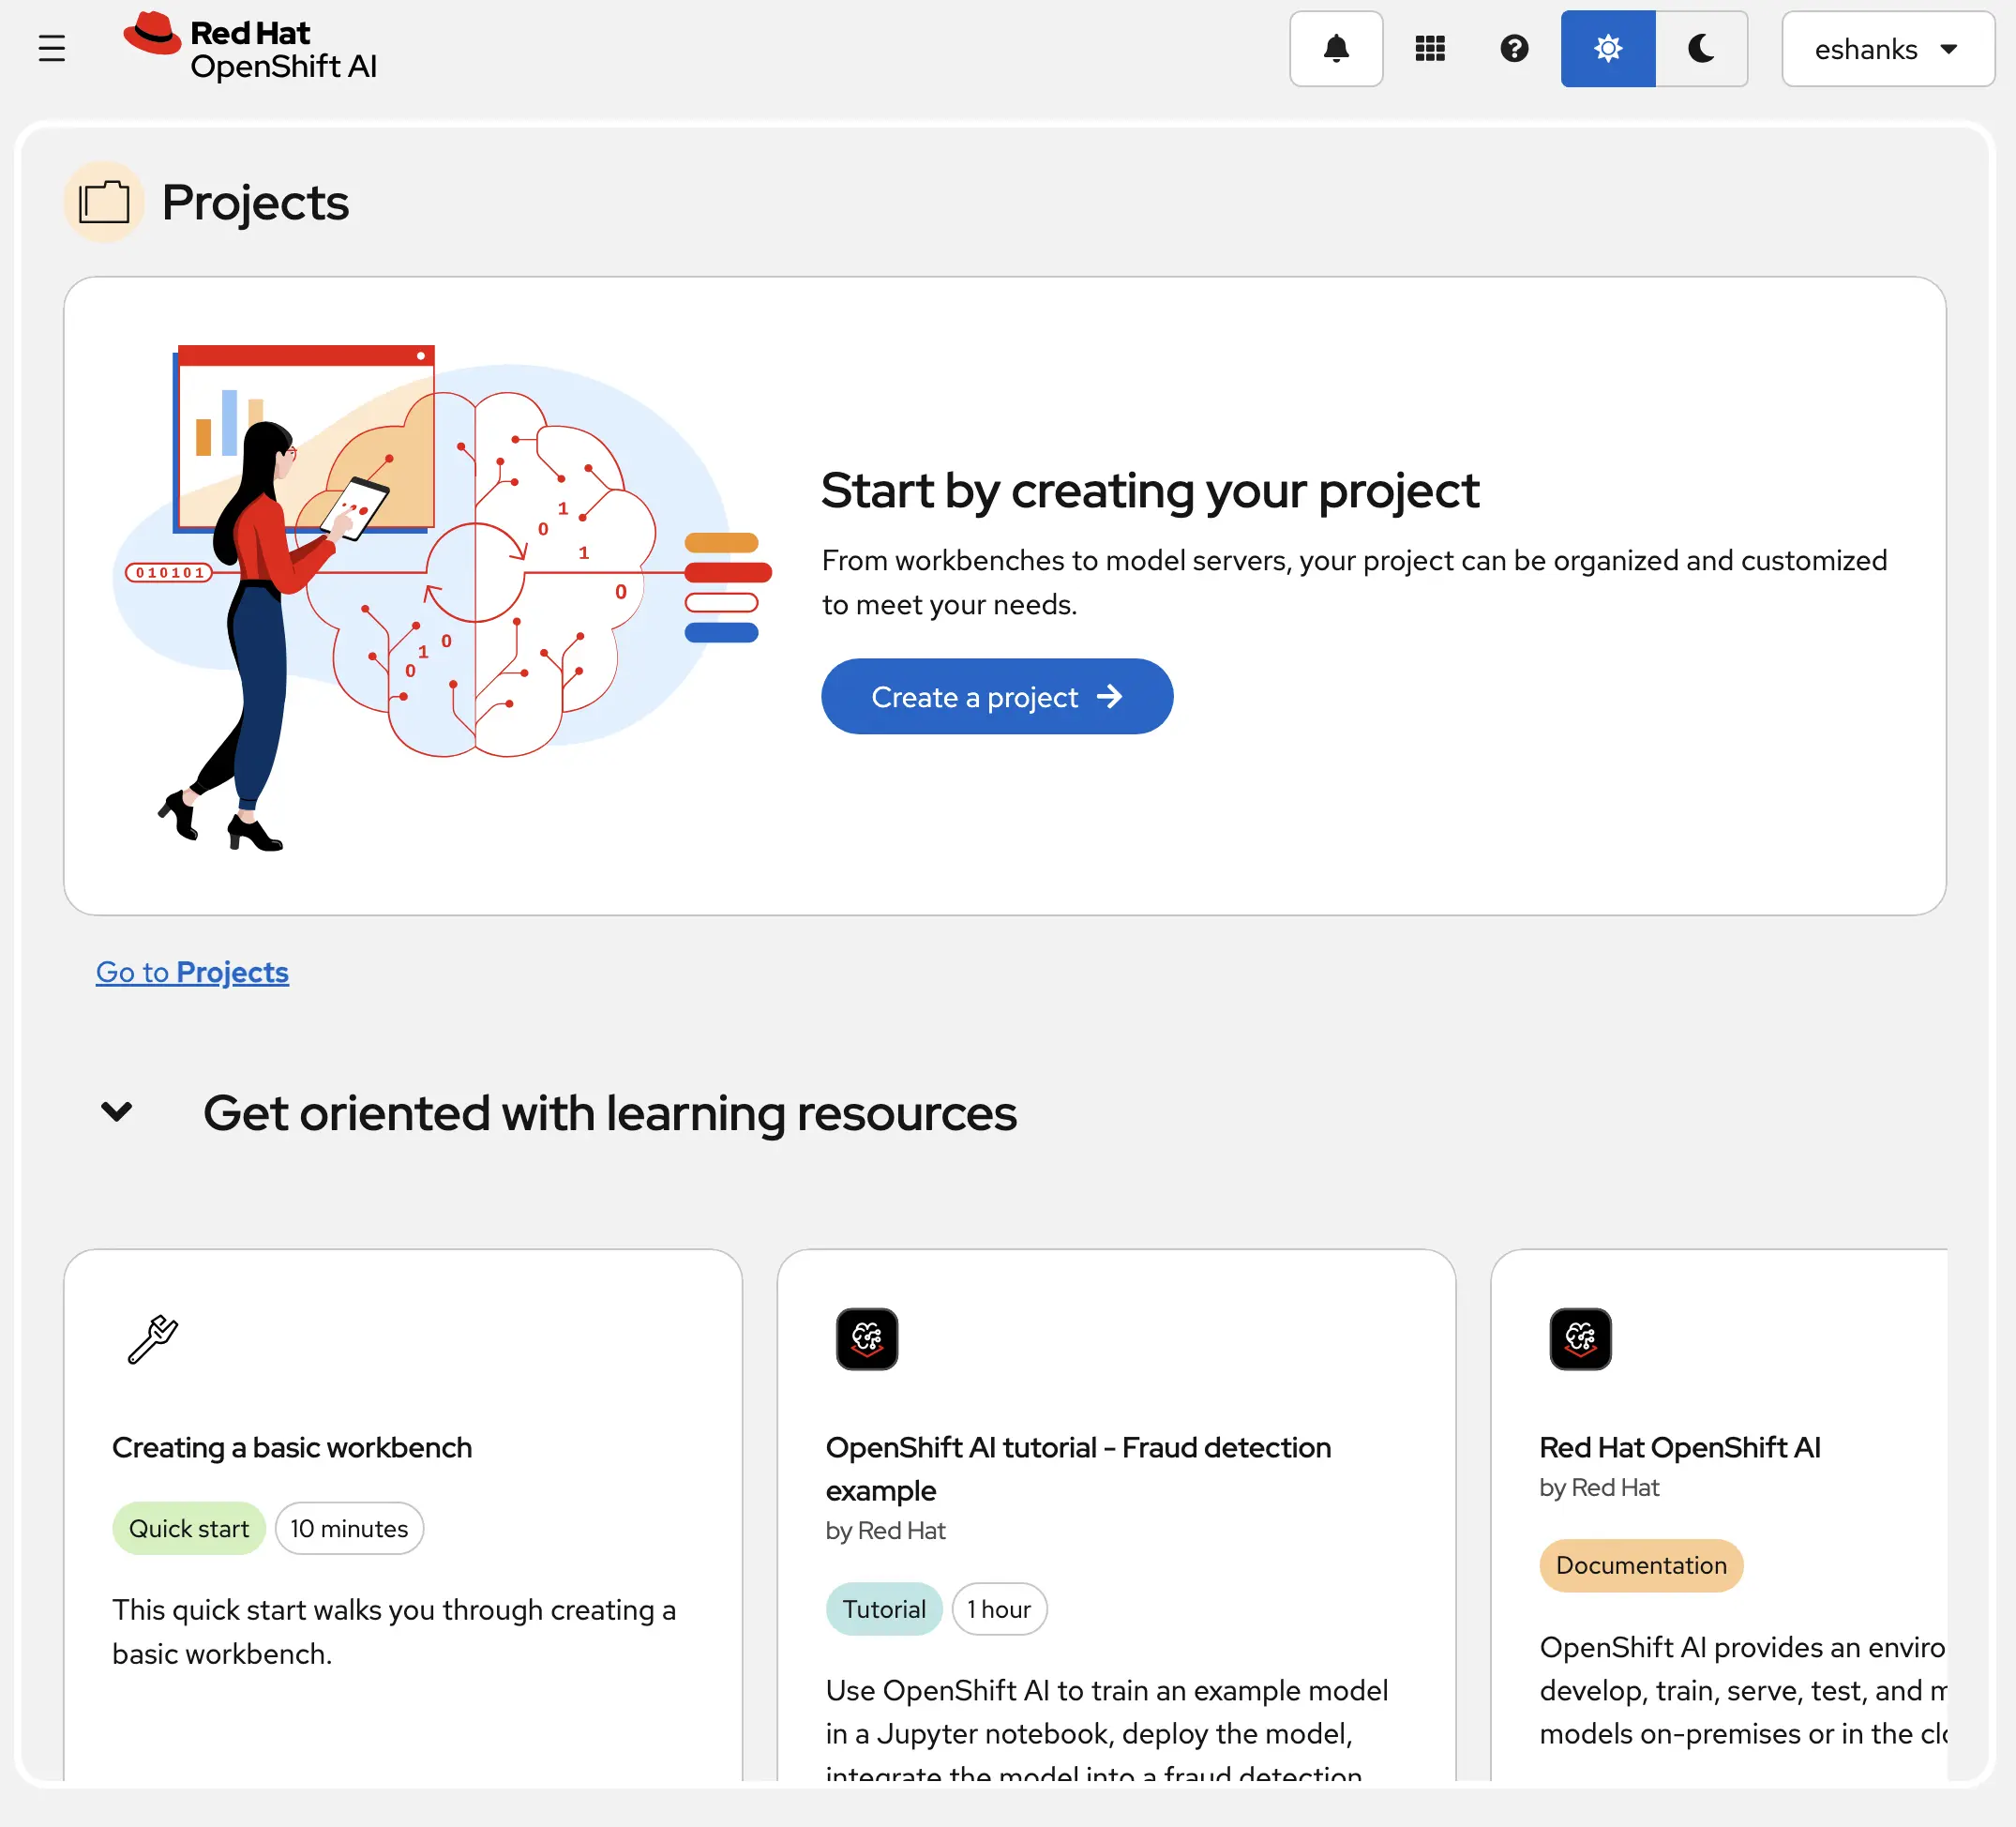
From the OpenShift AI dashboard, we first want to create a new project. In this case we’re going to build a new project called brix-ai. Here we’ll store the components to use for our brix pizza chatbot.
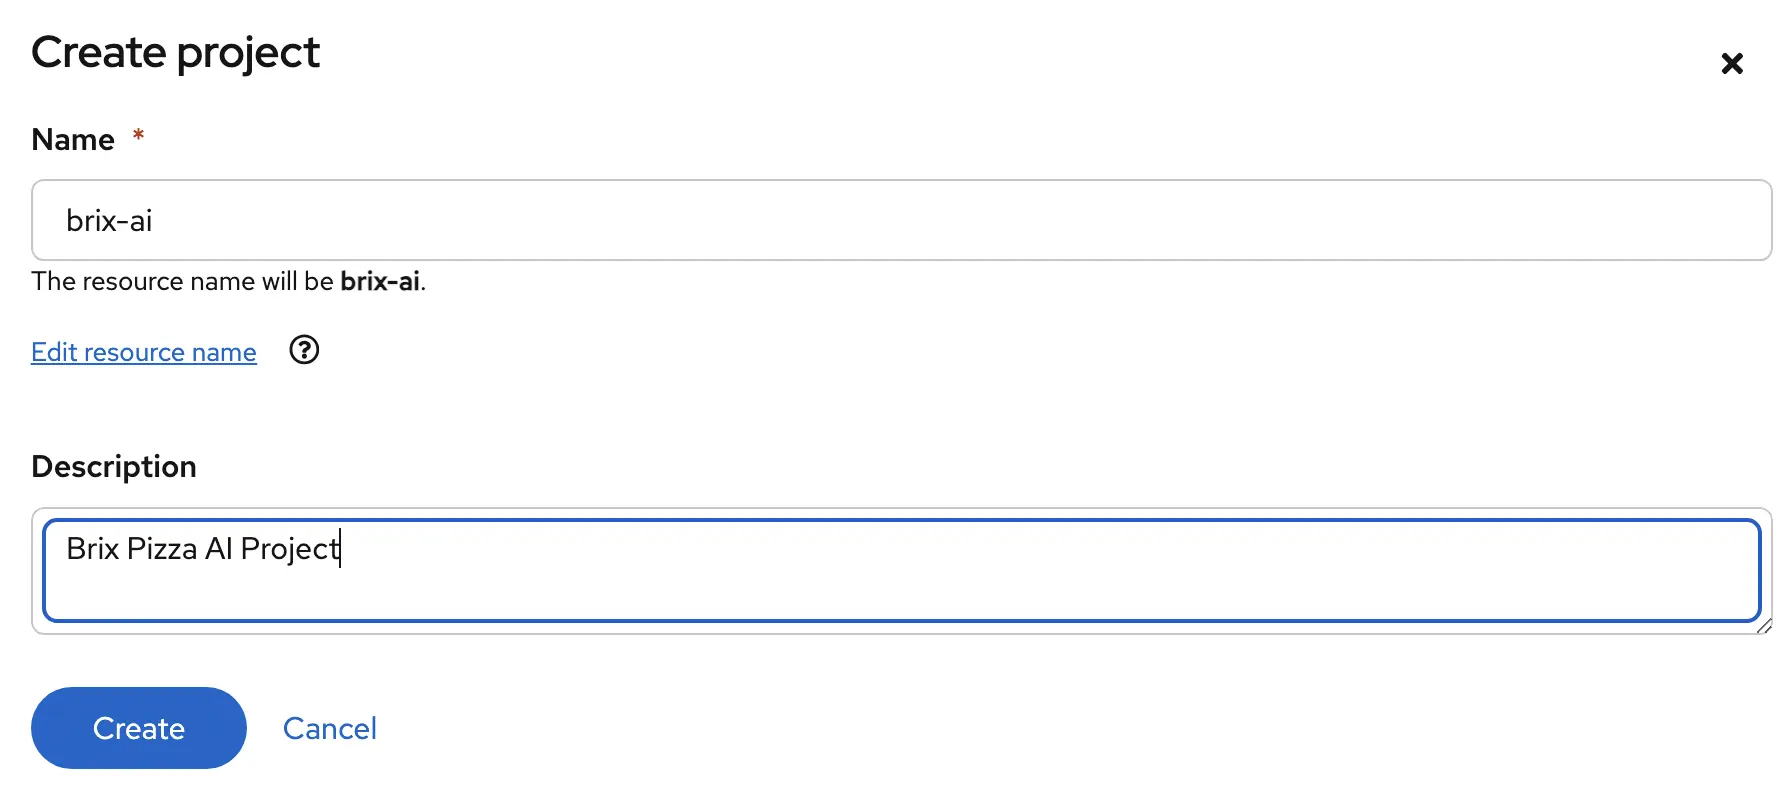
Give the project a name and a description.
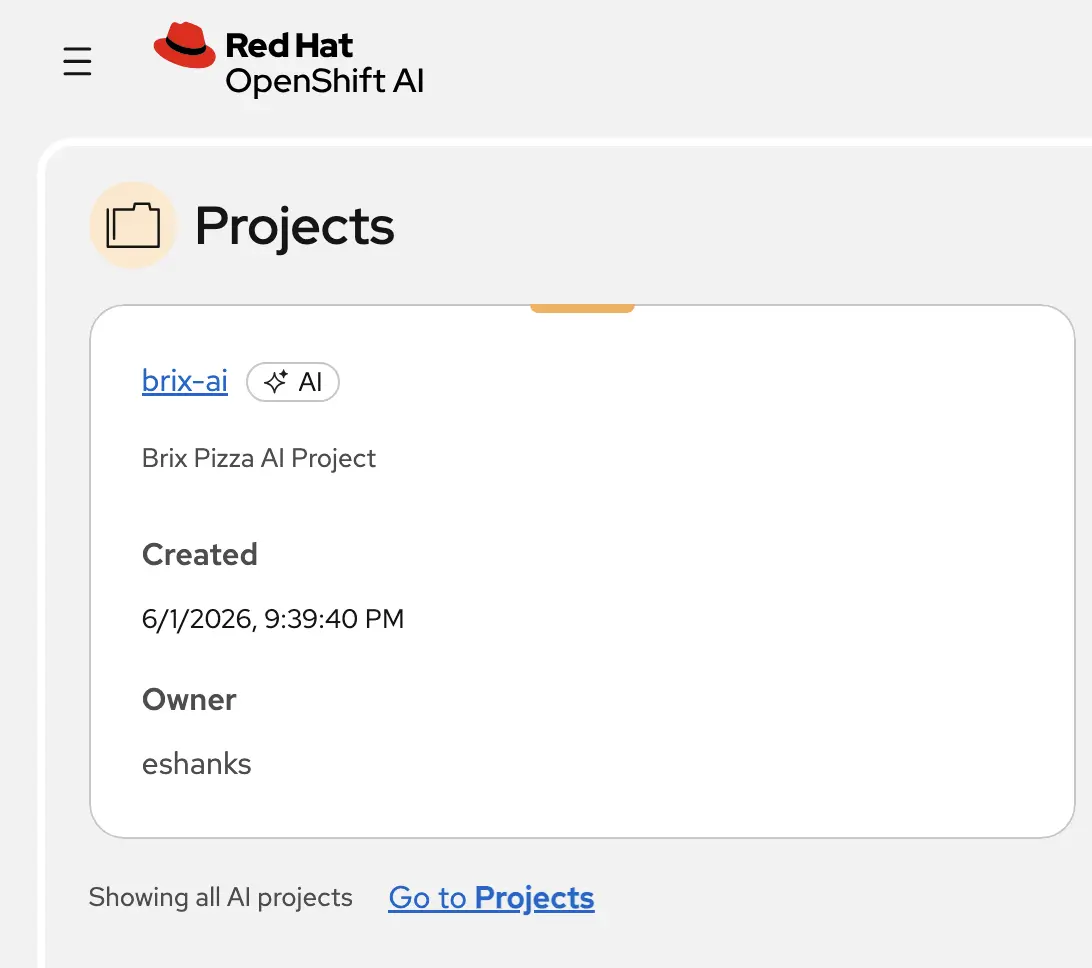
When you’re done, you can see the brix-ai project in the OpenShift AI dashboard. You can always come back to the home page to find the different projects you’ve created.
Creating a Hardware Profile (Optional)
Hardware profiles help to define how a model will run on your hardware. Hardware profiles can be used to specify which nodes the inference server can run on and how many resources the model will get. In my lab, for example, I want to make sure my model is running on a specific node. This node has my GPU installed on it so it’s important that it runs there.
Note: The example below will use a CPU instead of a GPU to make it more universally available for readers following along, but these Hardware profiles are commonly used to map models to nodes due to GPU constraints.
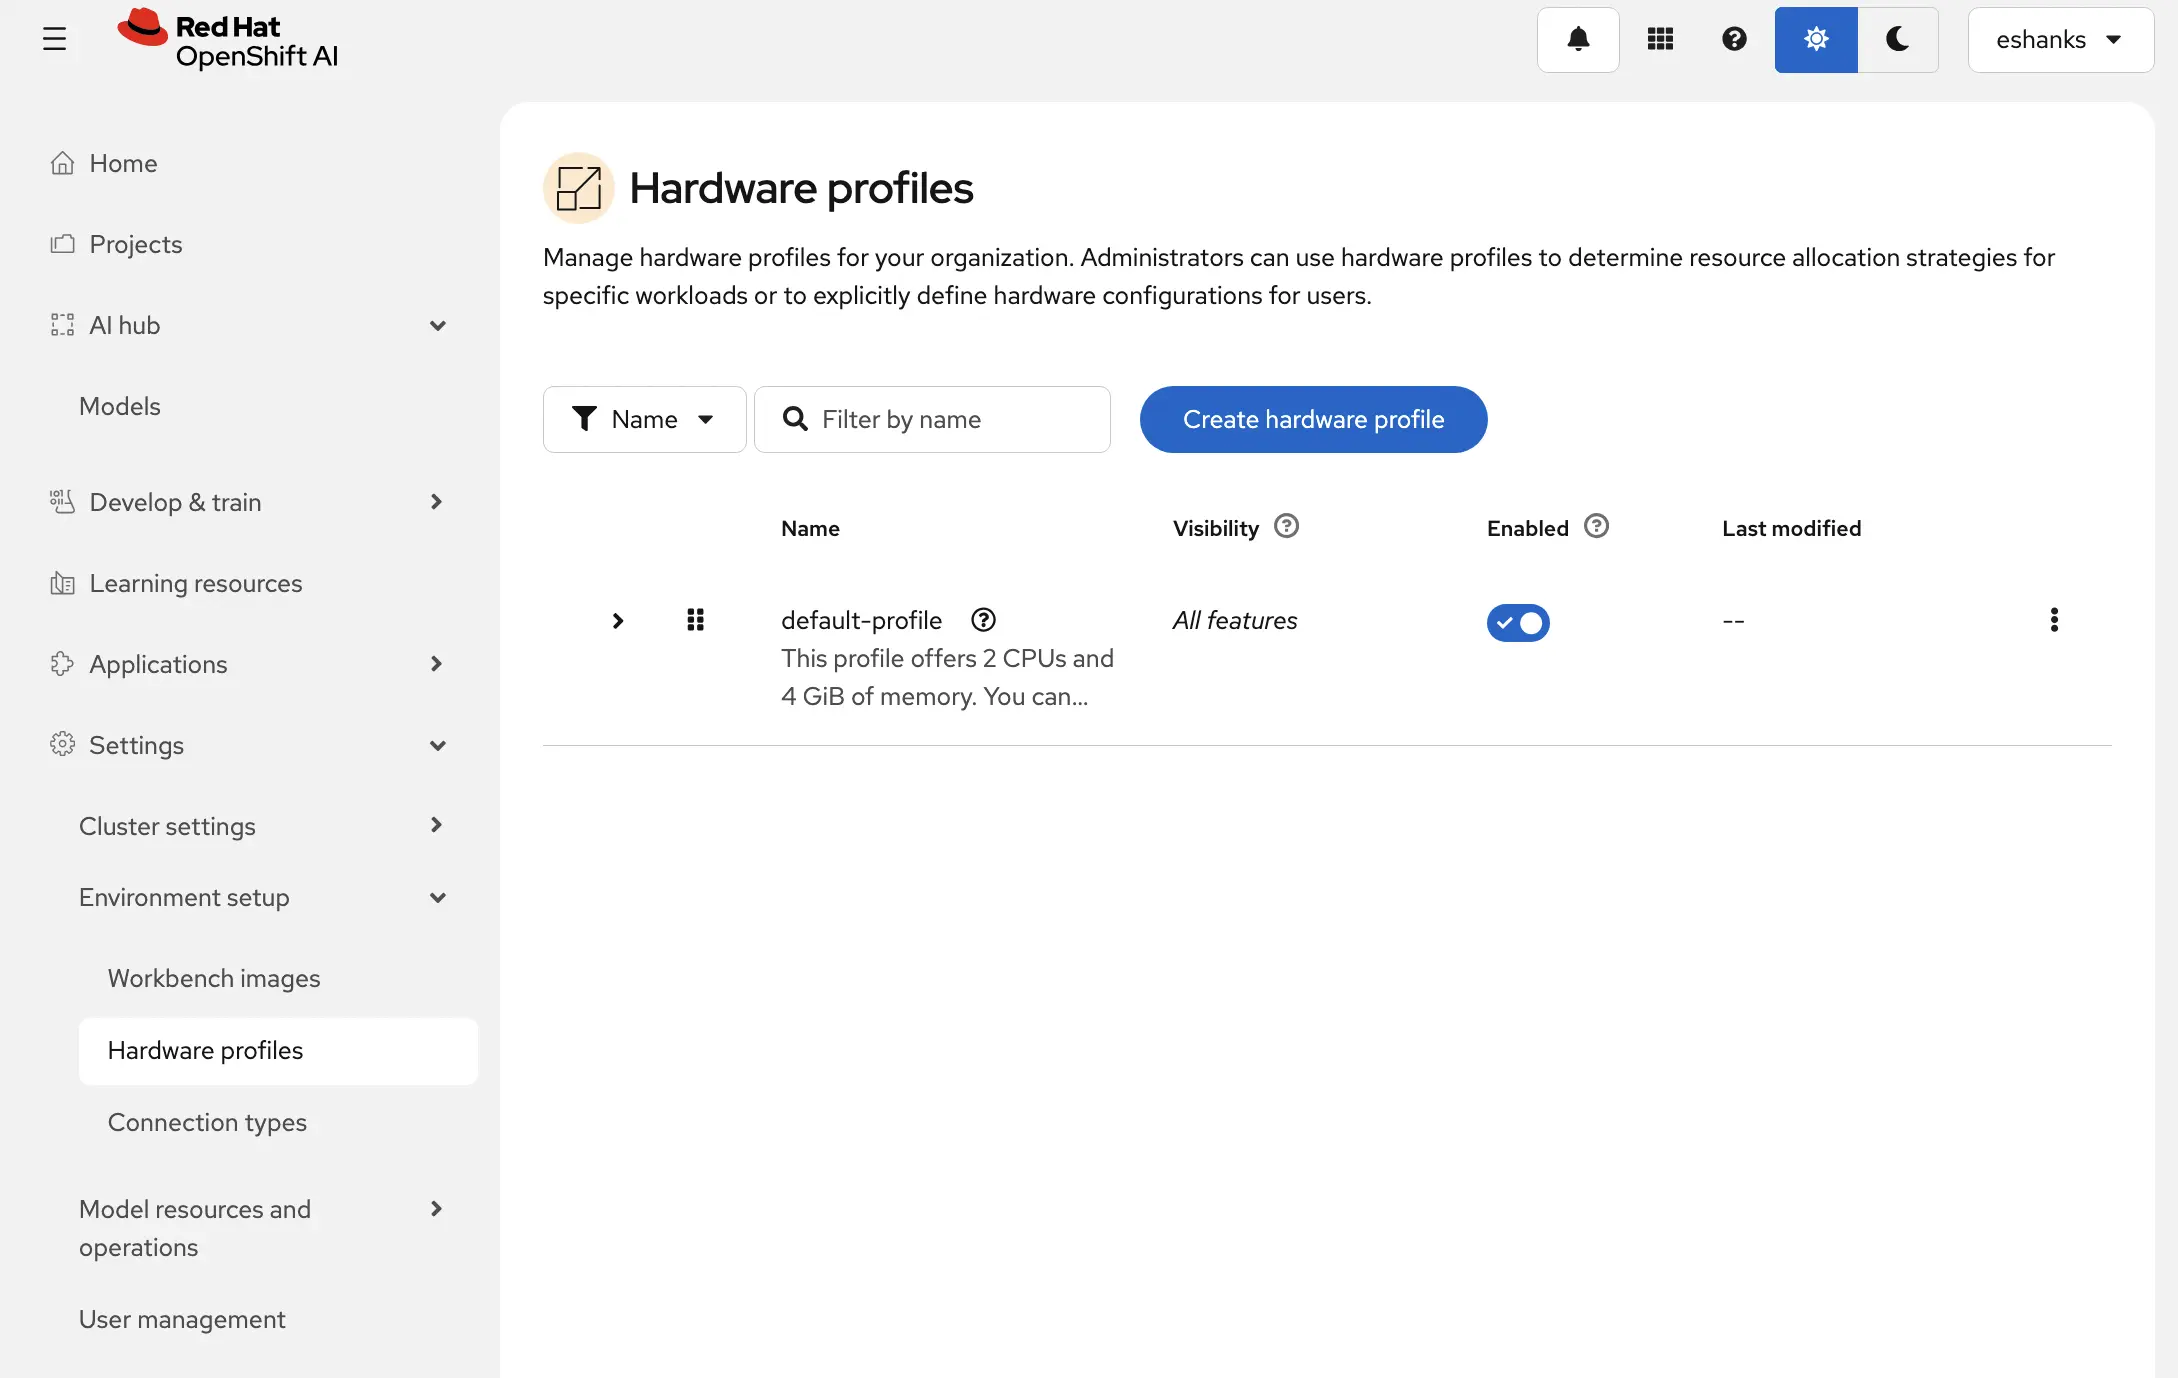
From the OpenShift AI dashboard under the Environment Setup navigation pane, select Hardware Profiles. You’ll see a default profile listed which you can use right away. In my case I’ve created a new profile through the “Create Hardware Profile” button.
The Hardware Profile creation page is pretty straight forward. Give the profile a name, set some resource restrictions for the model server and define some node affinity if necessary. In my case I’m pinning the model to Node05 in my OpenShift cluster.
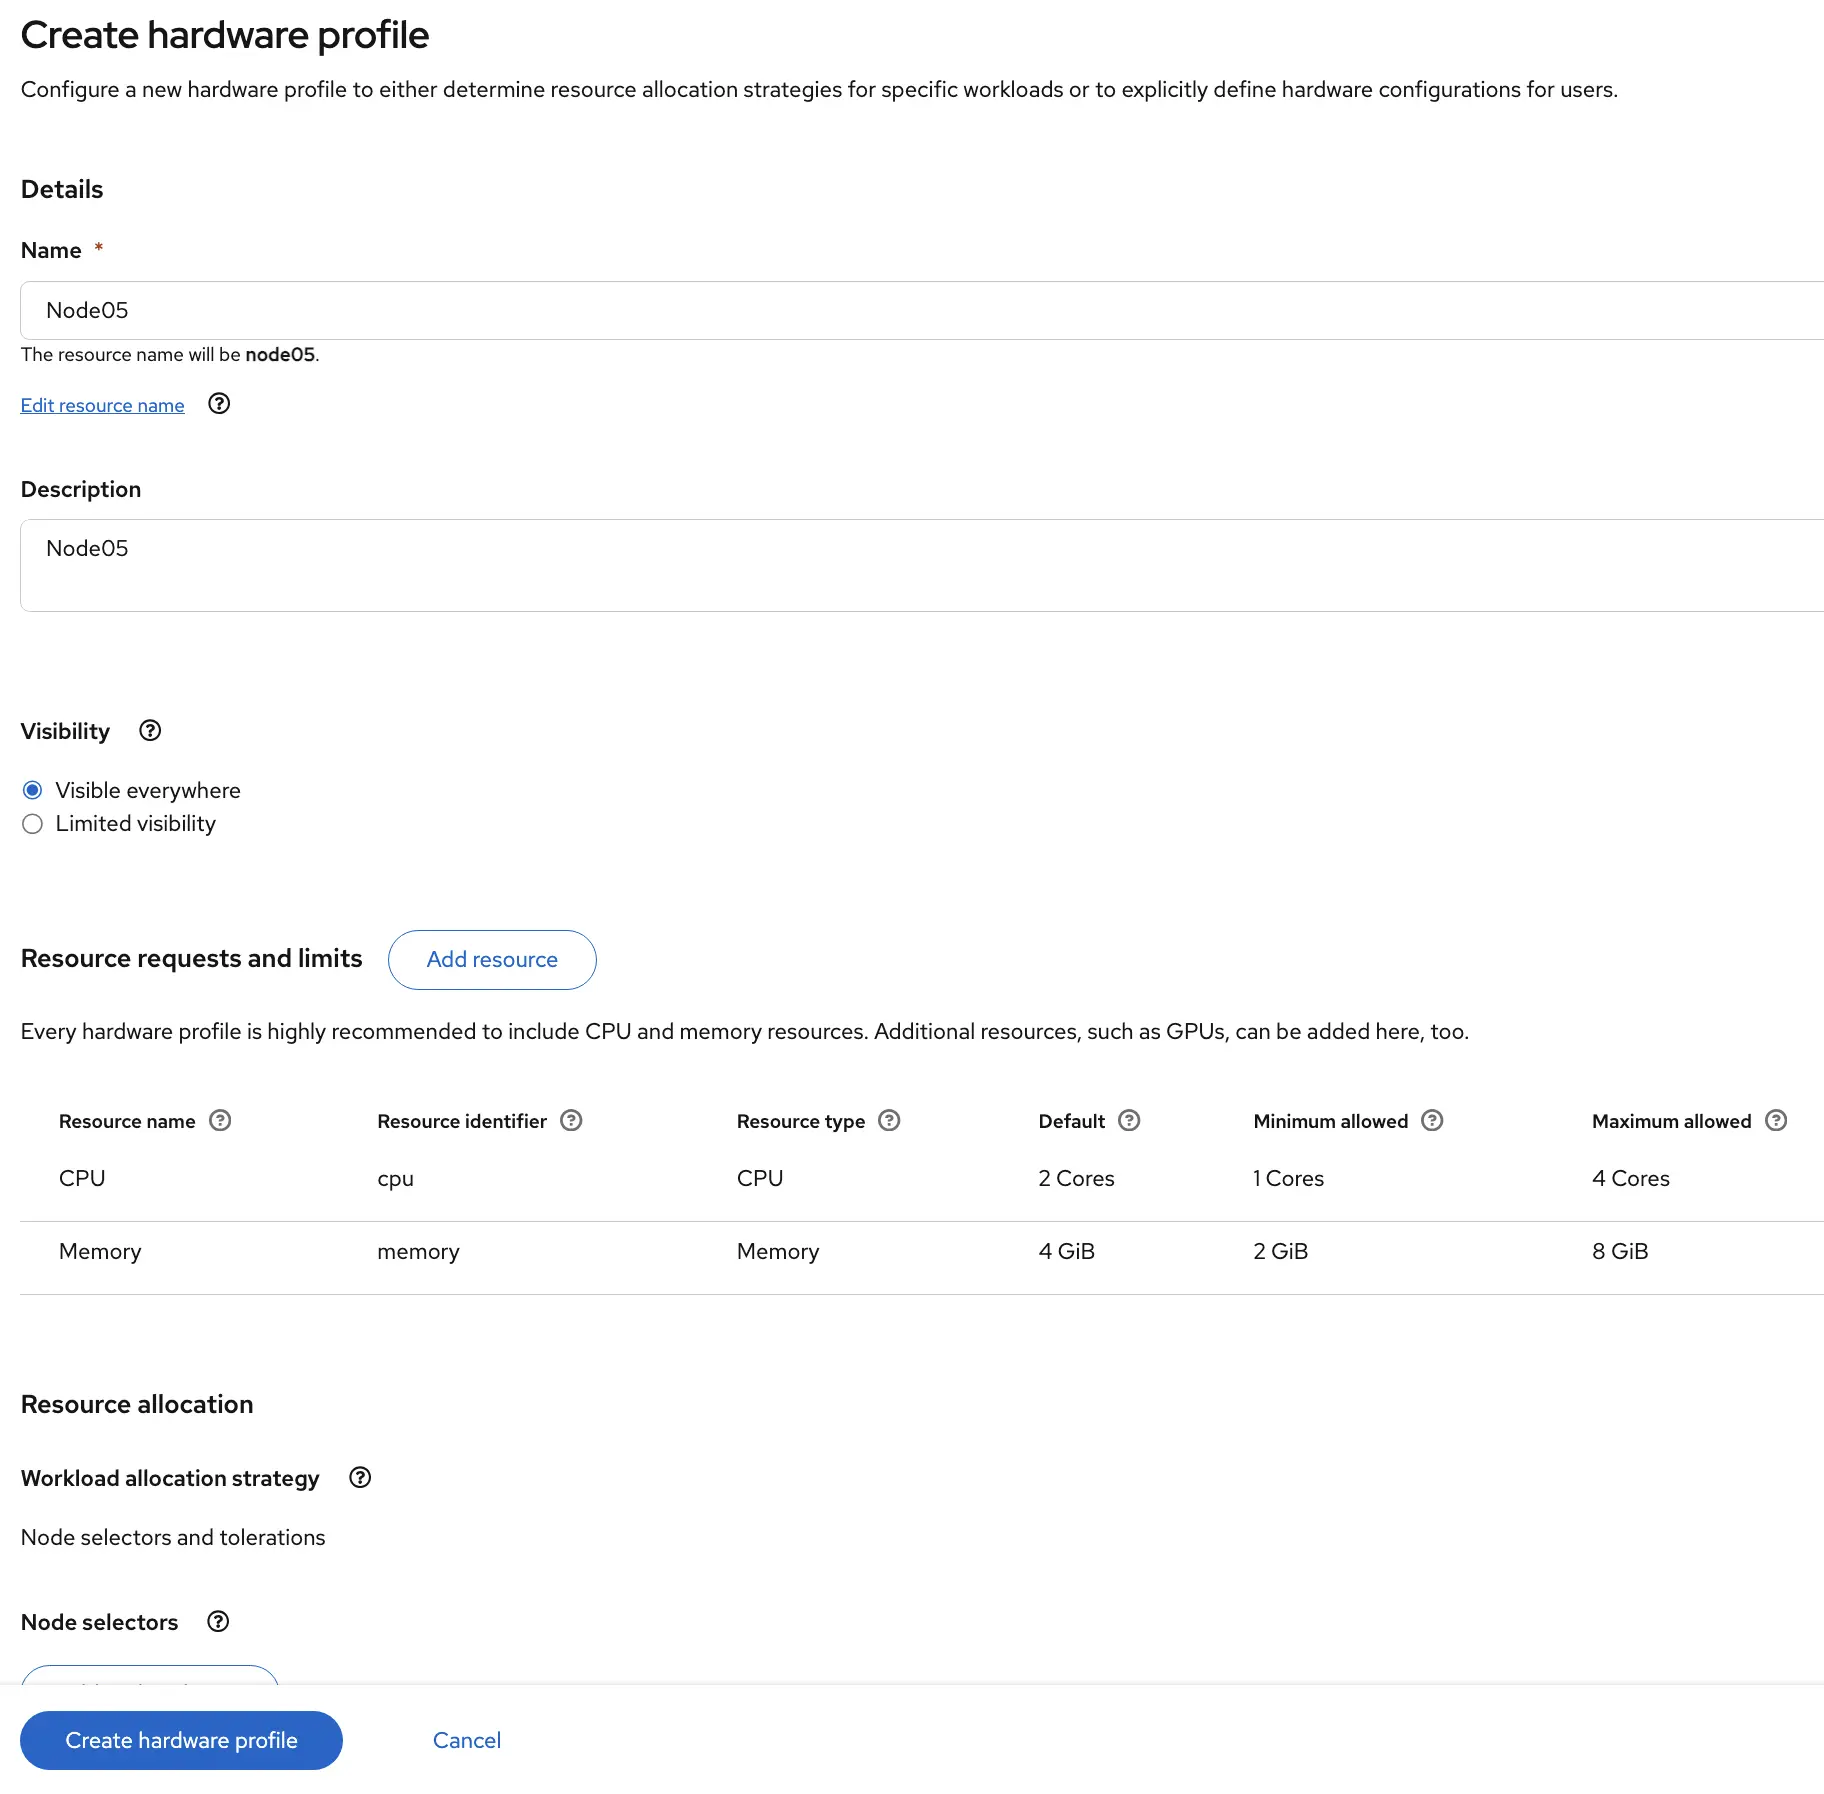
Now that the Hardware Profile is created, we can use it for the next step when creating a model. If you didn’t complete this, don’t worry, you can always use the default profile.
Deploy a Model
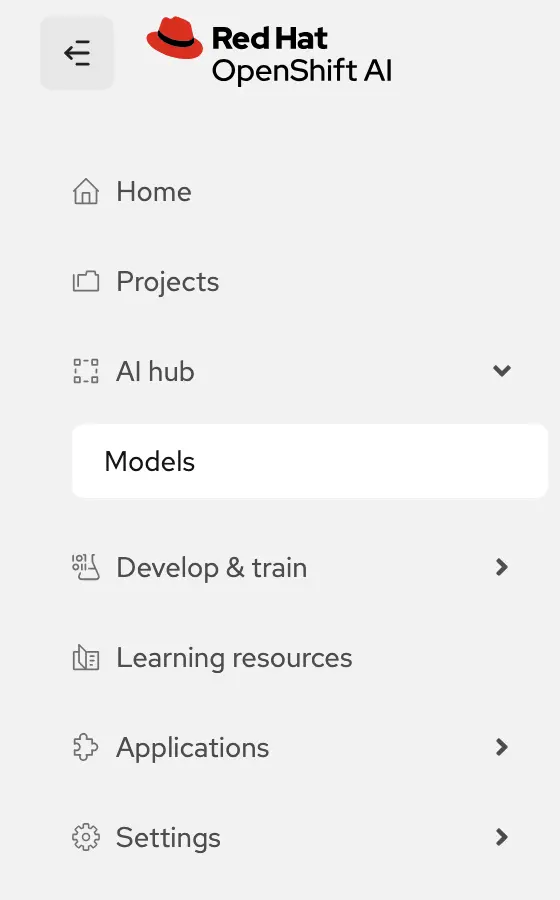
Now comes the time to deploy our model. From the OpenShift AI dashboard navigation choose “Models.”
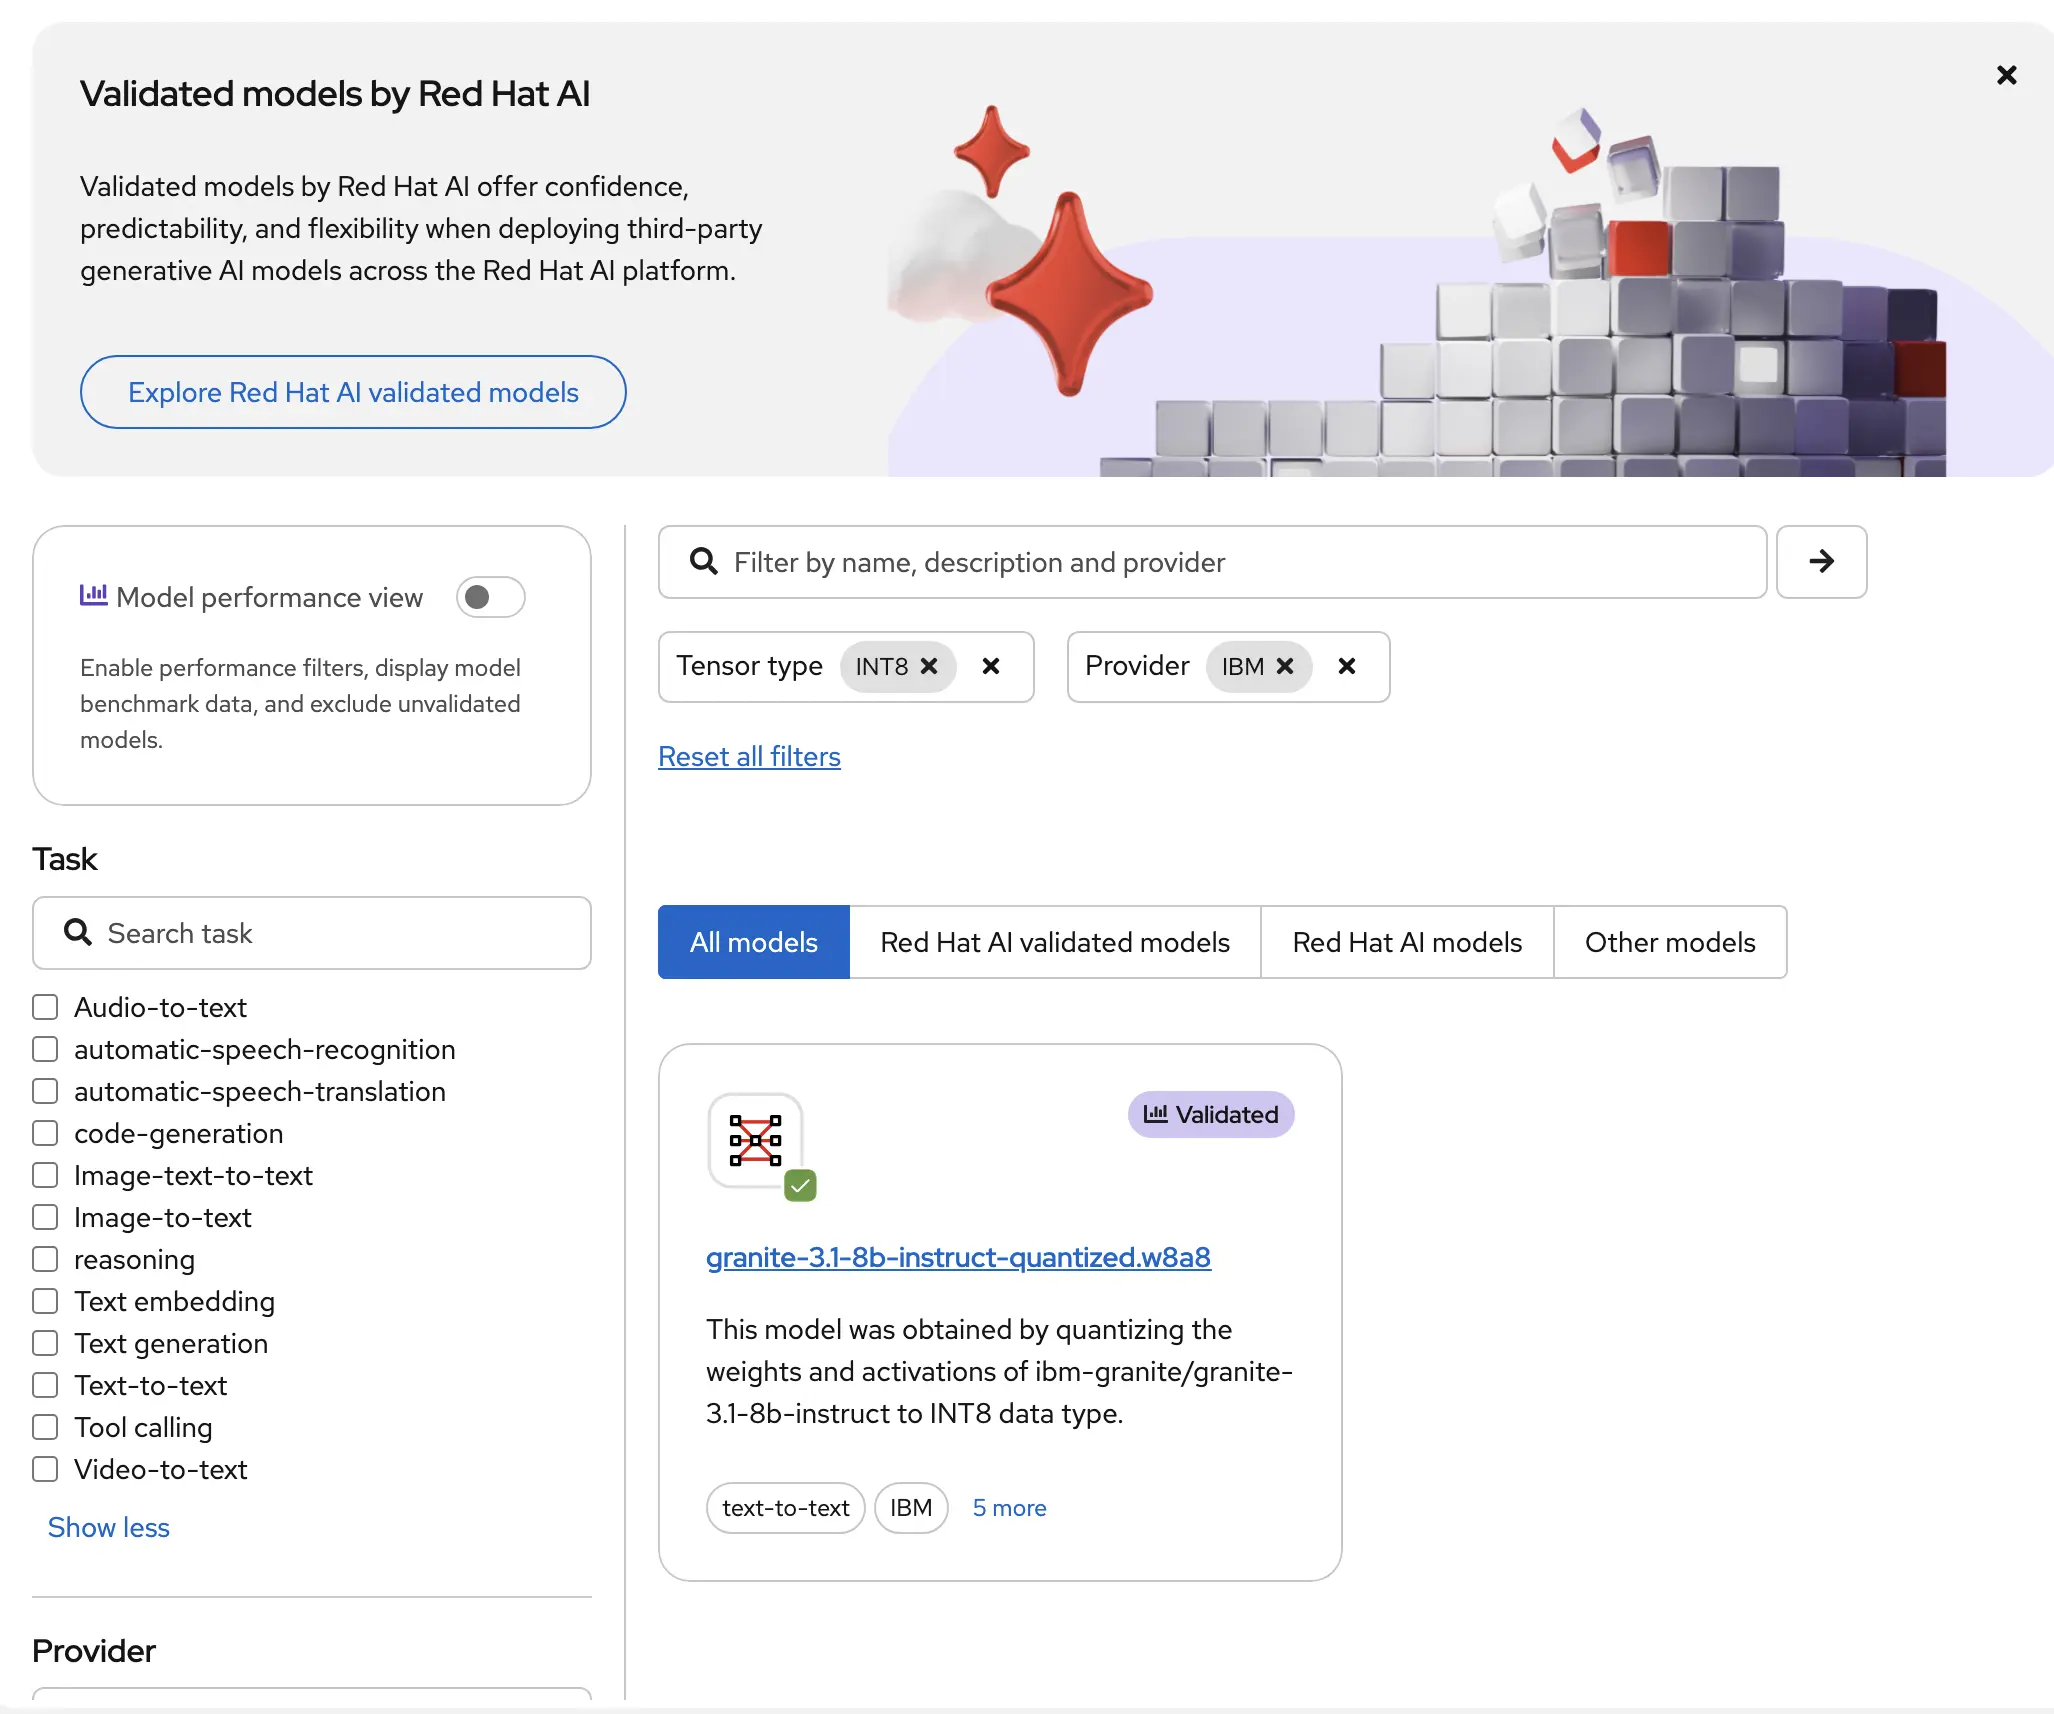
Now you’re presented with a new screen that allows you to select which model you want to use from a large catalog of predefined models verified safe to use. Picking a model to use can be difficult so Red Hat has provided a way to filter models based on characteristics. In my case I’ve searched for an INT8 tensor type model and one provided by IBM. This led me to one of the IBM Granite models. So I’ll select the model I’ve chosen from the catalog to continue deploying.
When you select a model, you’re presented with a screen that provides more information about the model. I like the details in this screen explaining the common uses and other details.
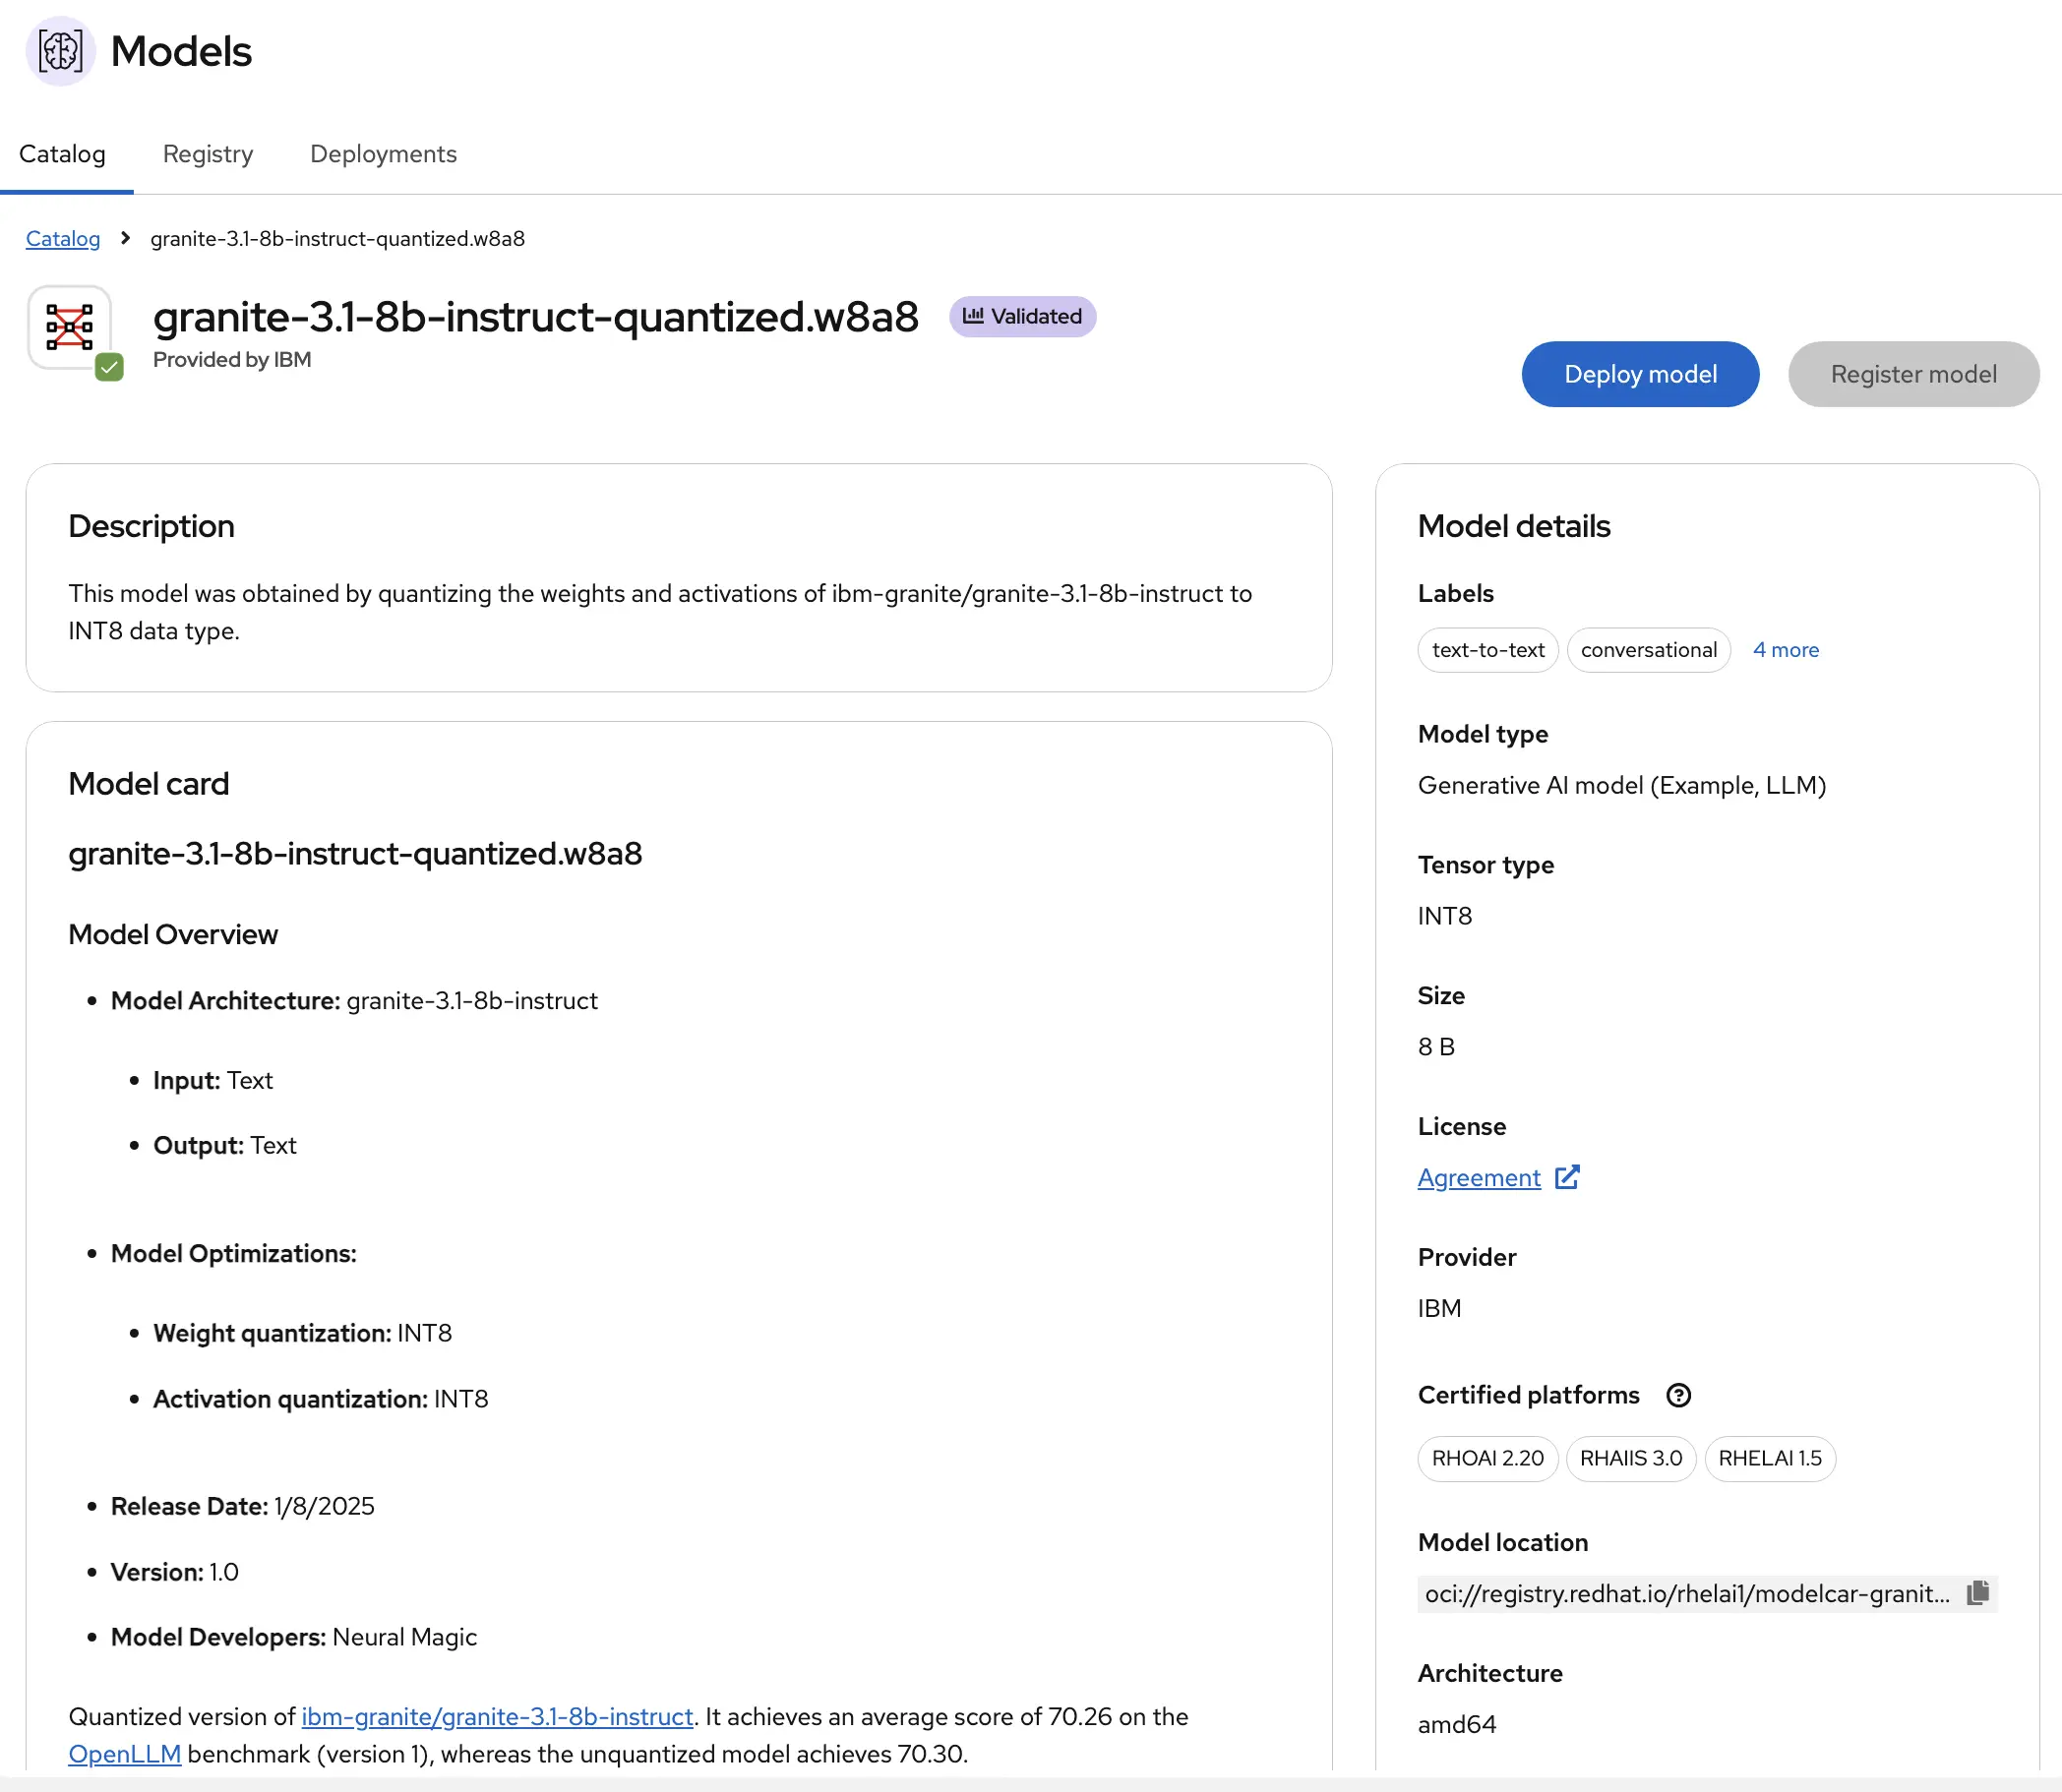
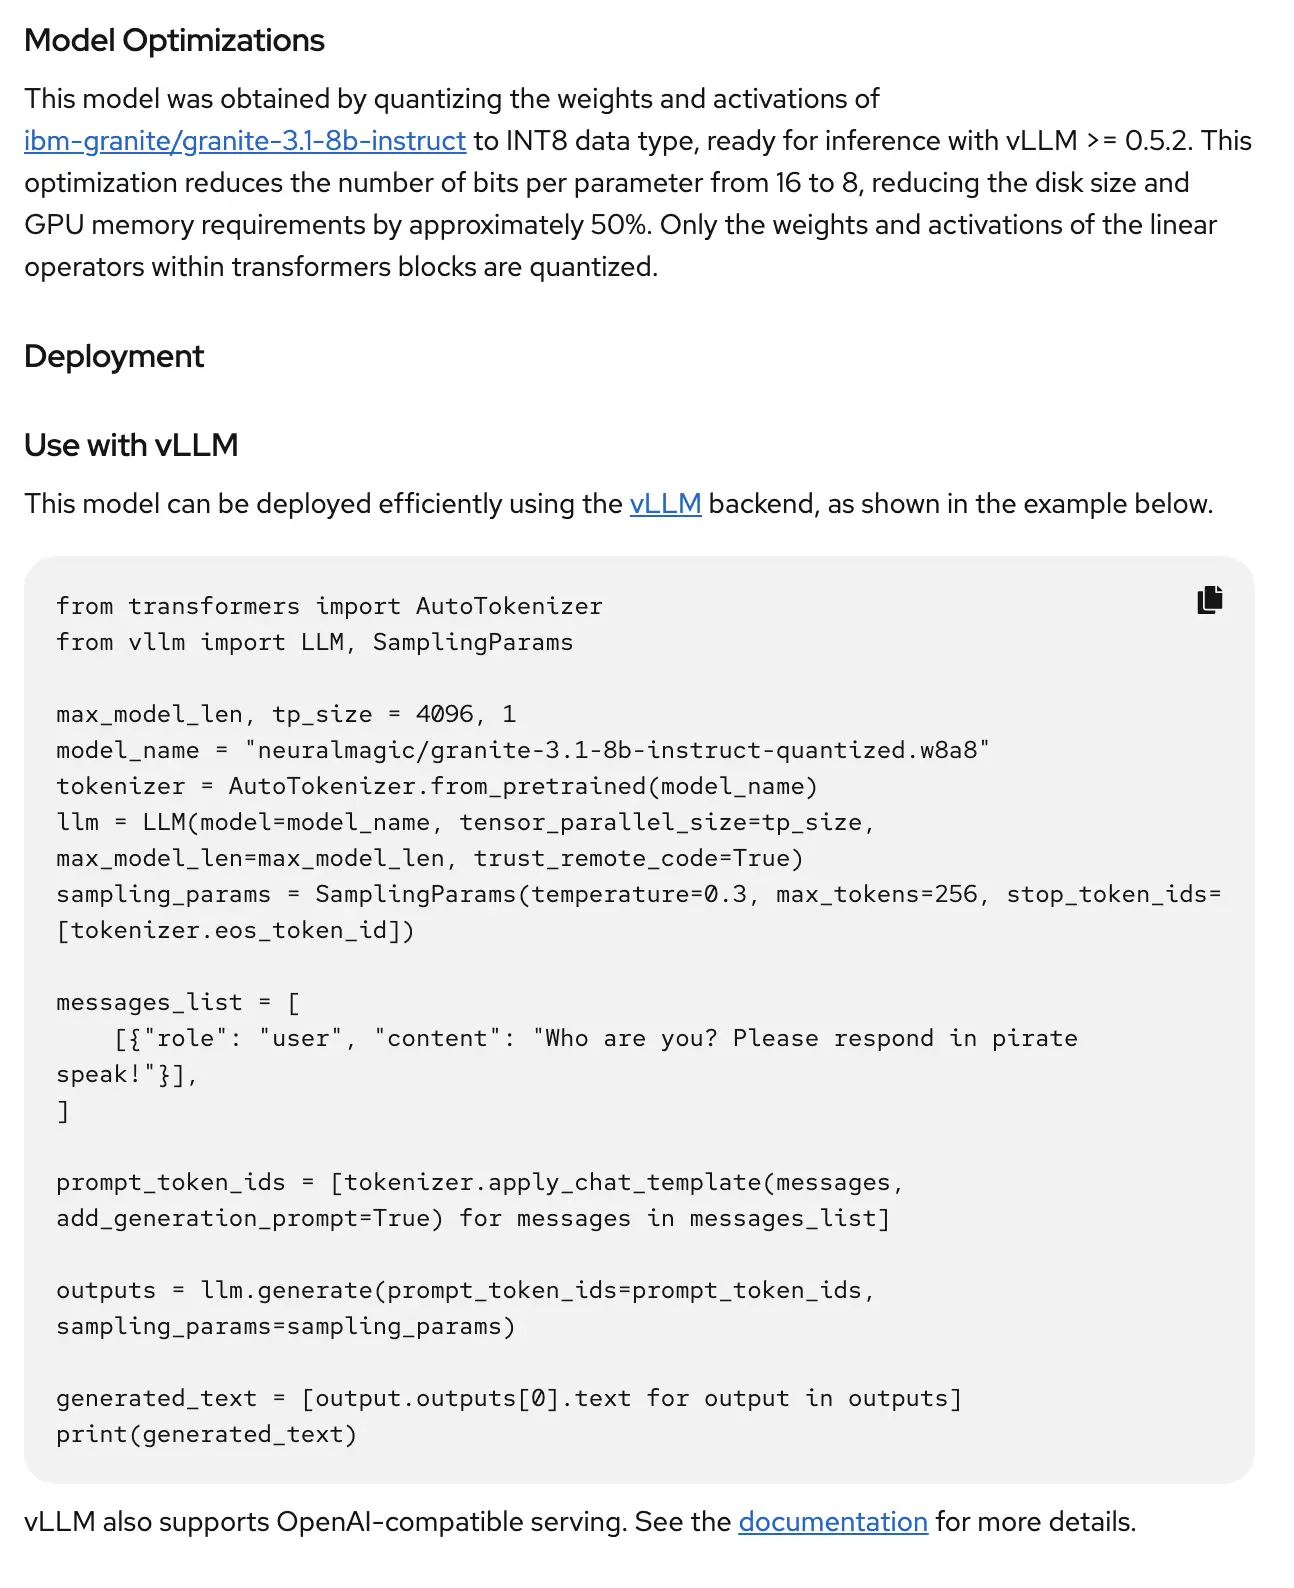
But as you scroll down, this page even shows some examples on how to use this model with your apps.
Note this page also shows details about the model’s performance as well.
When you’re done reviewing the models and find one you want to use, click the “Deploy Model” button.
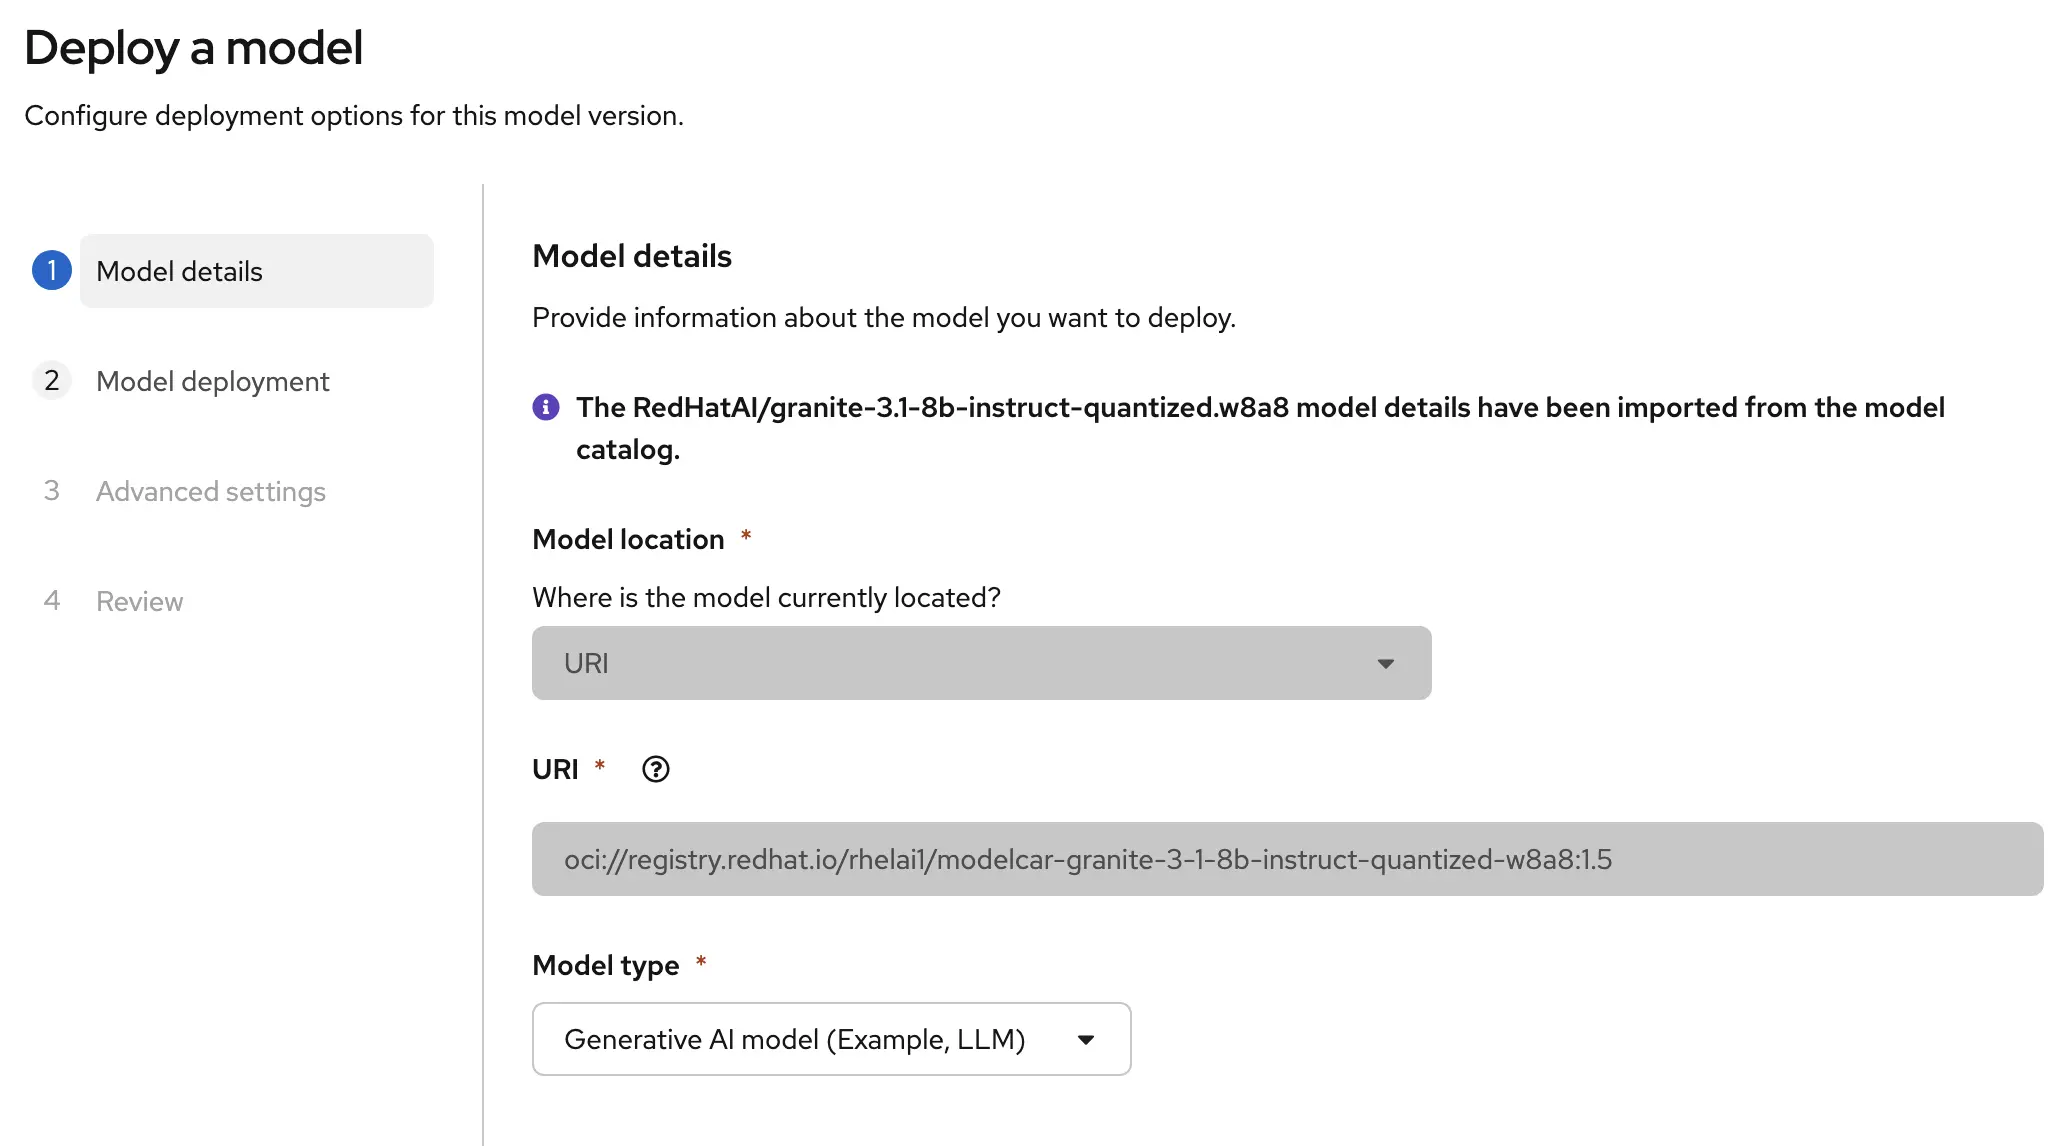
From the Deployment wizard, you can select or update the model details such as where the model is downloaded. The models in the catalog should have these set for you already. But you are also able to select if the model will be used for generative or predictive AI as well.
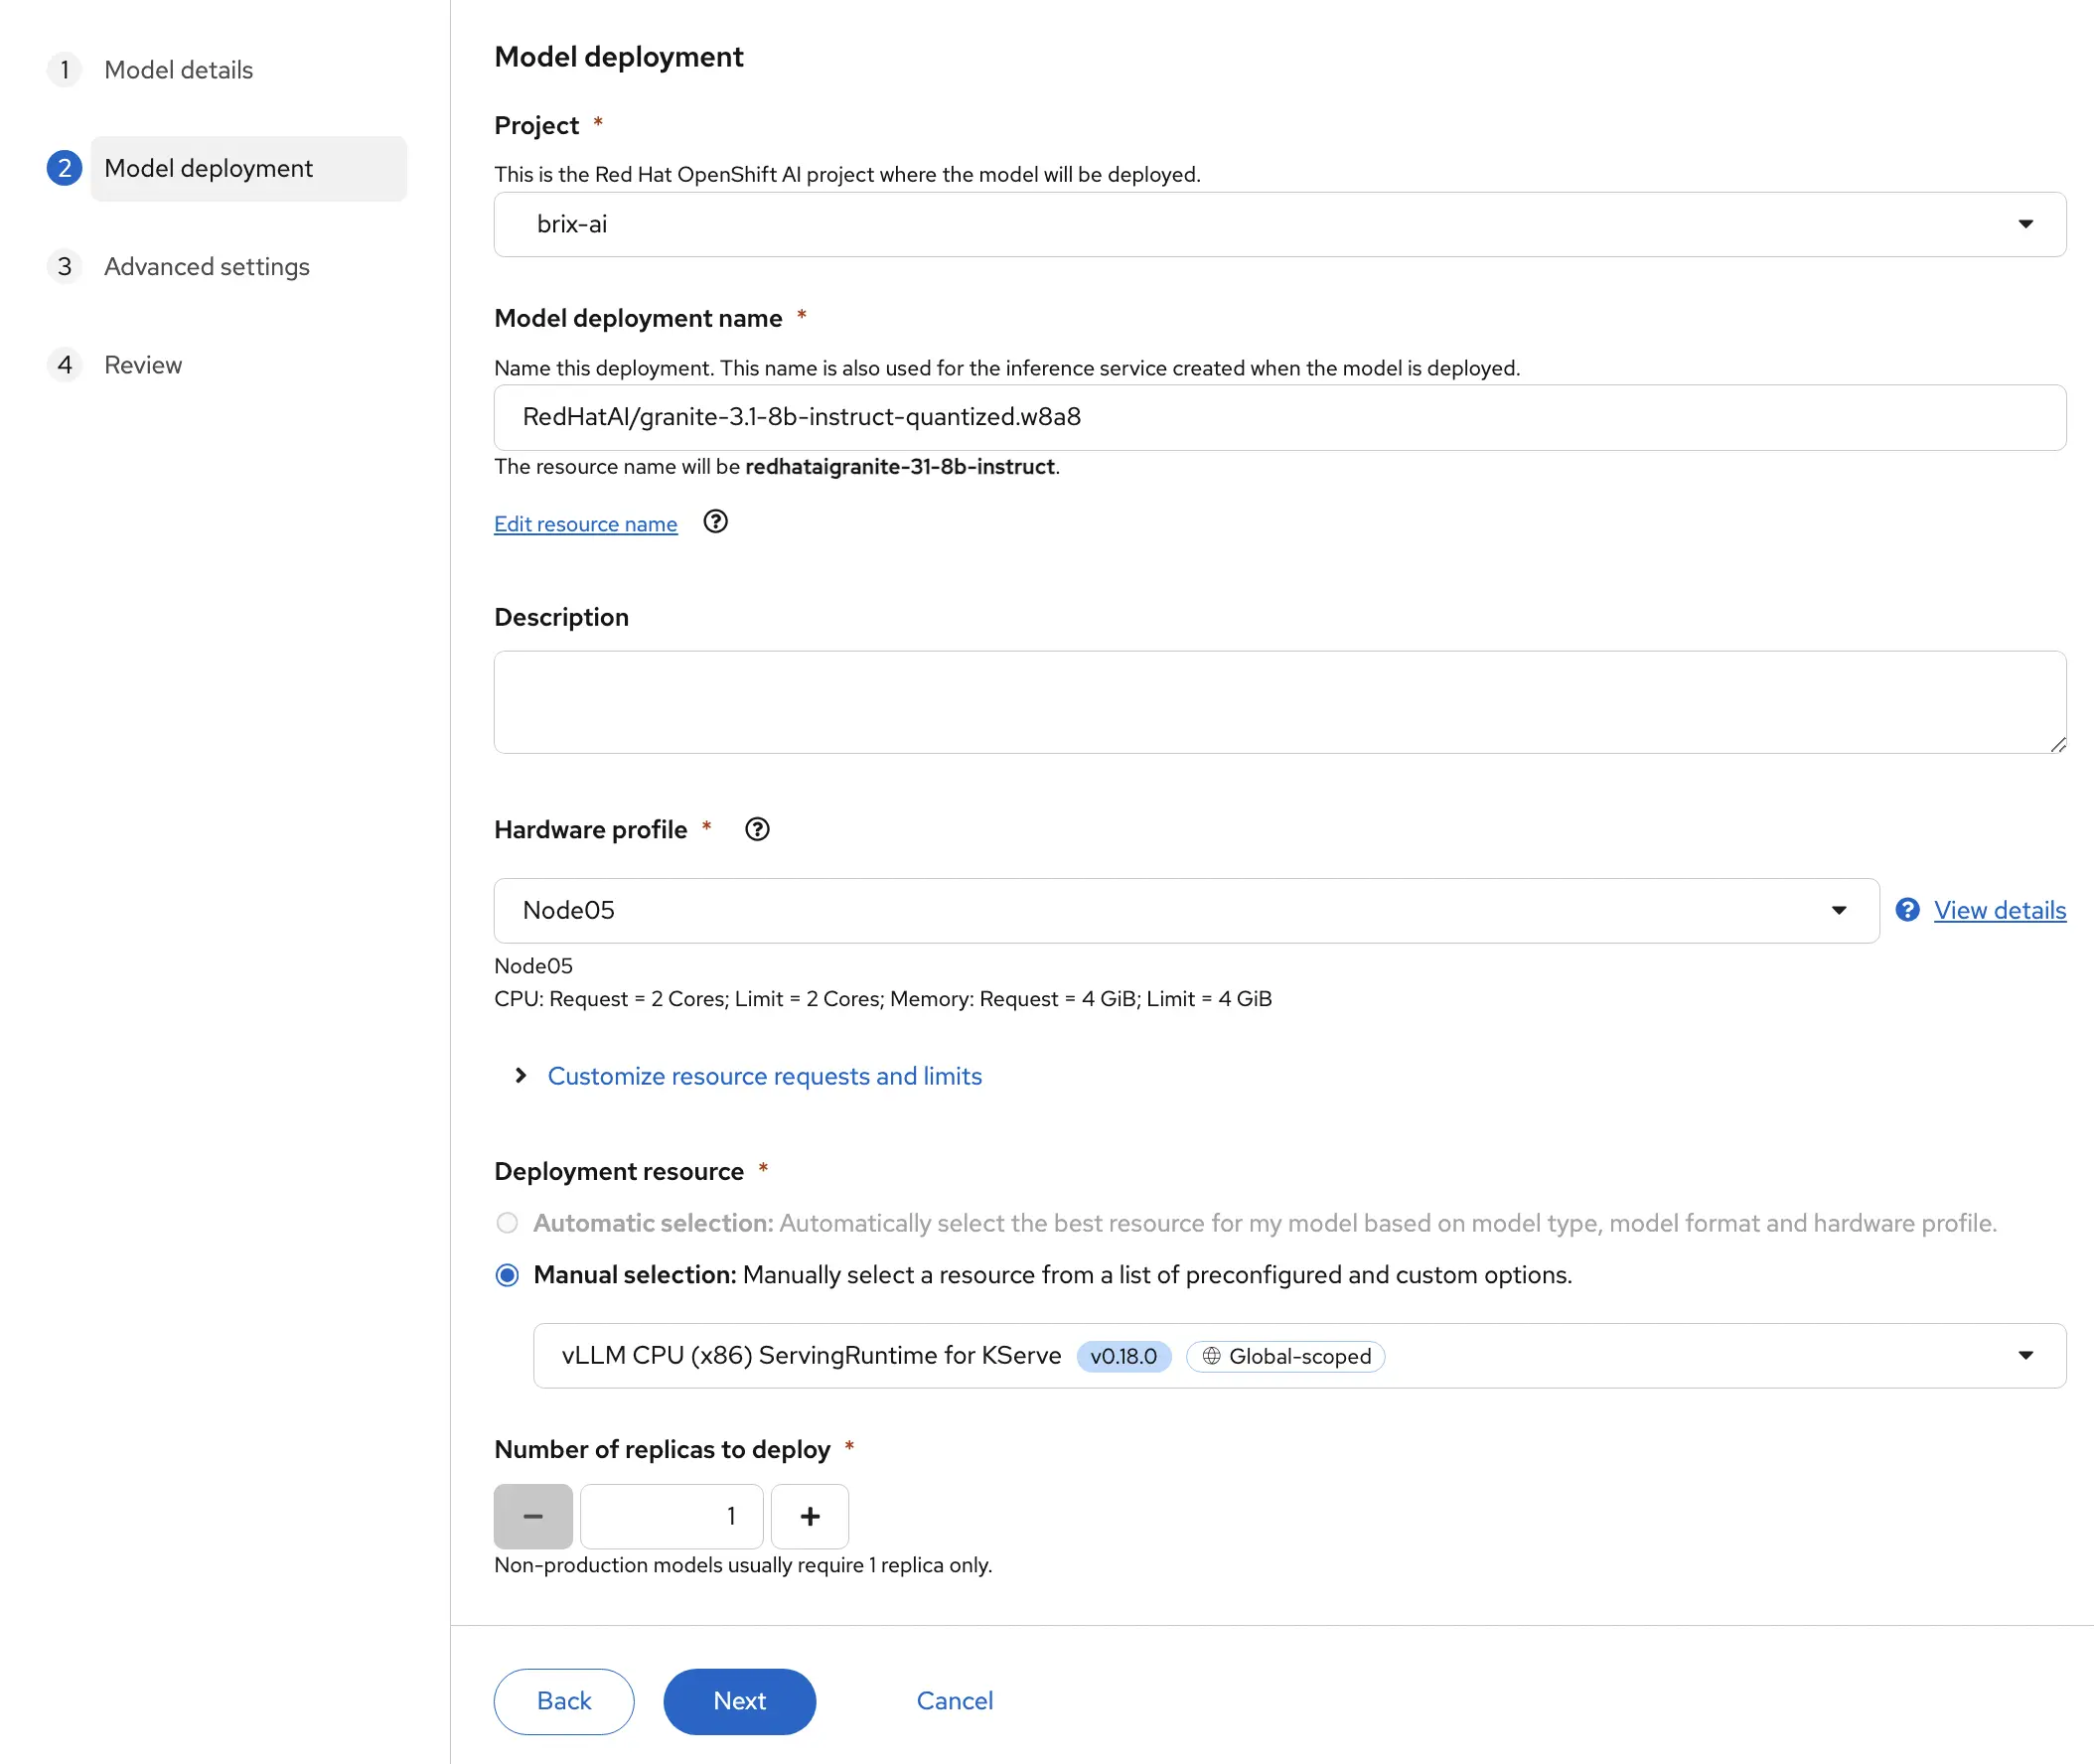
On the Model Deployment page you’ll need to fill in information about what to do with this model. Define which Project we’ll deploy it in, the name of the model in case we have multiple models later, and the Hardware Profile that we created earlier. You’ll also need to select a deployment resource. For this post I’m using the KServe resource based on CPUs. That’s right, this model doesn’t even need a GPU to run, we can run it based on our CPU… but don’t expect to get very good performance out of it.
Note: CPUs weren’t built for the kind of parallel math that LLMs rely on, so response times will be noticeably slower than a GPU-backed deployment.
KServe is the model serving framework underneath OpenShift AI. It handles the lifecycle of your model server i.e. spinning it up, routing requests to it, and scaling it. The serving runtime on top of KServe is vLLM, a high-performance inference engine built specifically for large language models. One important thing vLLM gives us is an OpenAI-compatible API, which means the same curl command or SDK code you’d use with ChatGPT works here too. Swap out the endpoint URL and you’re talking to your own self-hosted model instead.
Select the number of deployments you want to have. It’s a lab so a single inference server is all I’m running which is probably not OK to do for an Enterprise production deployment of a model.
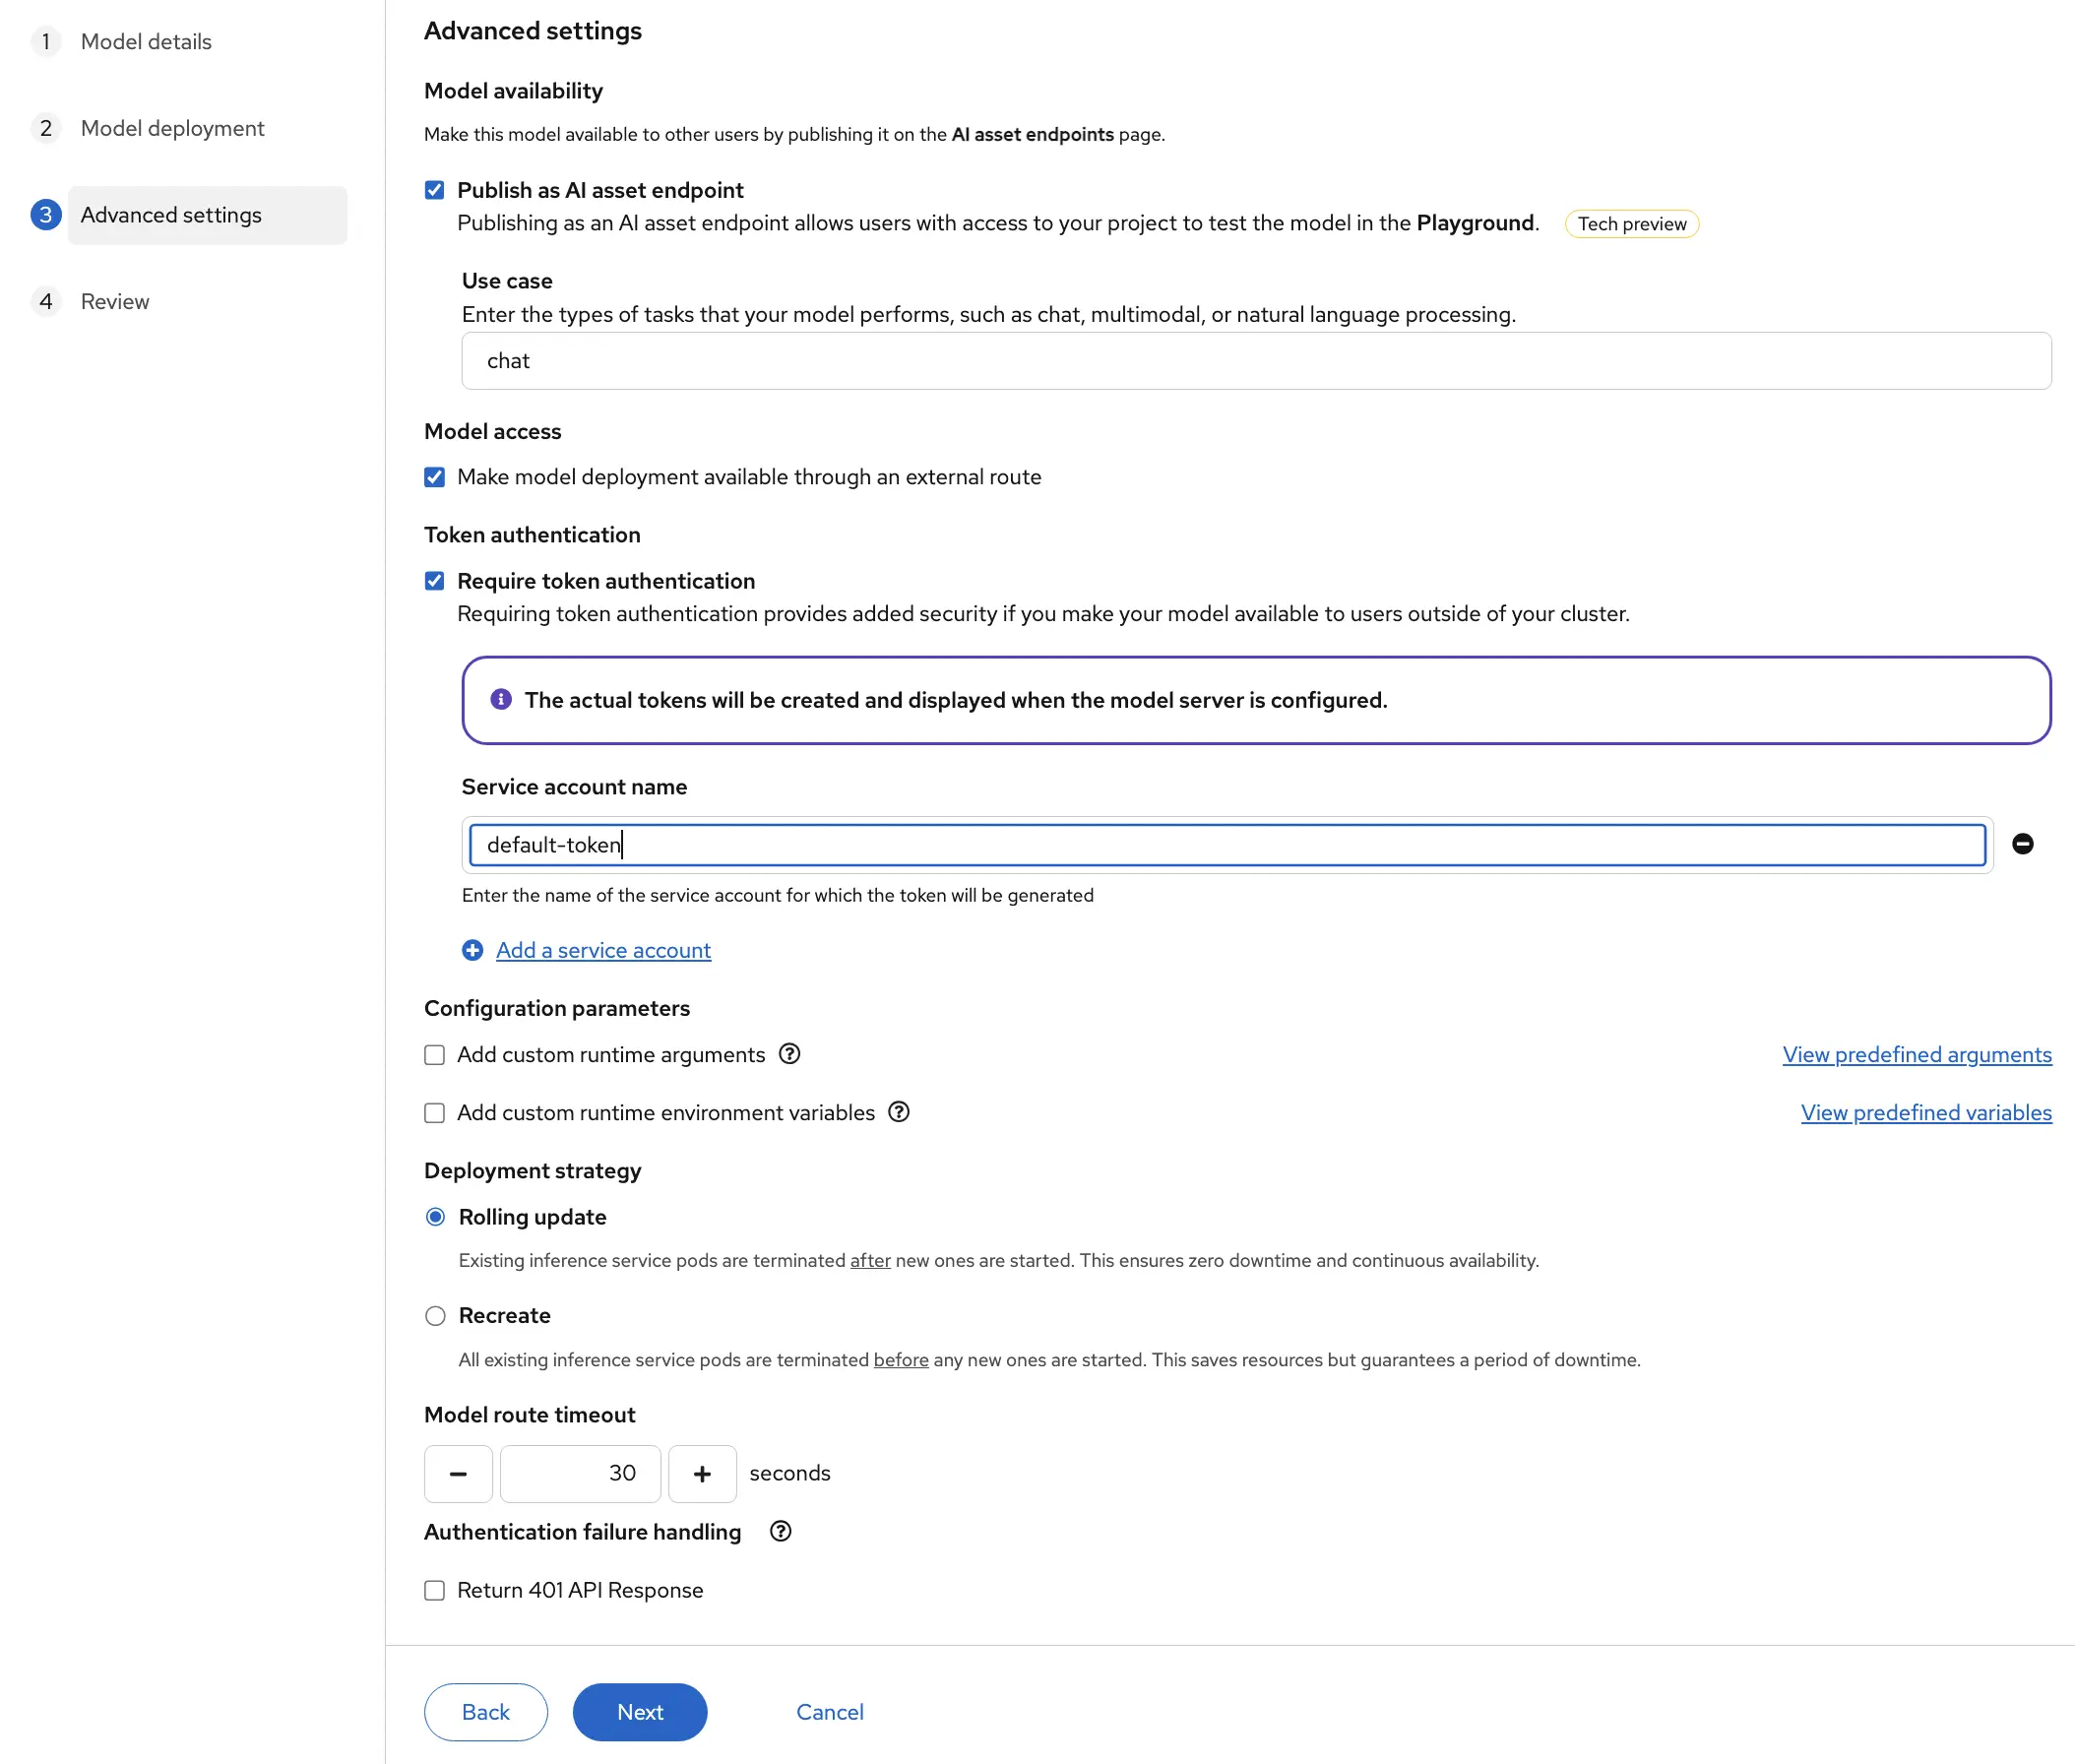
On the Advanced Settings screen we should further customize our model. For this use case I’m selecting the Publish an AI Asset endpoint so that I can use another tool in the OpenShift AI dashboard to test my model.
This is currently in tech preview as of this writing.
You also might want to make your model accessible from outside the OpenShift cluster. In my case it doesn’t matter, but if we want to we can do this through an external route. Doing this though means we should have some security enabled for our inference server or else anyone can use it with a network connection to your cluster. So if you enable this, provide an authentication token from a service account.
Later in the configuration you can decide how upgrades to this model should be handled.
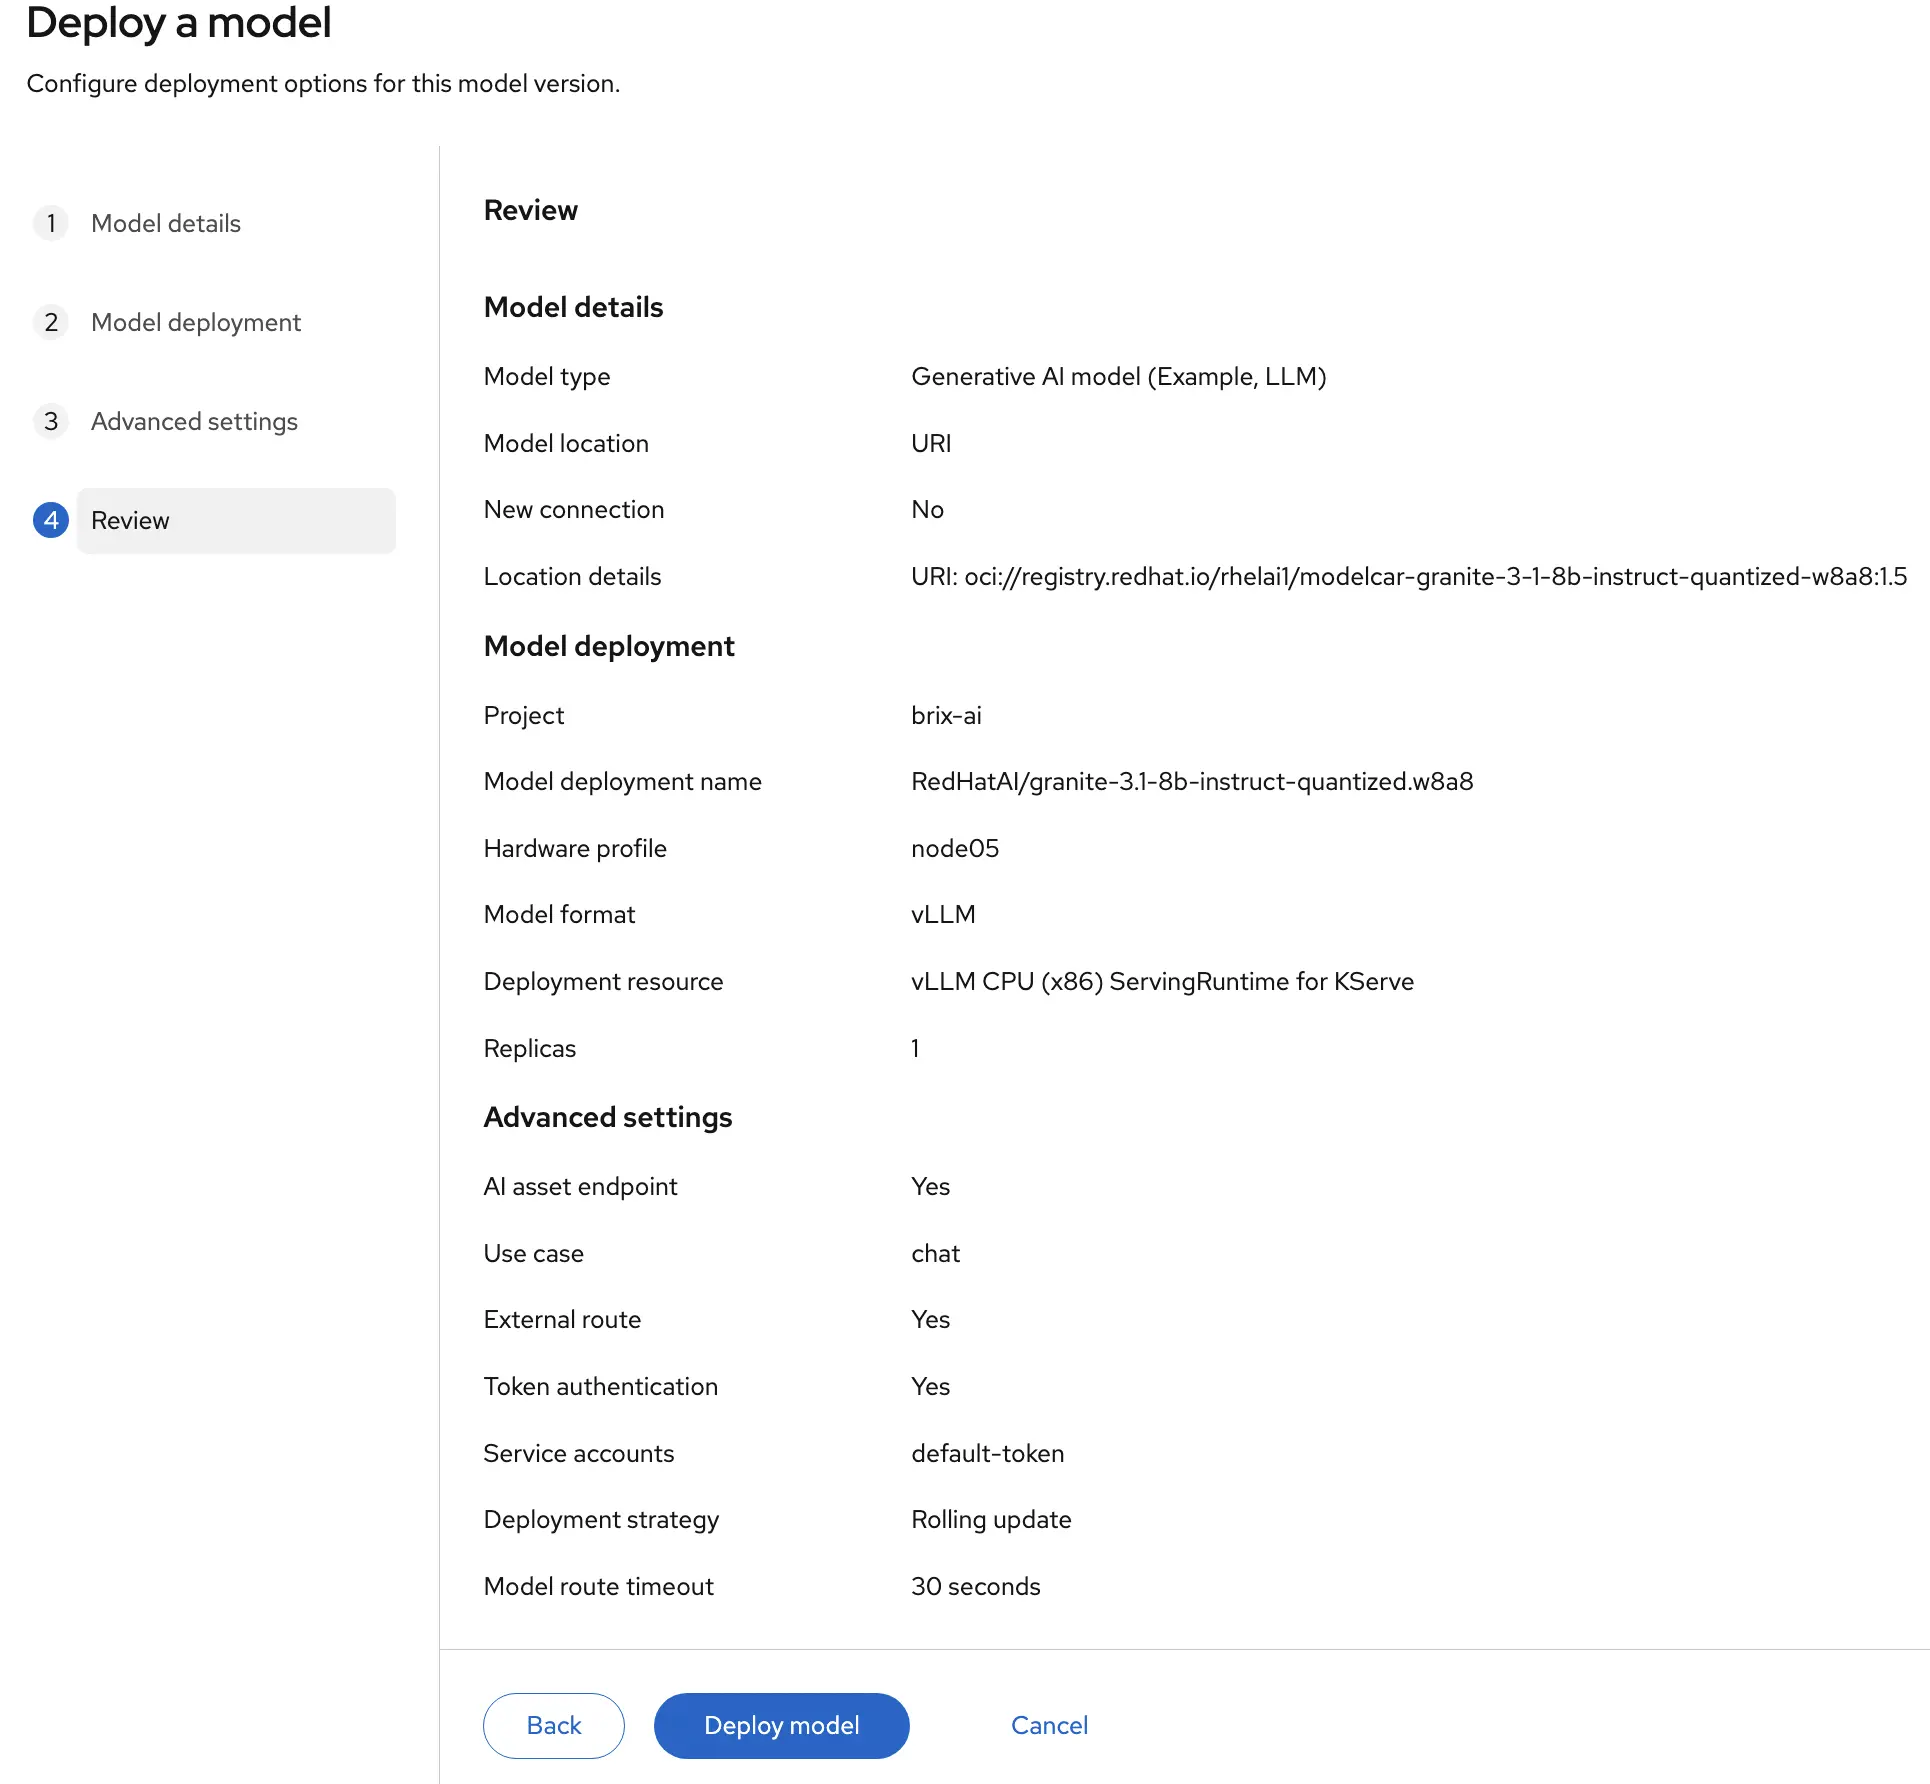
Next, review the details of your model deployment before clicking the “Deploy Model” button.
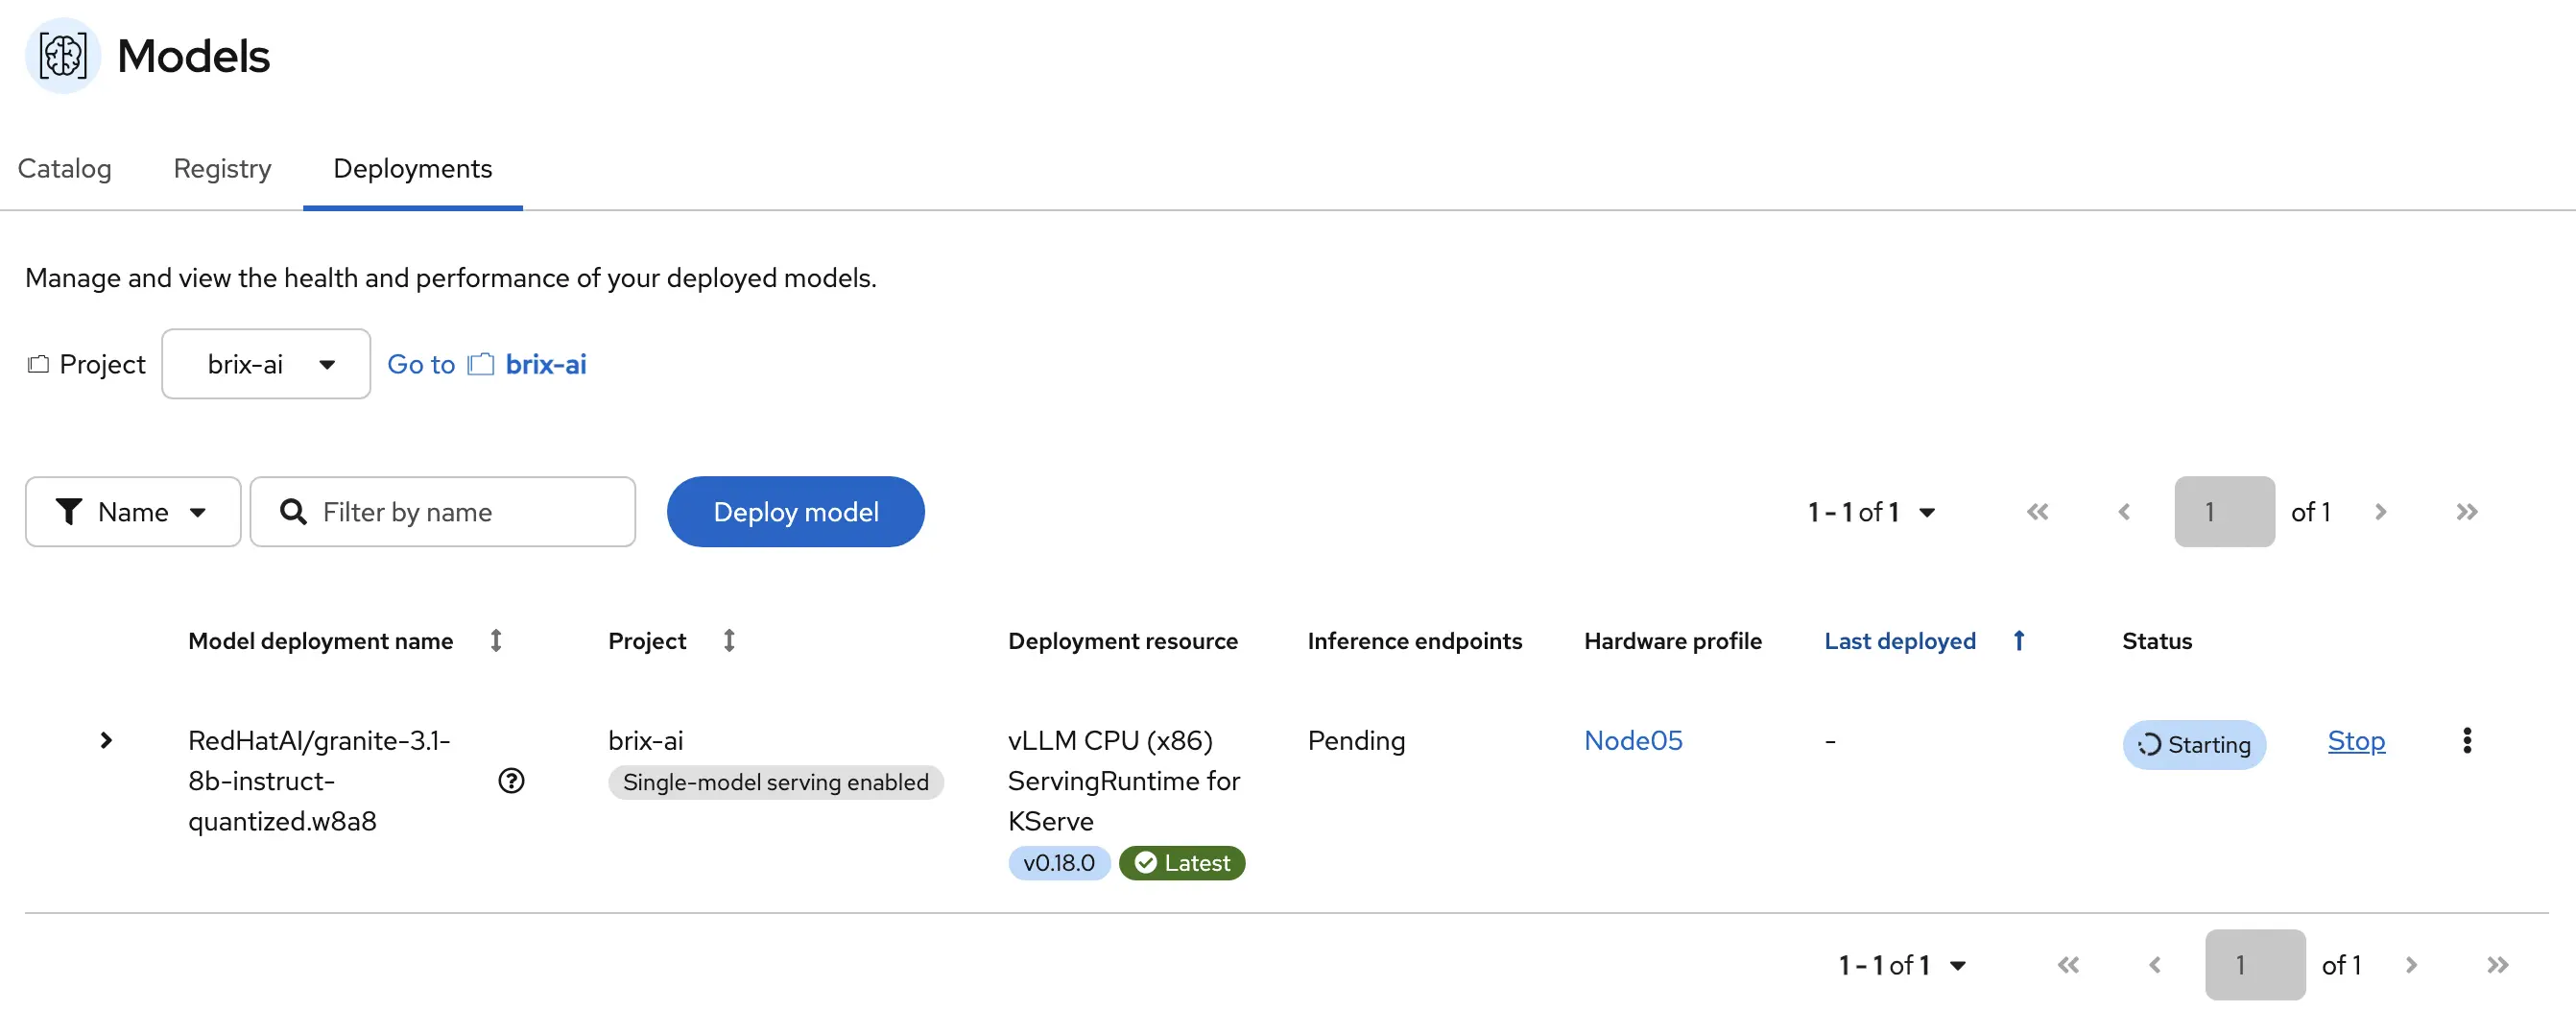
While the model is being deployed you can watch the status in the dashboard.
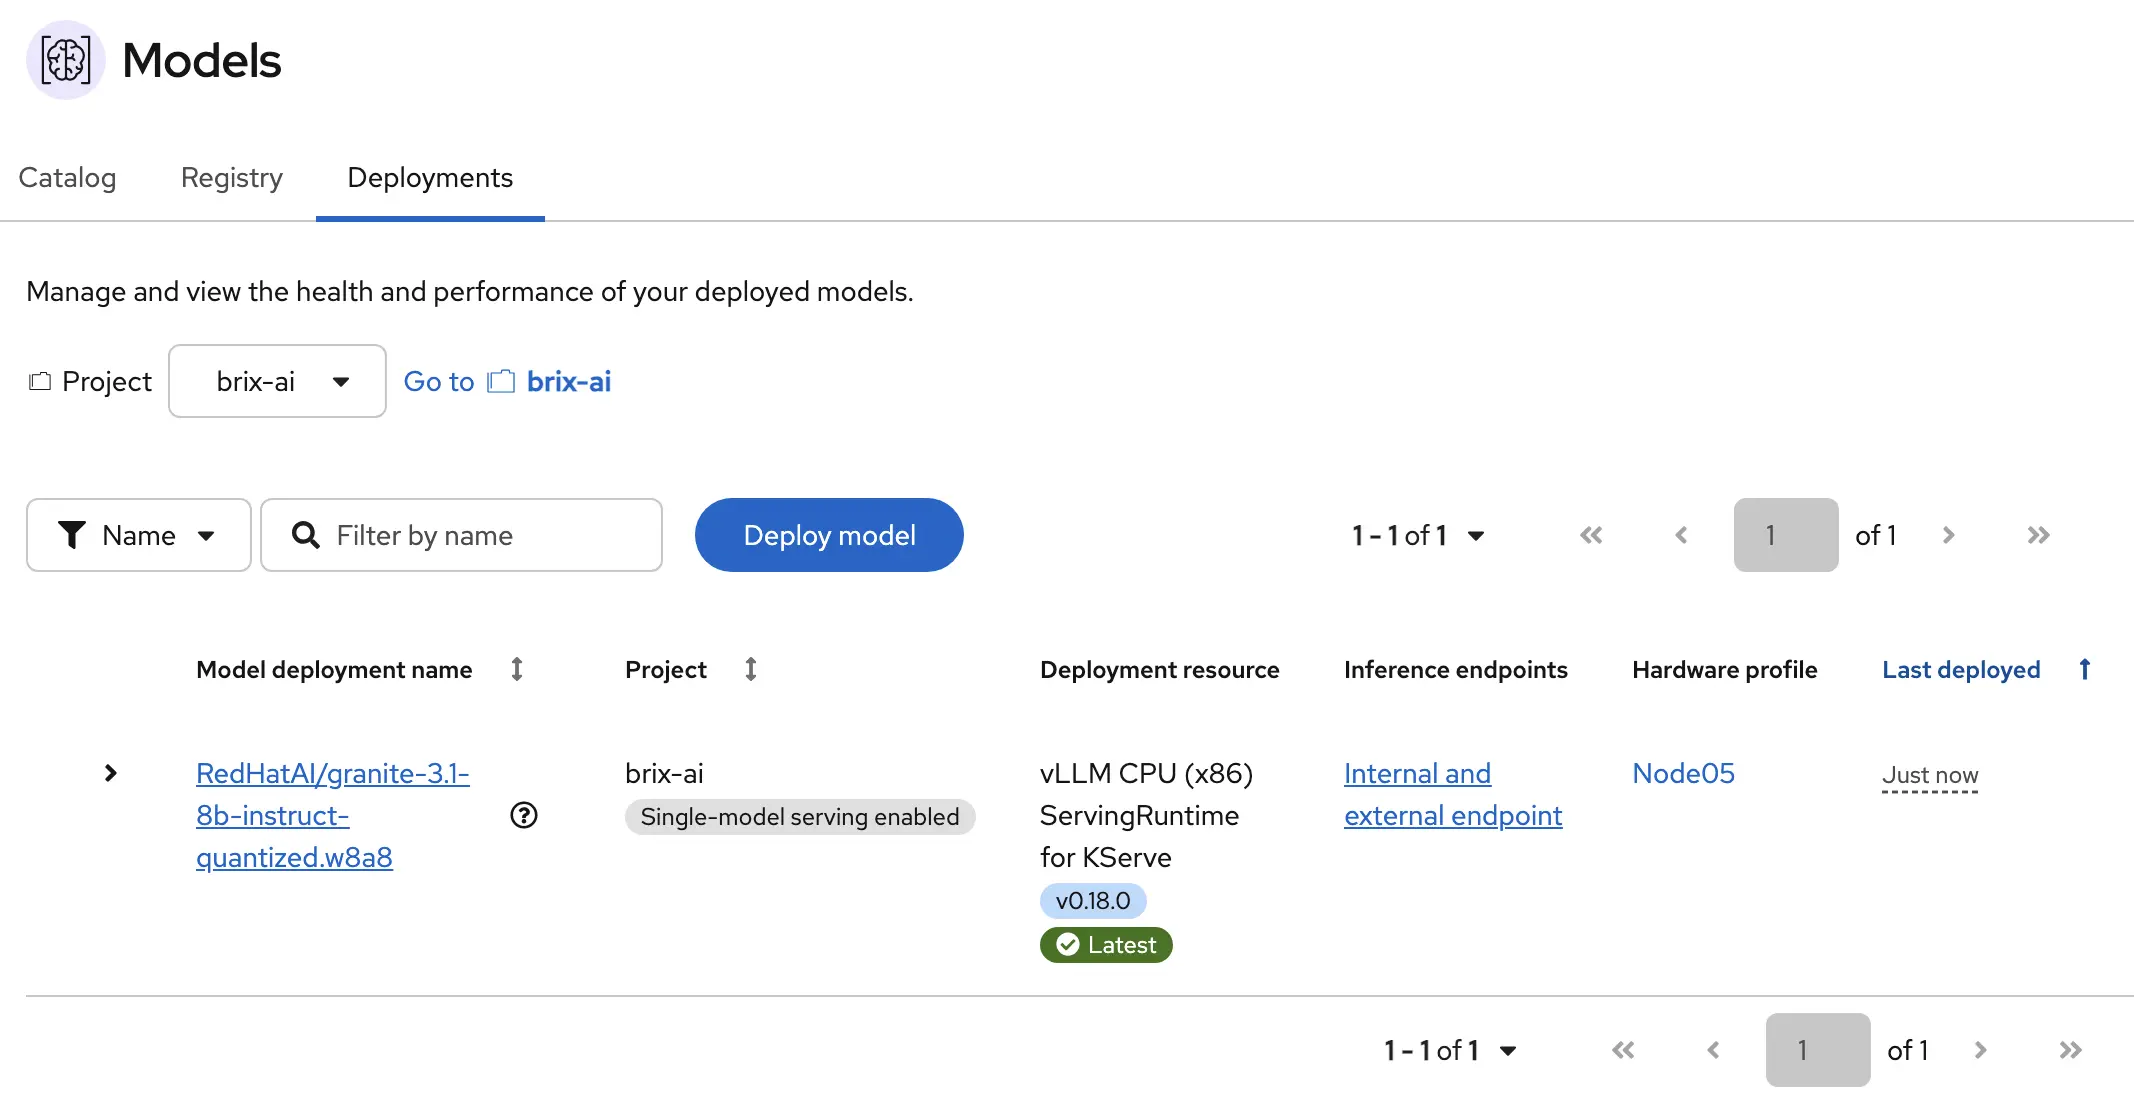
Eventually the model will be deployed, and when done you’ll see the external endpoint that can be used by your application to use this model.
Try Out the Model
Now that the model is deployed, let’s see if it works! One simple way to do this is to use the external endpoint provided in the dashboard, and a token from your OpenShift cluster, and make a simple curl command to the endpoint. You can see below that I use oc whoami -t to get my own OpenShift token, and I submit a simple request of what's the best pizza topping?.
The response comes back in OpenAI-compatible format. A few things worth pointing out: the content field has the actual answer from the model, and the usage block at the end shows how many tokens were consumed — 67 for the prompt and 100 for the completion in this case.
TOKEN=$(oc whoami -t)

curl -k -X POST https://redhataigranite-31-8b-instruct-brix-ai.apps.cluster1.hollow.lab/v1/chat/completions \
  -H "Content-Type: application/json" \
  -H "Authorization: Bearer $TOKEN" \
  -d '{
    "model": "redhataigranite-31-8b-instruct",
    "messages": [
      {"role": "user", "content": "Whats the best pizza topping?"}
    ],
    "max_tokens": 100
  }'
{
    "id": "chatcmpl-b3a63550e5f55bb4",
    "object": "chat.completion",
    "created": 1780375525,
    "model": "redhataigranite-31-8b-instruct",
    "choices": [{
        "index": 0,
        "message": {
            "role": "assistant",
            "content": "The \"best\" pizza topping can be subjective as it largely depends on personal taste preferences. However, some of the most popular toppings worldwide include mushrooms, pepperoni, sausage, onions, bell peppers, olives, and mushrooms, often combined with classic cheese (like mozzarella) and tomato sauce.\n\nFor veggie lovers, combinations like artichokes, spinach",
            "refusal": null,
            "annotations": null,
            "audio": null,
            "function_call": null,
            "tool_calls": [],
            "reasoning": null
        },
        "logprobs": null,
        "finish_reason": "length",
        "stop_reason": null,
        "token_ids": null
    }],
    "service_tier": null,
    "system_fingerprint": null,
    "usage": {
        "prompt_tokens": 67,
        "total_tokens": 167,
        "completion_tokens": 100,
        "prompt_tokens_details": null
    },
    "prompt_logprobs": null,
    "prompt_token_ids": null,
    "kv_transfer_params": null
} %
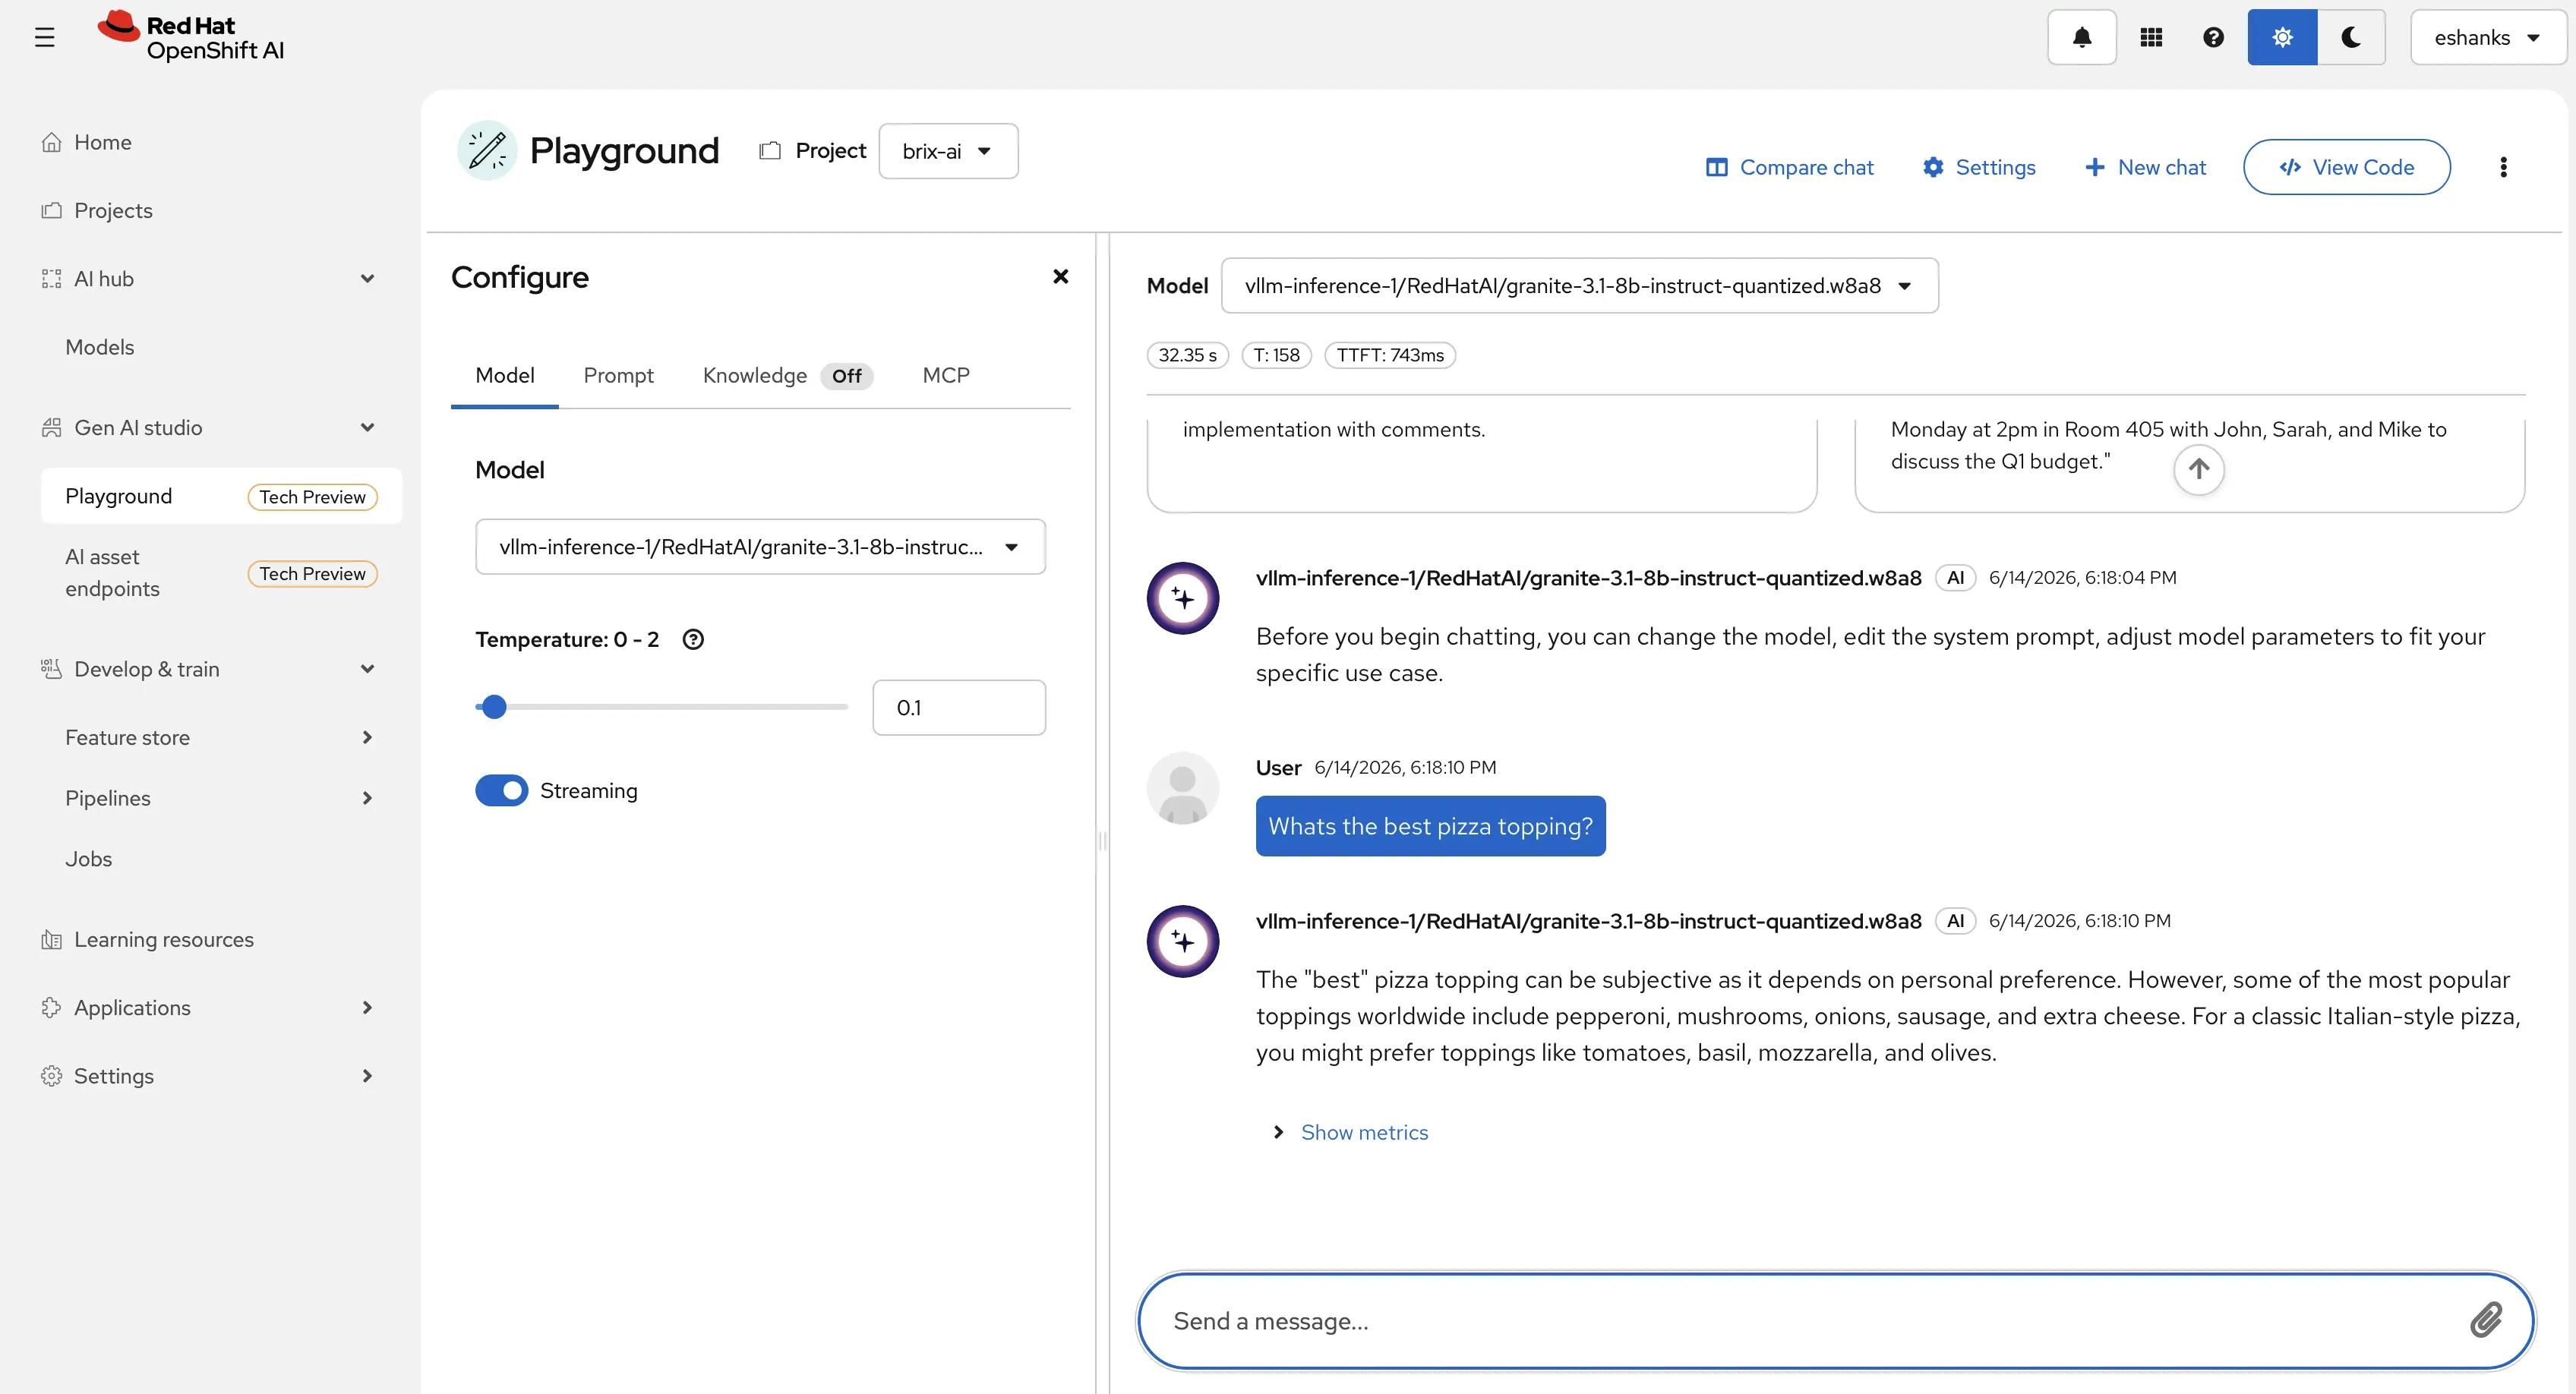
Thats neat, but that new tool that is currently in Tech Preview might even be a simpler way to test the model. From the GenAI studio navigation you can directly query your LLM from the OpenShift AI dashboard. This gives you a quick way to test your model using a chat interface without having to use any code.
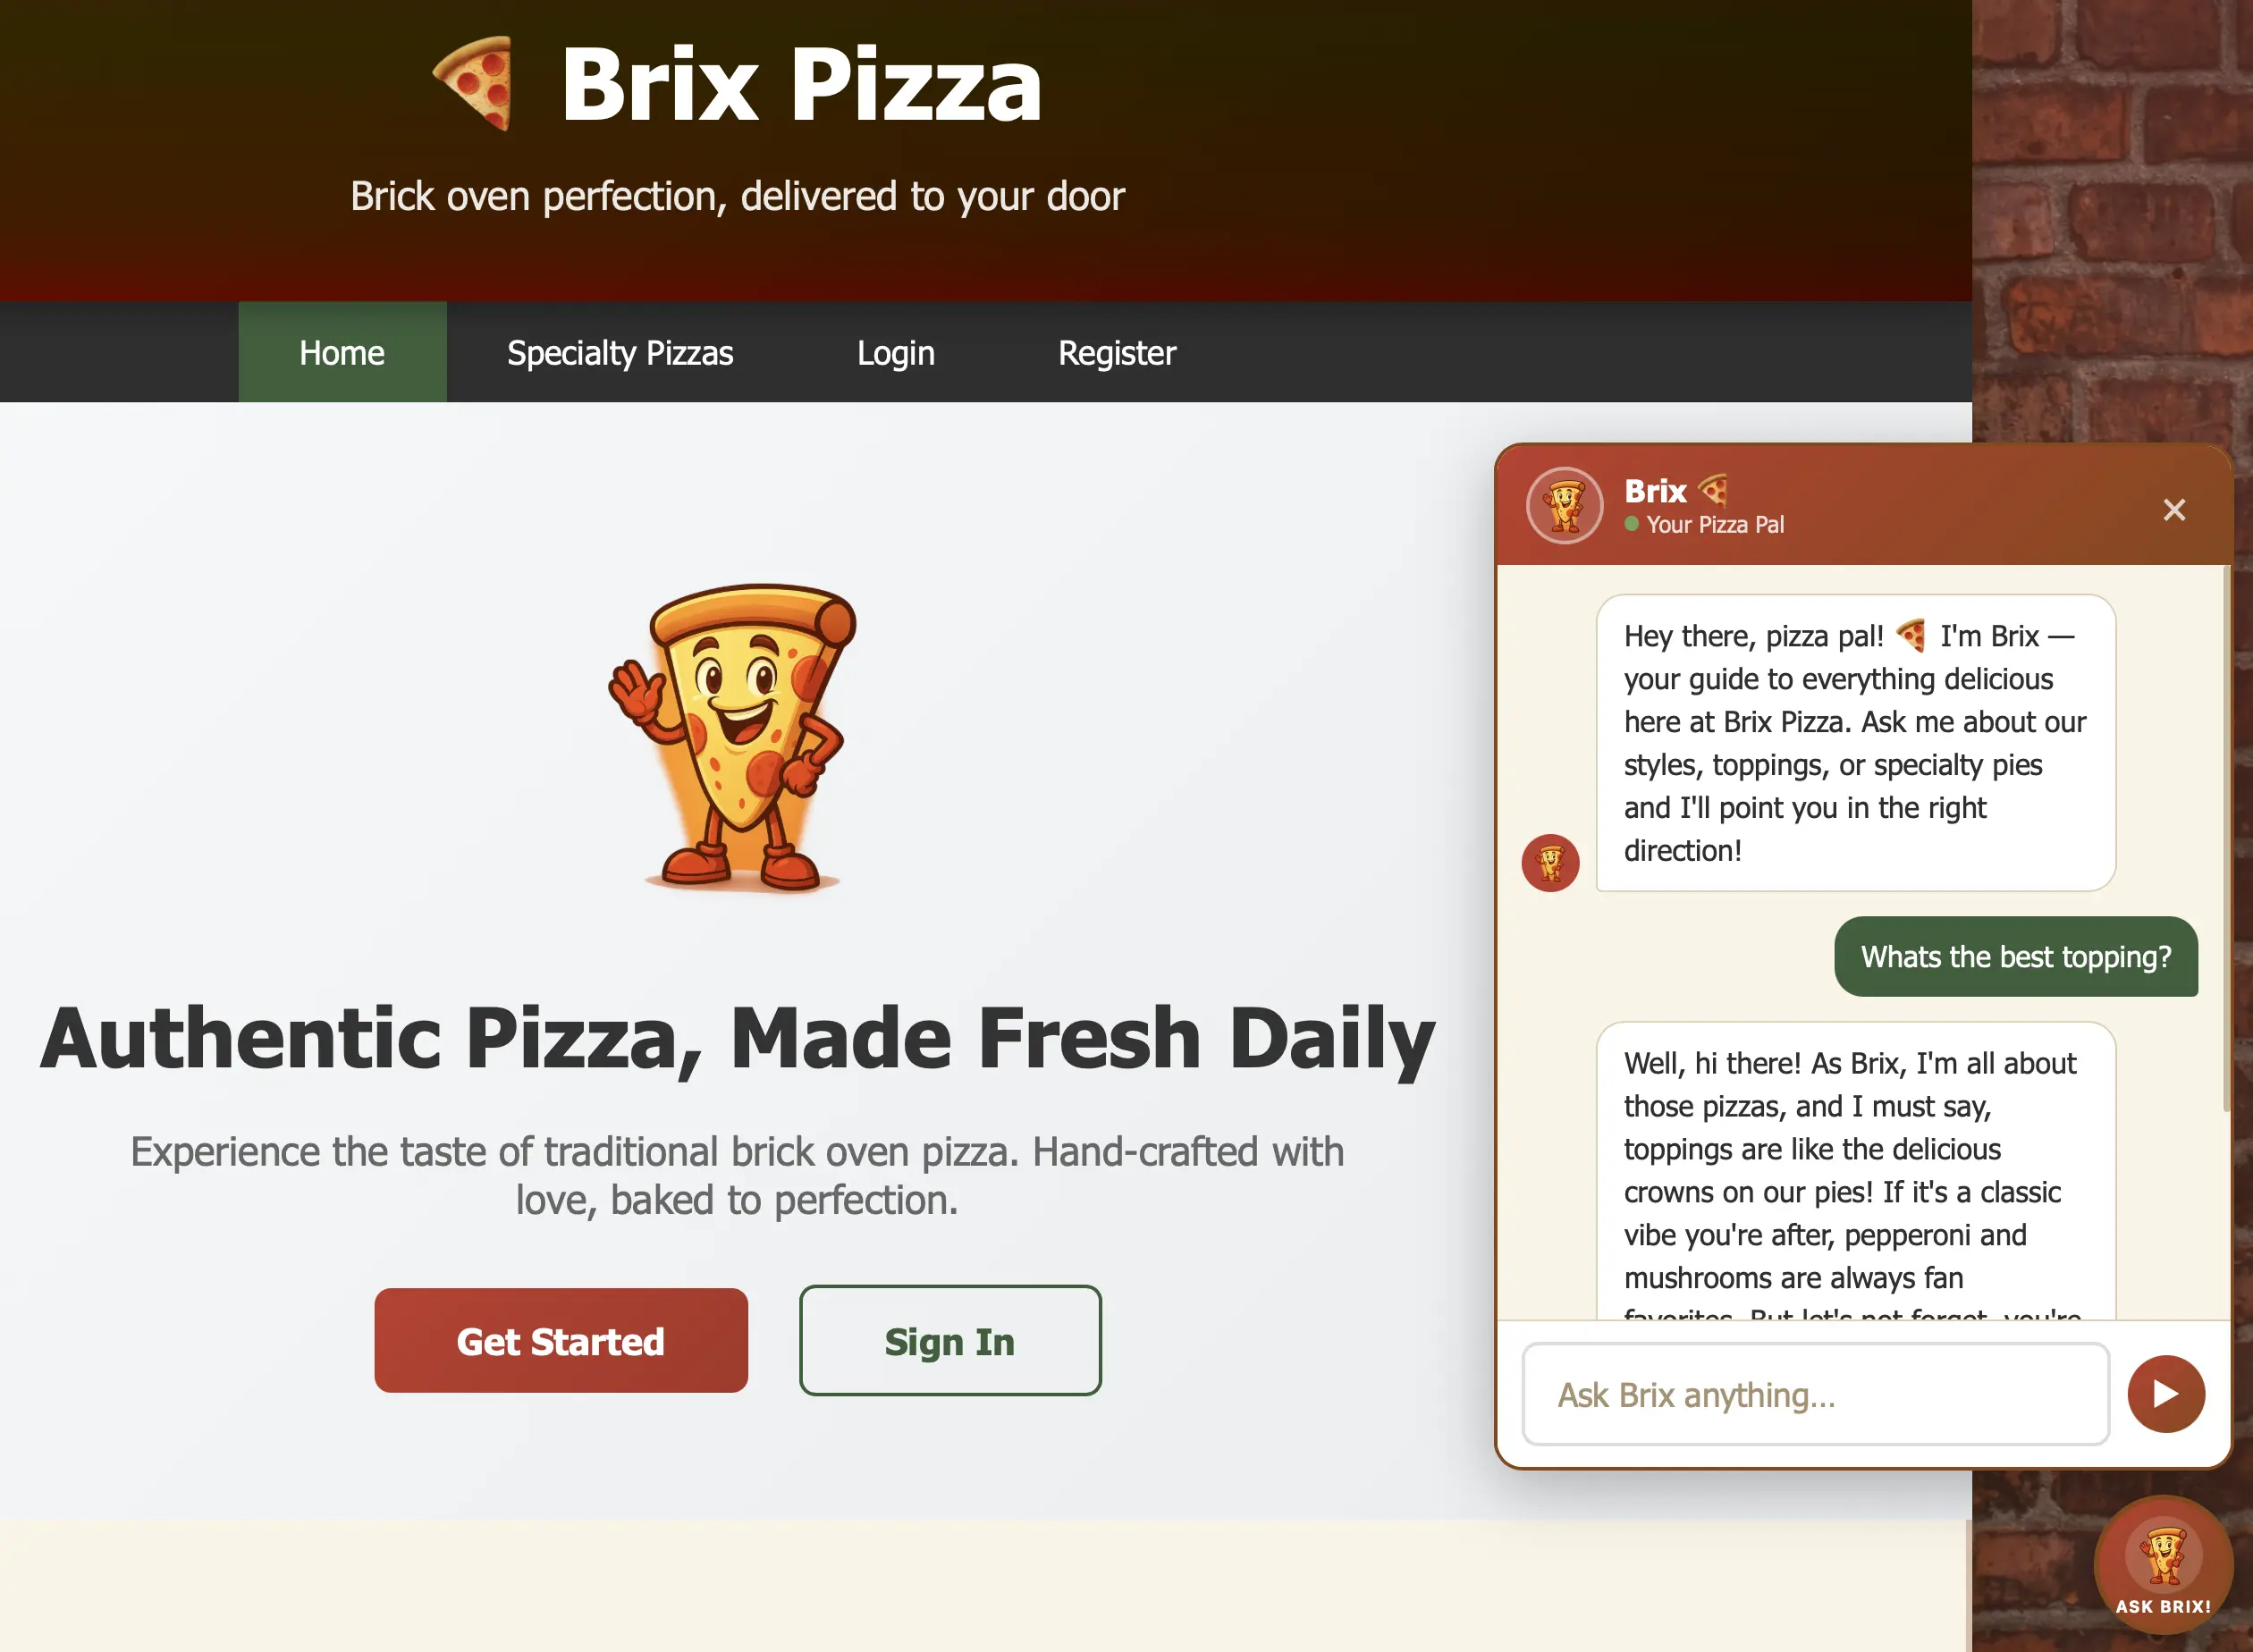
Now, speaking of code, let’s wire up that Brix Pizza app with our inference server. Since vLLM exposes an OpenAI-compatible API, any application already built to talk to OpenAI can point at this endpoint with nothing more than a URL change. No SDK swap, no API refactor. You can see from the screenshot that our chatbot is working inside the app.
Summary
Getting a model running on OpenShift AI comes down to a few steps. Install the operator and its dependencies, create a Data Science project, pick a model from the catalog, and deploy it with a hardware profile that matches your infrastructure. From there you have a self-hosted inference endpoint with OpenAI-compatible API access, token-based auth, and full OpenShift RBAC baked in.
There’s a lot more to explore here — model versioning, GPU-accelerated serving, pipeline-based fine-tuning, and the agentic workload capabilities in the platform. But this gives you a working foundation to build on.
OpenShift AI is part of a broader platform story. Continue reading the Red Hat Platform series to see how all the pieces fit together.