This post is part of the Red Hat Platform series. If you want the full picture of what we’re building toward, start there.
In this post we’ll focus on OpenShift Dev Spaces.
Dev Spaces
I’d love to tell you that Dev Spaces is a fun new store where you try out the latest ergonomic gadgets. Standing desks with built-in treadmills, kneeling chairs, and expensive vertical mice that look like a clay sculpture would be just some of the things in these pop-up stores. Those of us tied to a desk for way too many hours a day could check out the latest in geek comfort. I hope a place like this exists somewhere, but that’s not what we’re talking about today.
OpenShift Dev Spaces gives us a way to provide consistent and rapidly deployed development environments running on OpenShift. Built on the open source Eclipse Che project, Dev Spaces provides an isolated development environment that removes all the friction of setting up your local workstation with the appropriate dependencies. If you’ve ever tried to code something, you know that before you can test out any of your code, a whole list of things need to be set up. You’ll need to install your runtimes, and SDKs. You’ll for sure need some version of git. You may need to setup some CLIs, and of course you want your Integrated Development Environment (IDE) setup, maybe with a fun theme. You’ll also want some extensions to properly lint the type of code you’re running. You probably want to set some environment variables that match your desktop environment, complete with addresses, and secrets. All of this work takes time. And if you’re an enterprise with thousands of developers all going through different versions of this process individually, then this is a real productivity drain.
But don’t just assume this process is only for a newly hired employee. What about all those times when you’re trying to fix or patch an older program? You need to set up your development environment to the specifications for the old app. It might not be as simple as using the latest version of golang or python, you might need to have an older version available to go back and fix one of these older applications. We would rather spend our time coding (or having AI code it for us) instead of setting up the development environments.
And of course if you’re an enterprise with a large group of developers, you’ll probably want to standardize some of the tools and configurations for everyone, right? You could spend a lot of time writing documentation about standards each developer should be using, but again consuming this type of information and following instructions isn’t exactly the best use of time.
What would be great is a simple declarative configuration file that can define our development environment for us. This is basically what Dev Spaces does. Dev Spaces uses a configuration file that can be stored in git to define a developer sandbox with the proper tools installed on it. When it’s needed a container is deployed on OpenShift with everything you’d need to immediately start working on your code. It comes with a selection of IDEs to choose from, and they can be accessed either through a web browser or your local IDE can connect over SSH to the environment inside the container.
When you’re all done, the environment can be removed safely because you know you can always spin it up again if you ever need it and it’s ready to go.
Installation
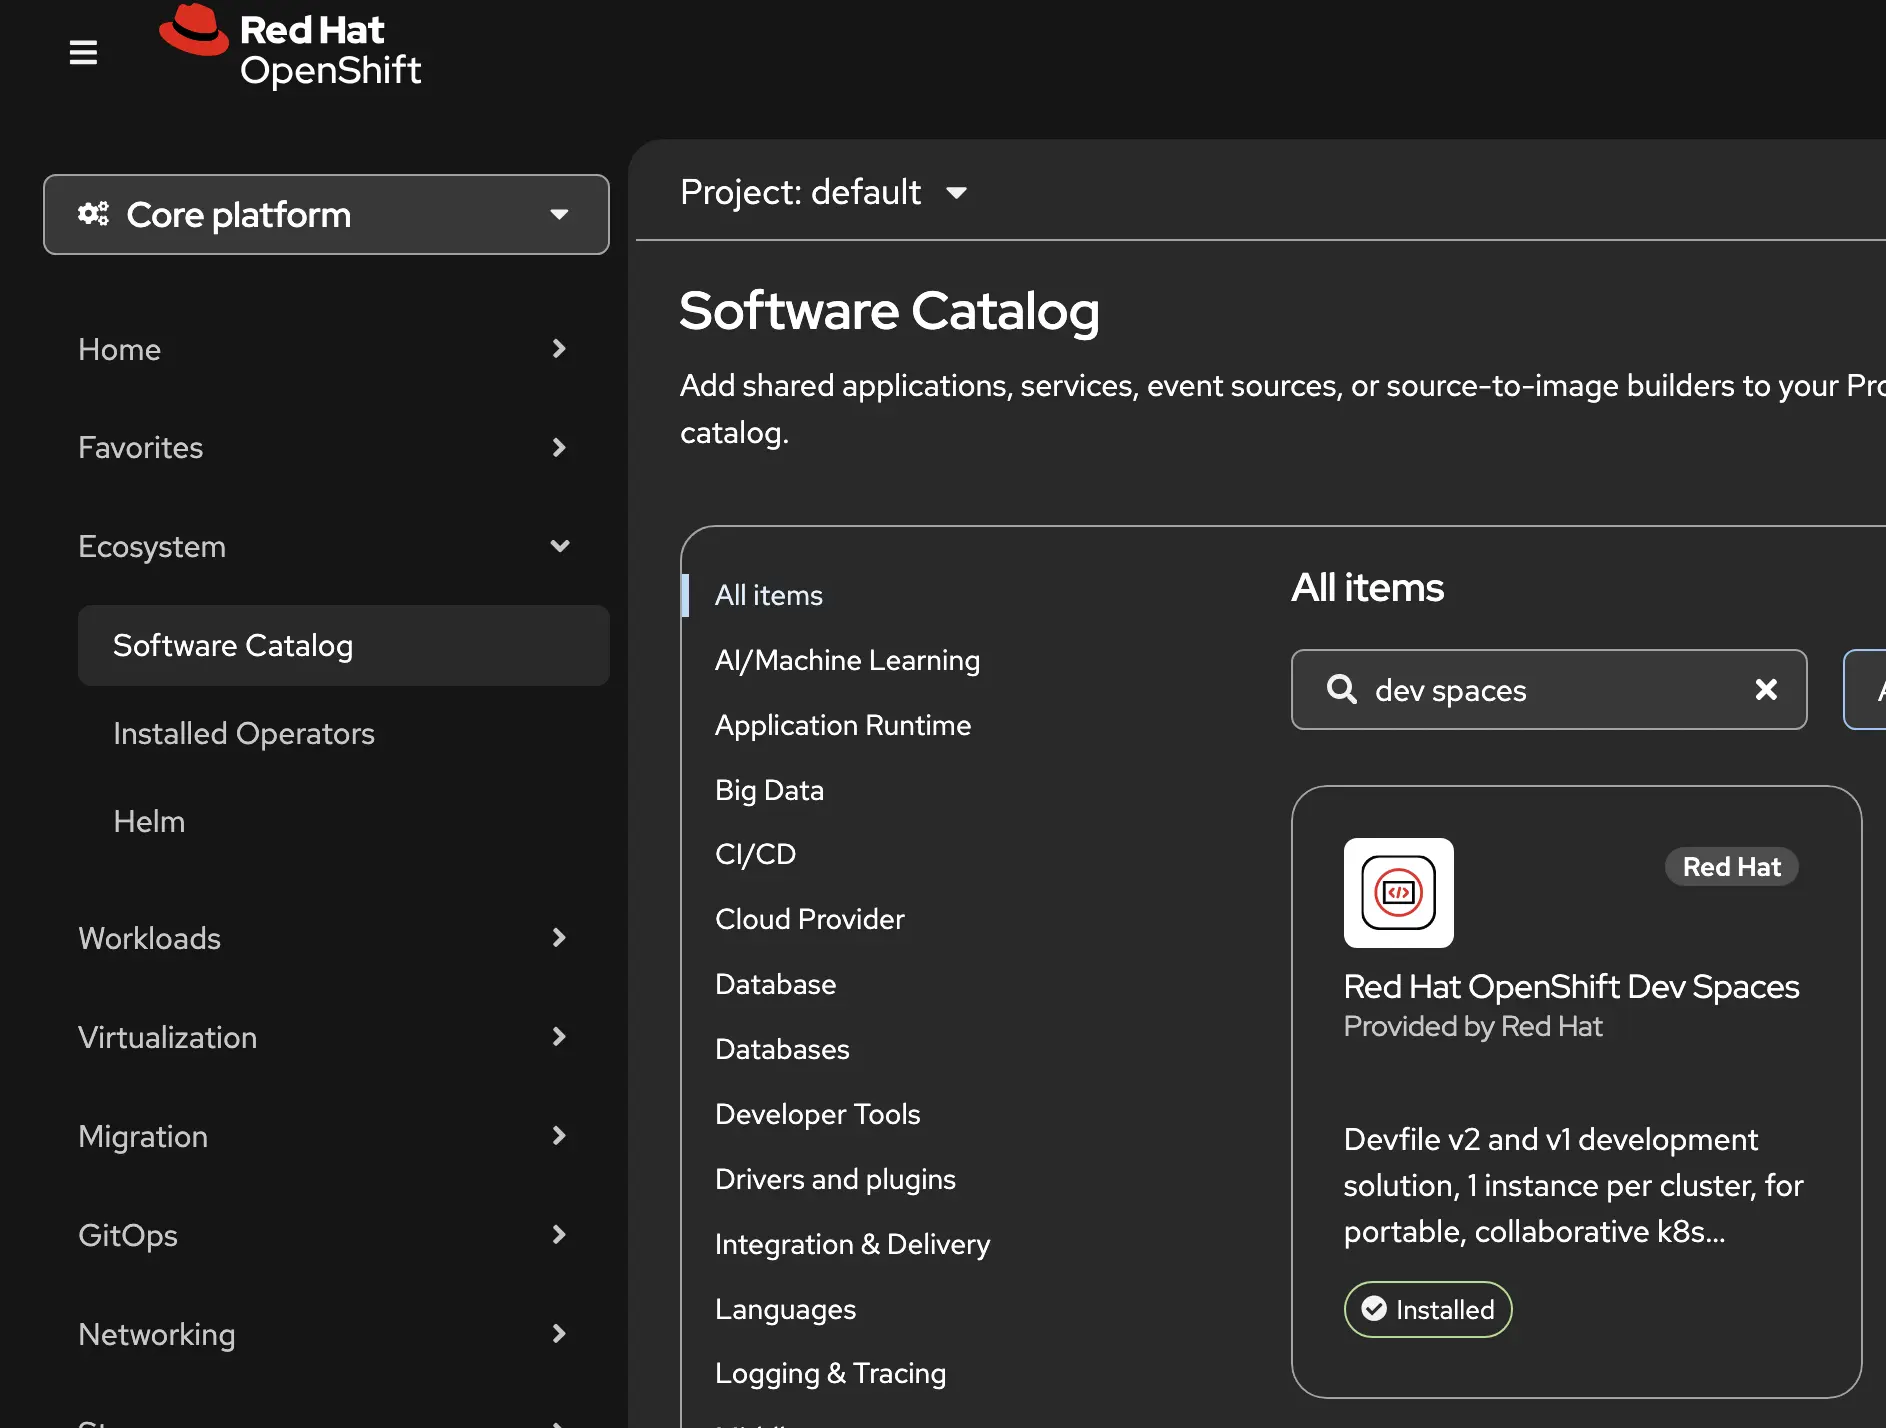
Similar to many of the solutions that run on the OpenShift platform, the installation of Dev Spaces is initiated with an operator installation. From the Ecosystem tab, search for Dev Spaces and install the operator.
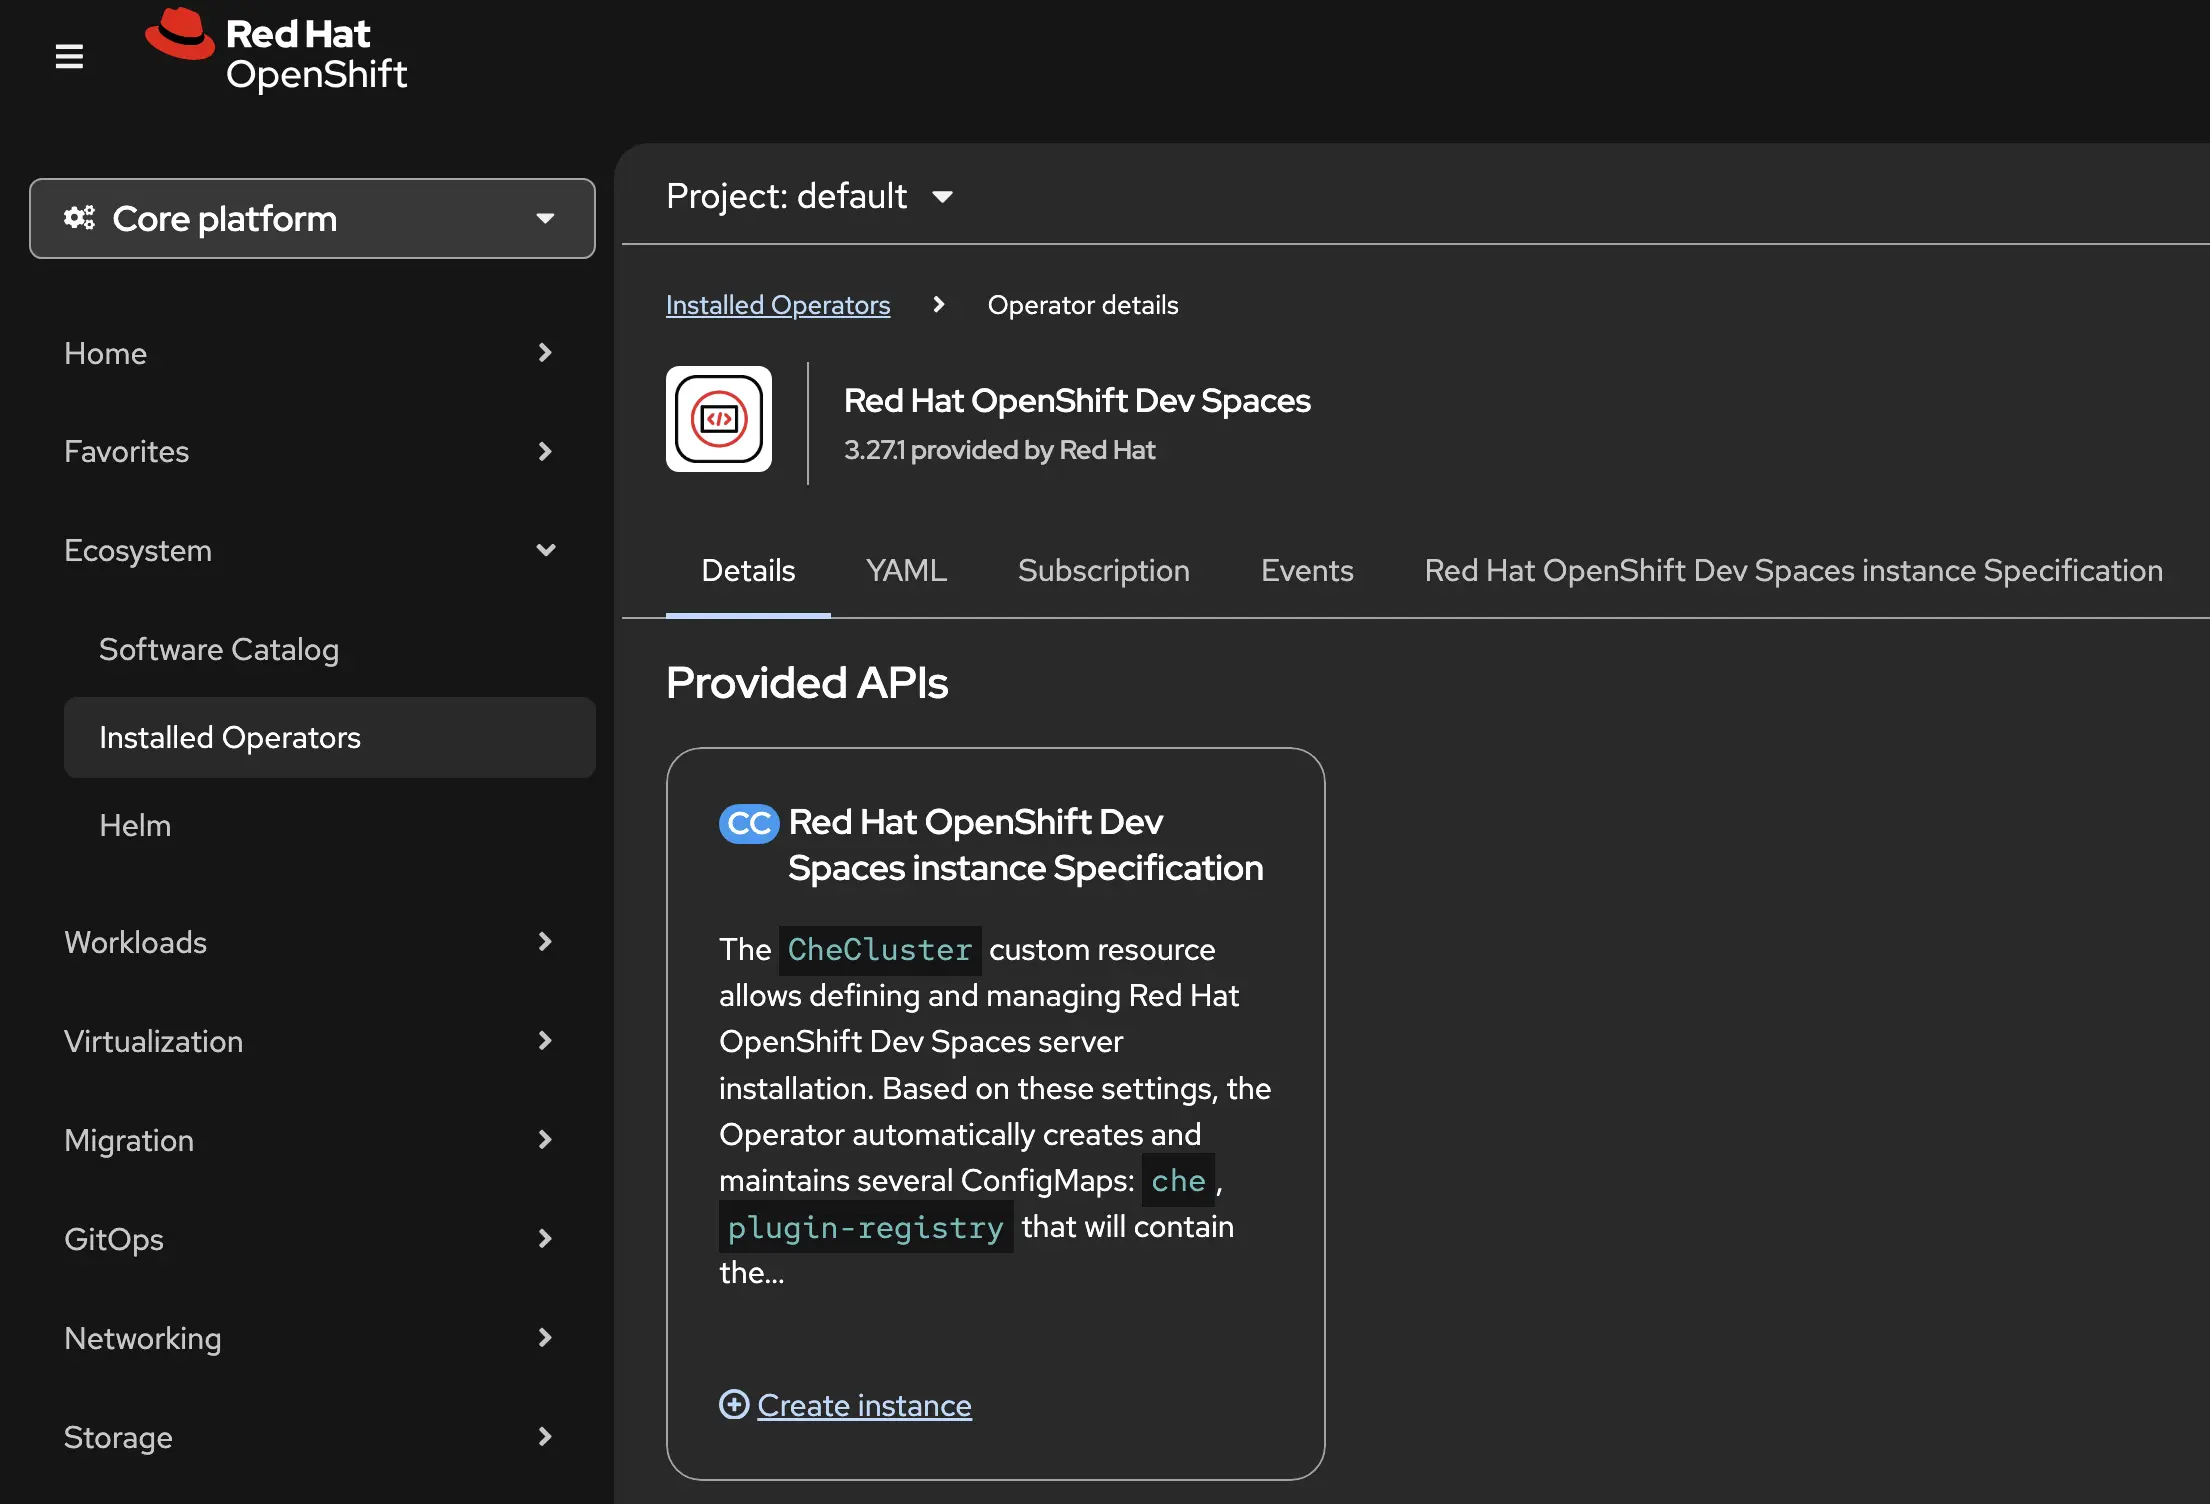
When the operator is installed, you’ll find it in the installed operator lists.
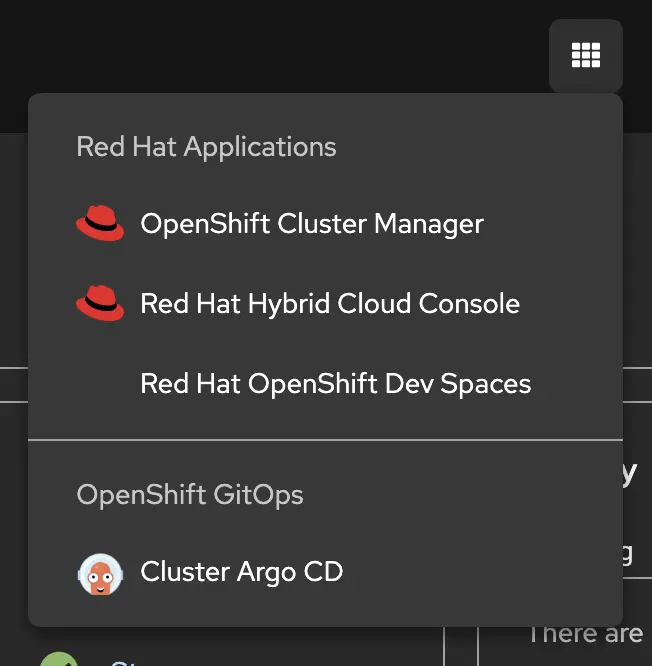
You’ll also notice that after the installation of the dev spaces operator is complete, a new item will be listed in the application launcher menu. From here you can open the Red Hat OpenShift Dev Spaces console which will open in a new tab or window.
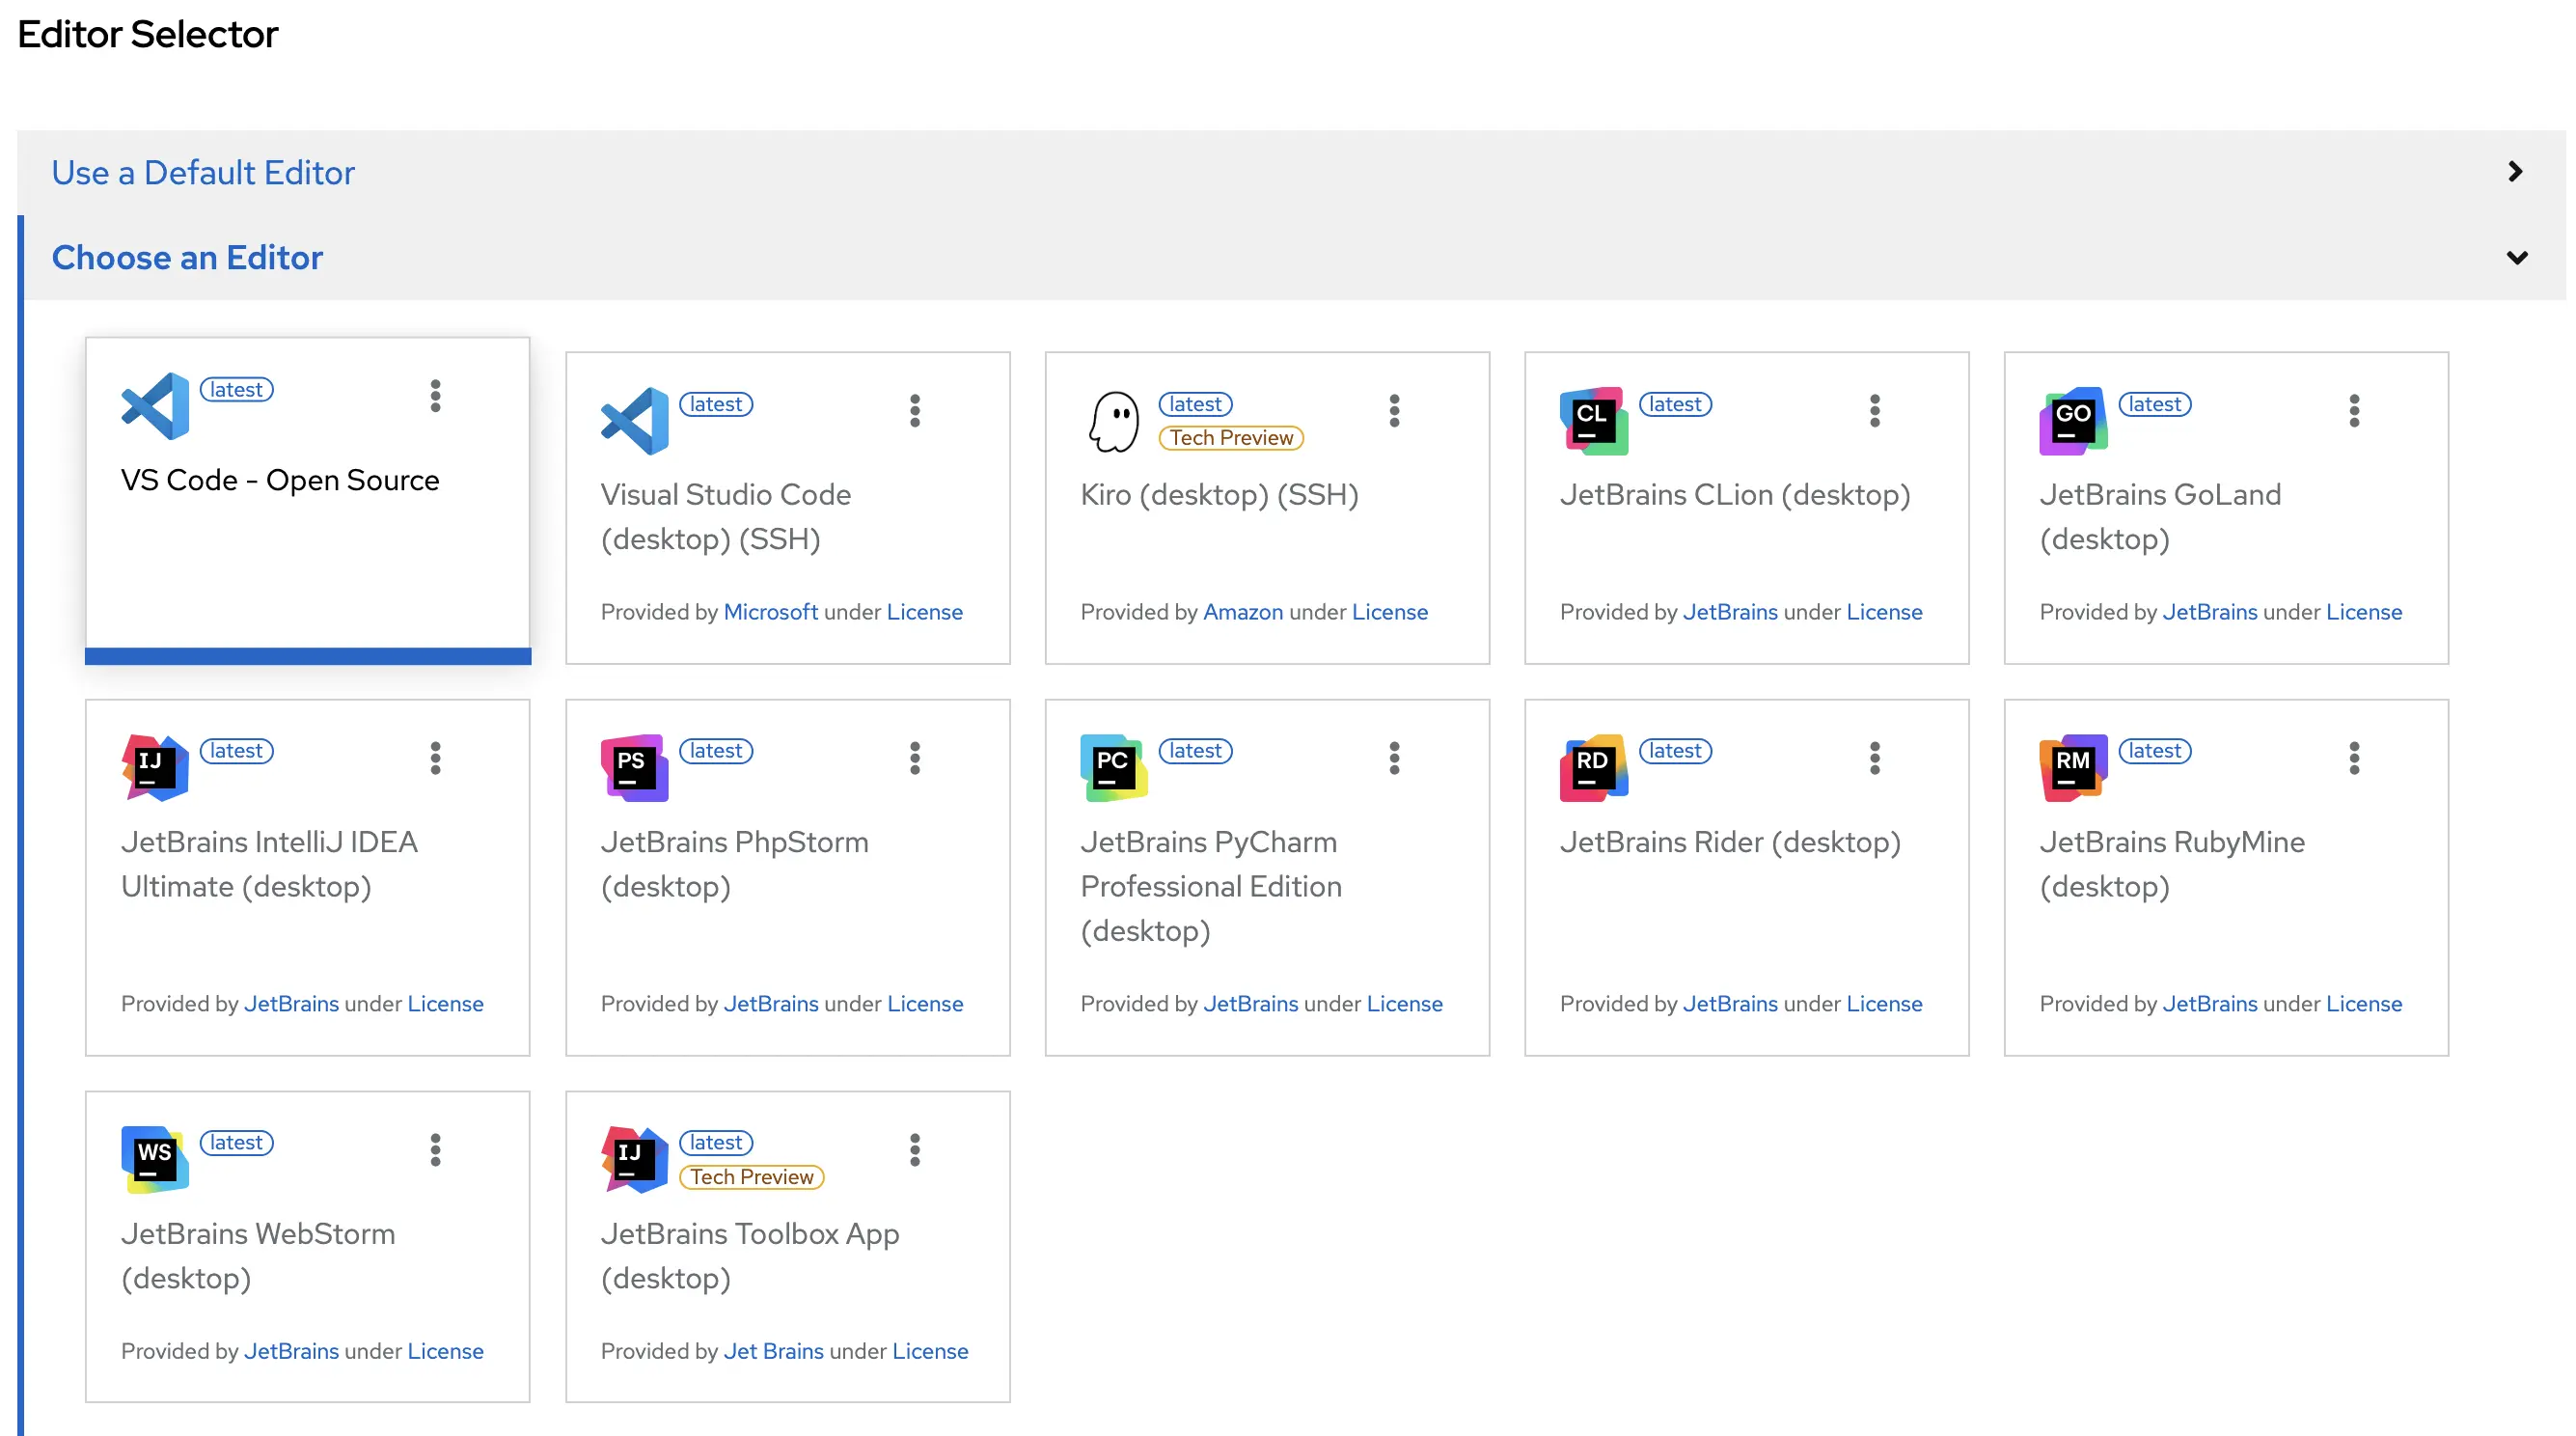
When you access the Dev Spaces console, you’ll need to do a little setup to create your workspace. You can use our default editor, but in case you have an IDE that you really want to continue working with, you can always pick a custom editor from the menu.
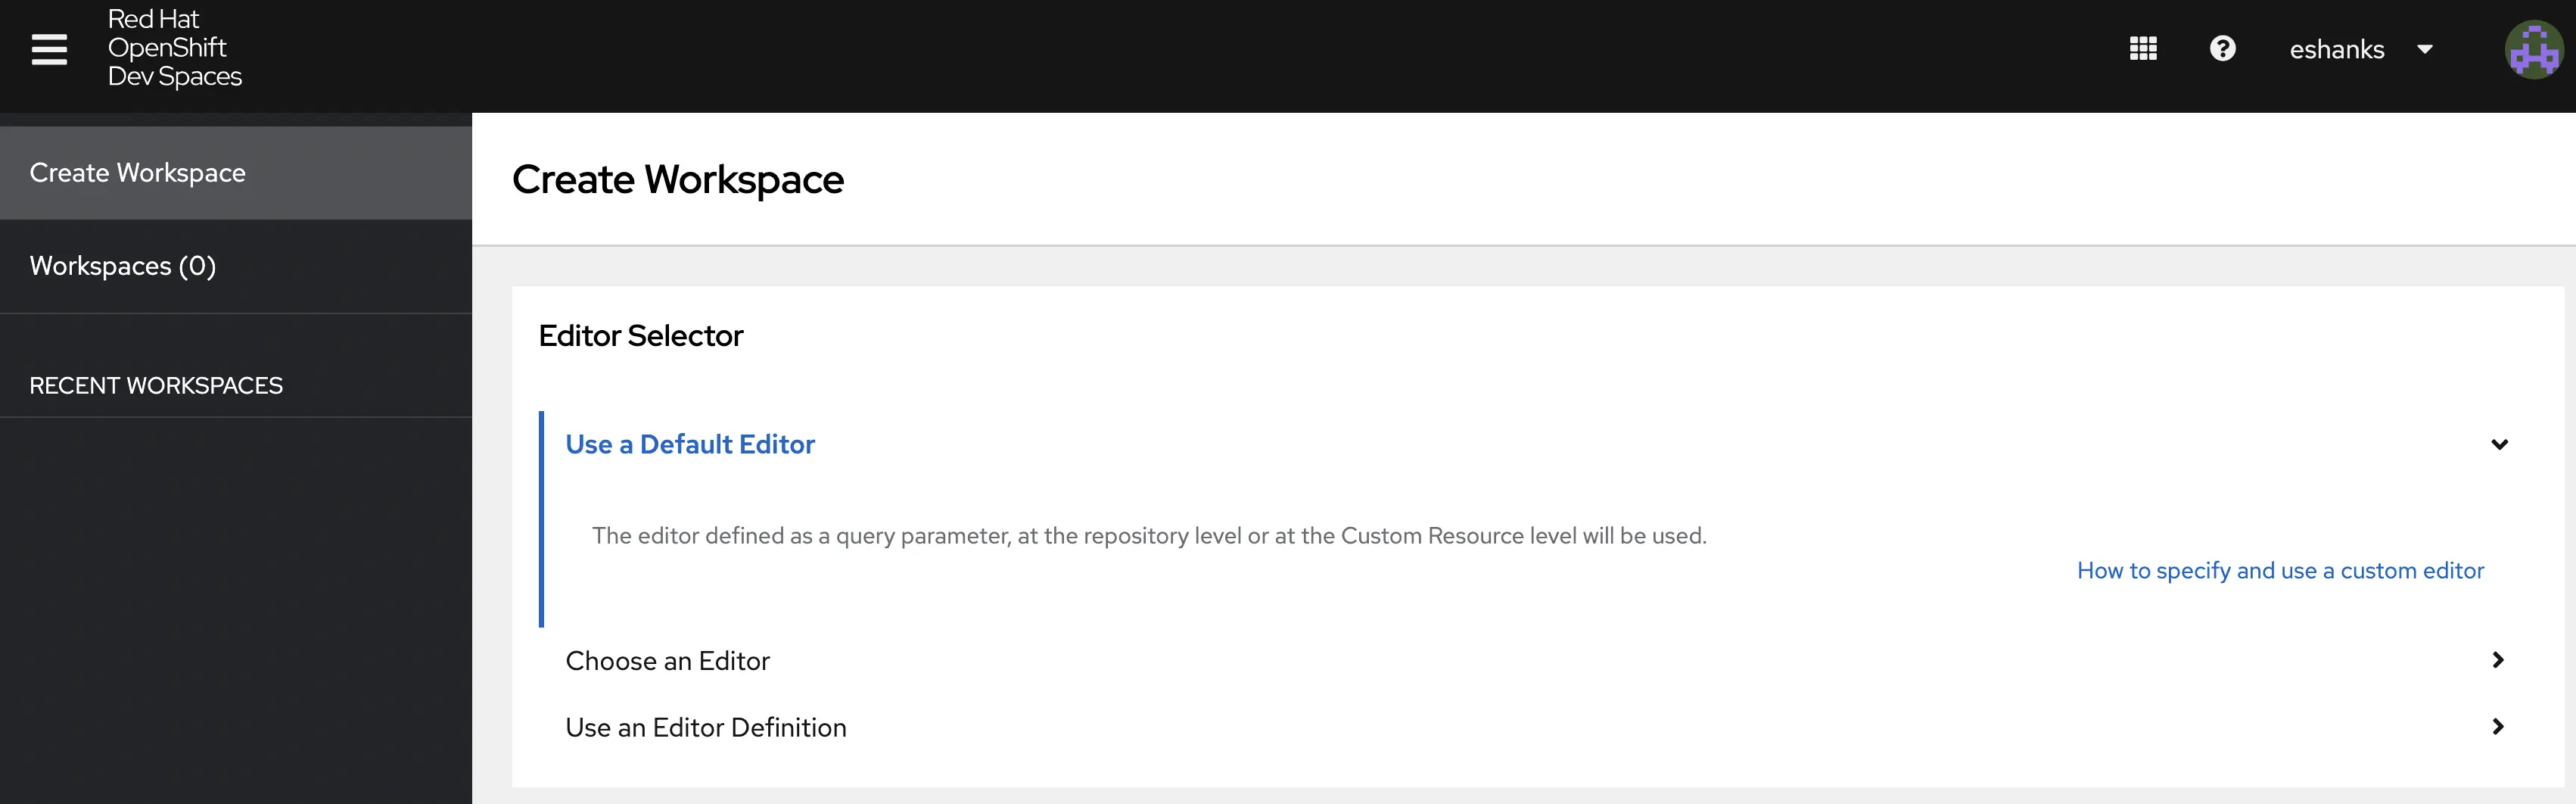
If you want to use a custom editor, select one of the supported editors from the menu. To walk through some basics, we’ll use the VS Code - Open Source editor, which will provide VS Code in a web browser.
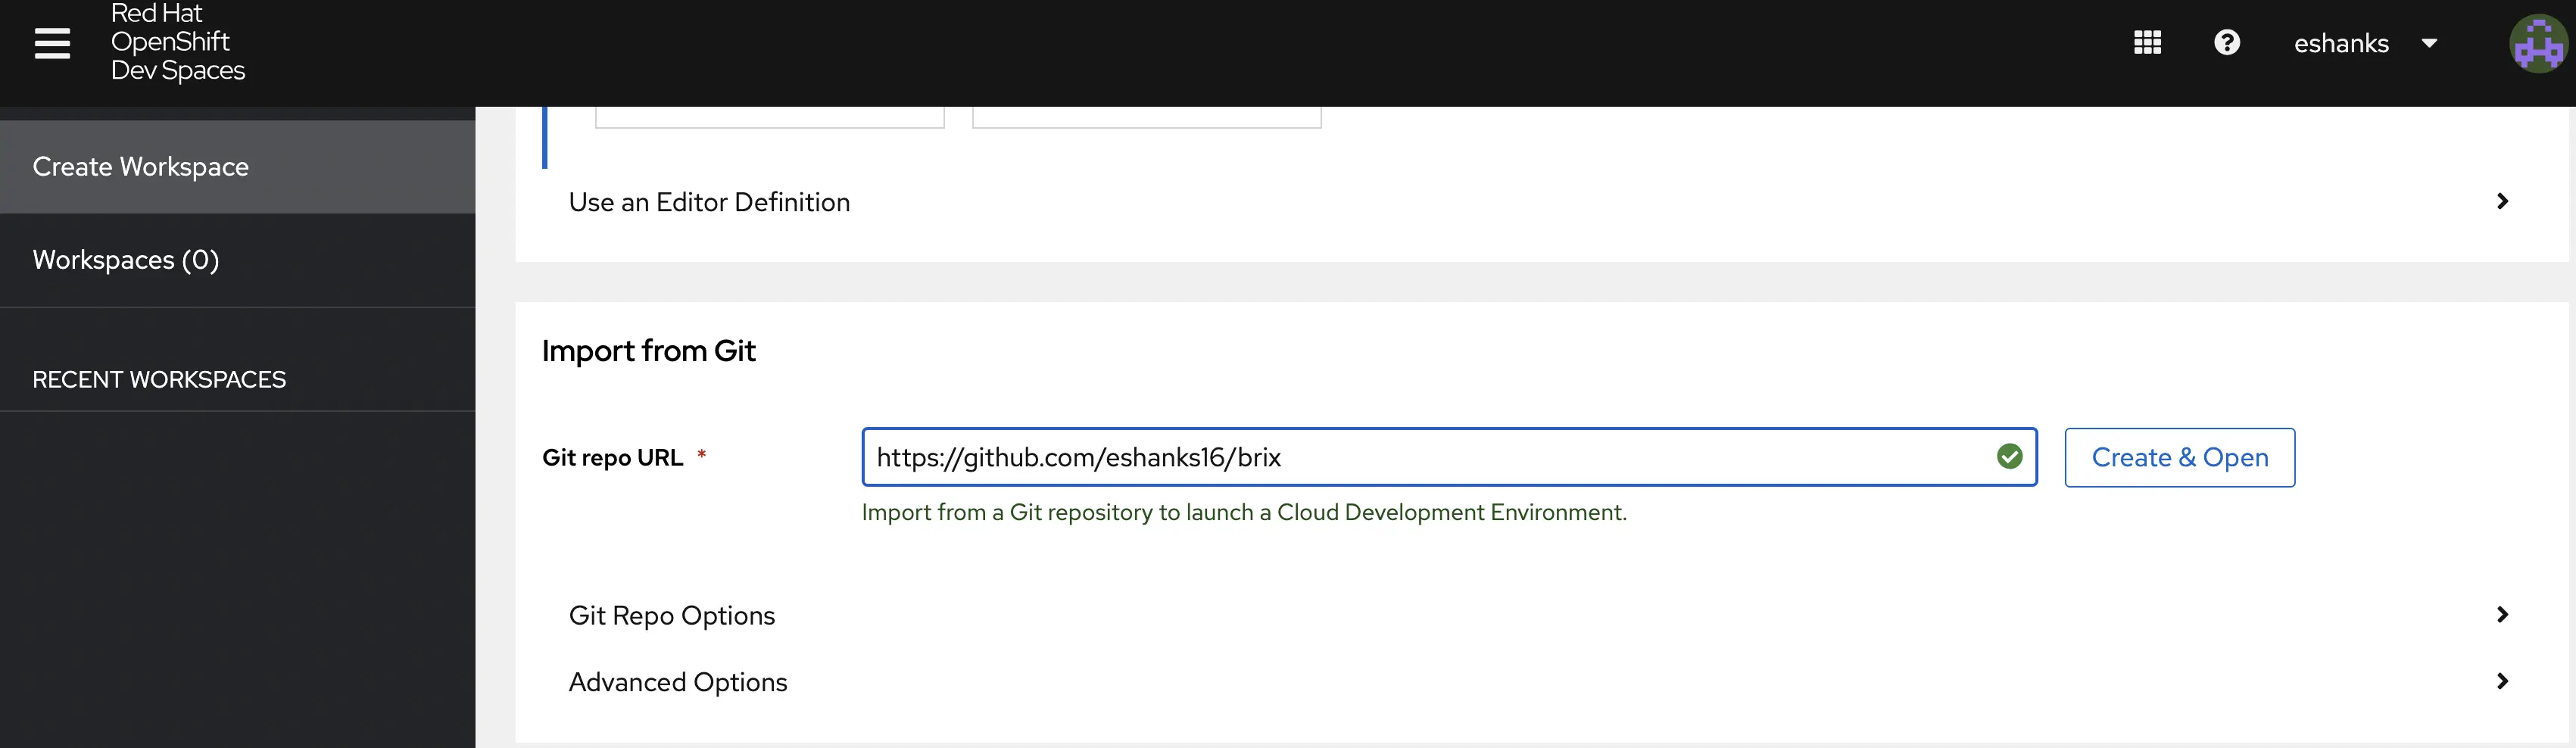
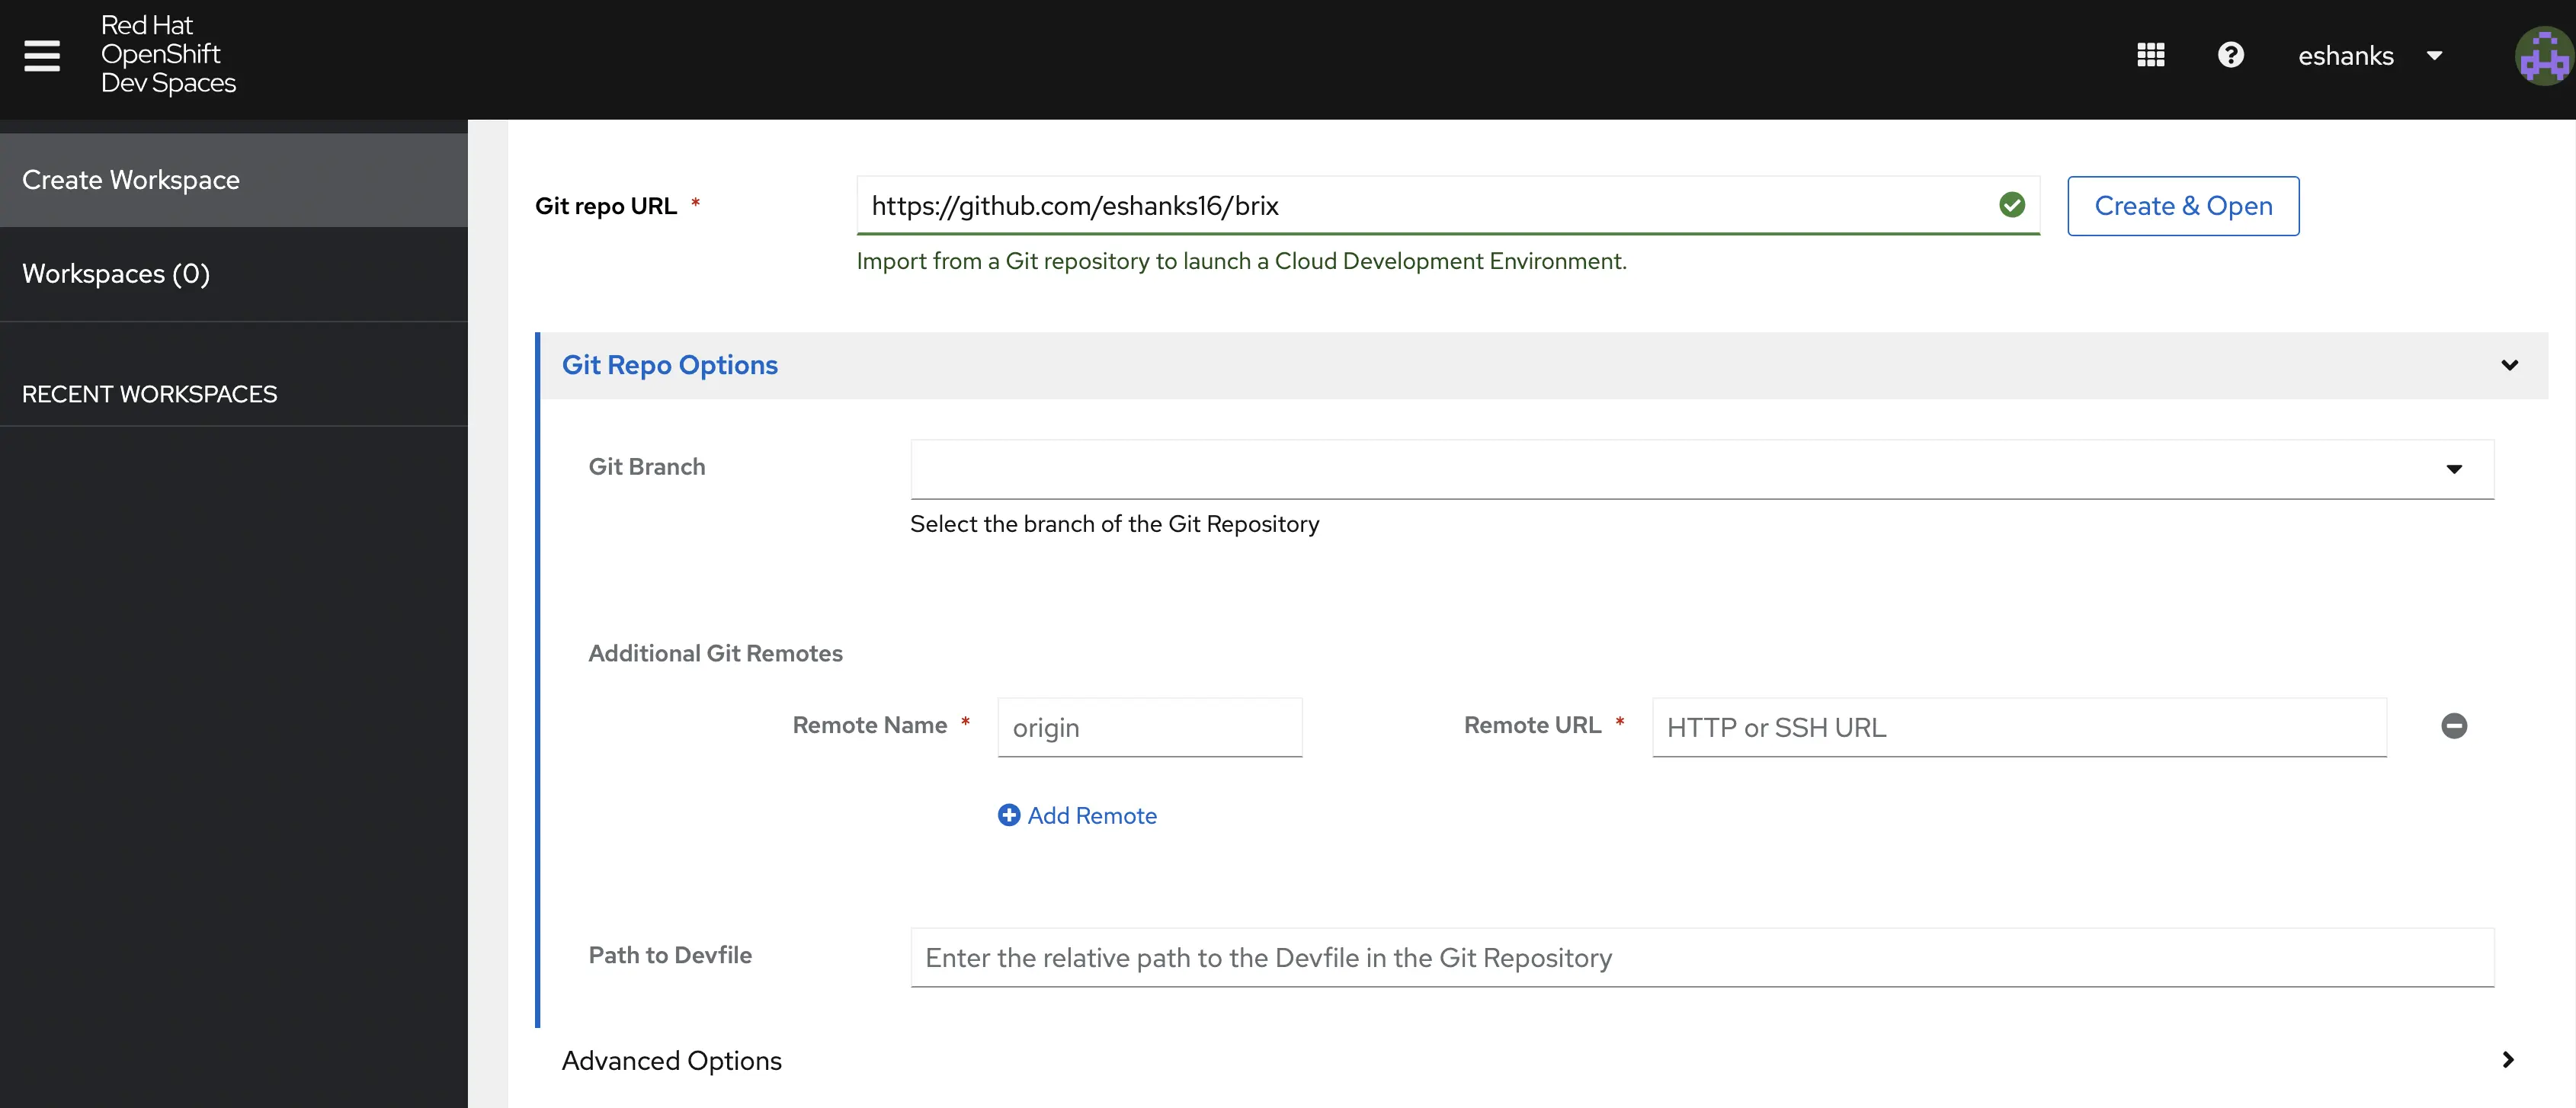
Next, we need to specify the git repository we want to work with. This repo will be downloaded to our workspace so we’re ready to start coding when our workspace spins up. In this case we’ll be using the same brix pizza git repository that we’ve used in previous posts in this series.
When we pull this repo, there will be a devfile which should be located in the root of the repository called devfile.yaml which contains information about how to set up our dev space. This makes our dev spaces simple to work with across many apps because each app repository can have a declarative devfile explaining exactly how to set up the workspace for your particular app. The example below is the devfile I’m using for the brix pizza app. By using these devfiles we can make the workspace highly customizable for our own purposes. Notice that we can also use things like variables in these devfiles so they can be reused across many apps that share a similar archetype. For more information on creating your own devfiles see devfile.io
schemaVersion: 2.2.0
metadata:
  name: brix-pizza-dev
  version: 1.0.0
  displayName: Brix Pizza Development
  description: Development environment for the Brix Go web application

components:
  # The Go Runtime for the brix-server
  - name: go-runtime
    container:
      image: registry.redhat.io/devspaces/udi-rhel9:latest
      memoryLimit: 2Gi
      mountSources: true
      endpoints:
        - name: http-brix
          targetPort: 8080 # Brix default port
          exposure: public
          protocol: http
        - name: prom-metrics
          targetPort: 9090
          exposure: internal

  # Persistent storage for your SQLite DB and source code
  - name: brix-storage
    volume:
      size: 5Gi

commands:
  # Command to download dependencies
  - id: fetch-deps
    exec:
      component: go-runtime
      commandLine: "go mod download"
      workingDir: ${PROJECT_SOURCE}
      group:
        kind: build

  # Command to run the Brix server in dev mode (uses SQLite by default)
  - id: run-brix-local
    exec:
      component: go-runtime
      commandLine: "go run main.go"
      workingDir: ${PROJECT_SOURCE}
      group:
        kind: run
        isDefault: true

  # Command to run tests with the race detector
  - id: test-brix
    exec:
      component: go-runtime
      commandLine: "go test ./... -race"
      workingDir: ${PROJECT_SOURCE}
      group:
        kind: test
The advanced options screen will let you change the location of this dev file in case putting it in the root of your repository doesn’t work with your methodology. You can also modify the branch in your repo so you don’t have to only work with the main branch.
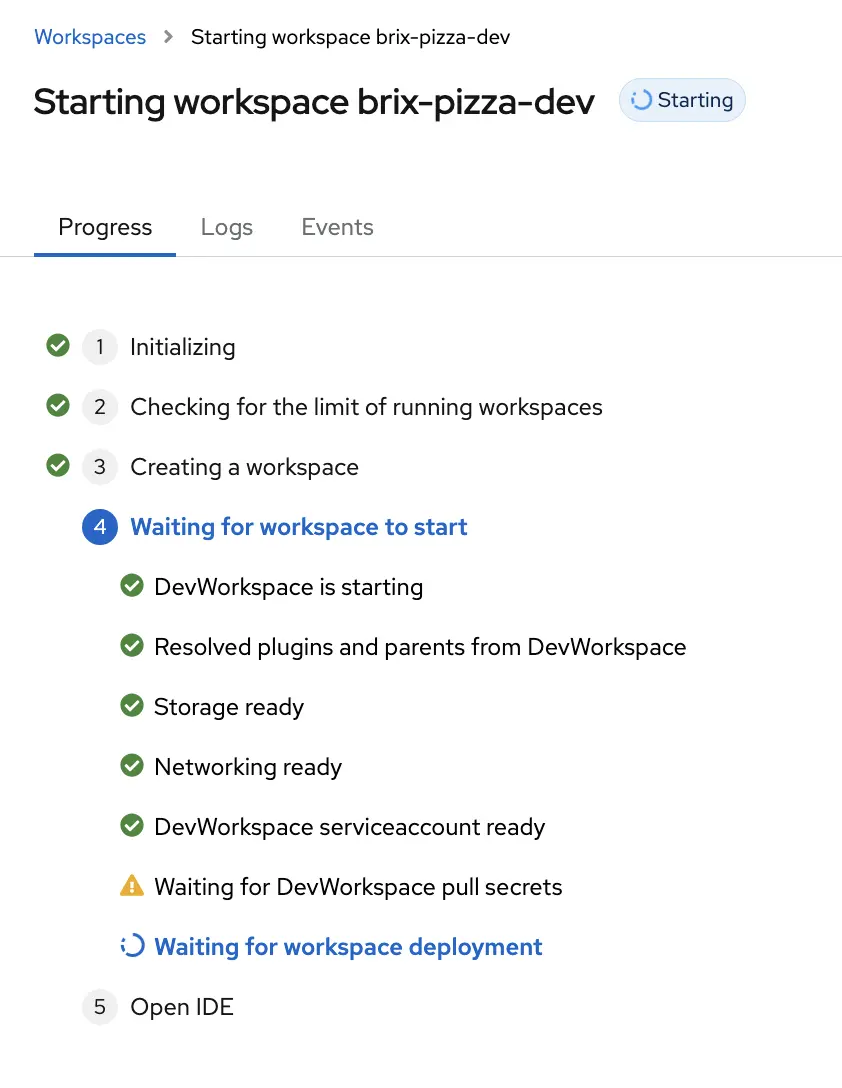
When you’re done with your configurations, click Create and Open, which will trigger the creation of your workspace. You can watch along as the workspace is created, or to see any errors that occur during provisioning.
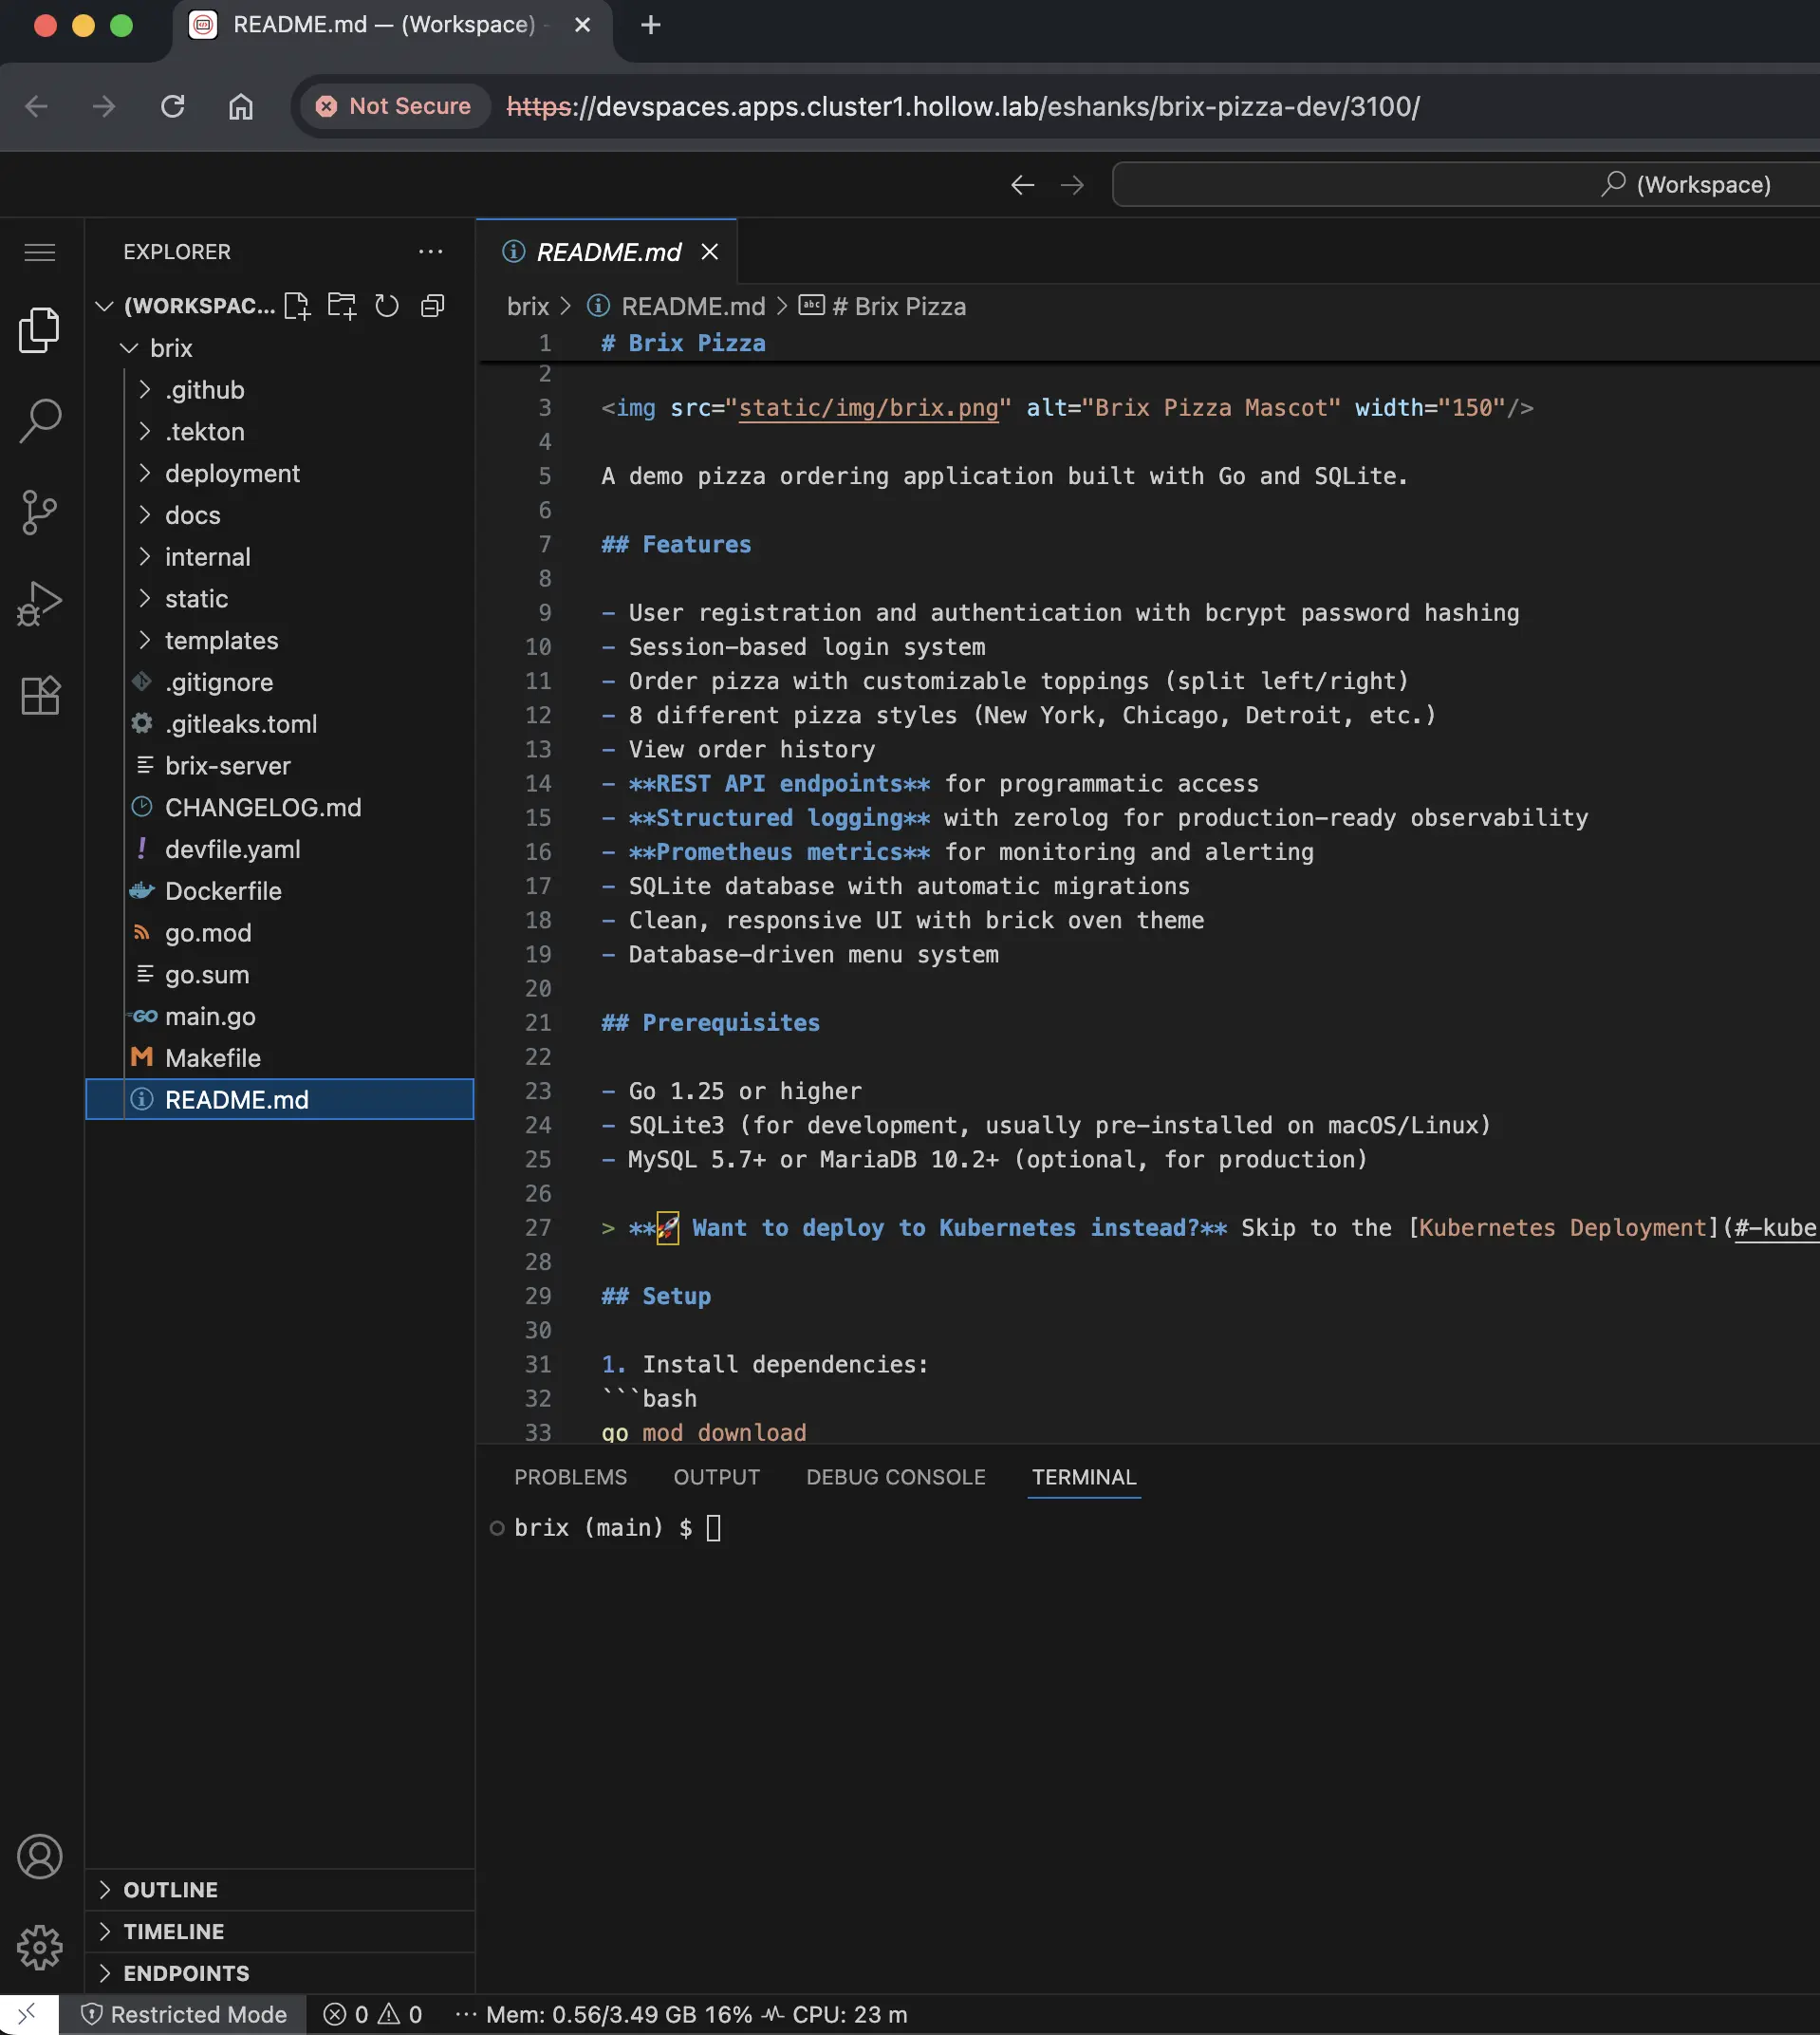
When successfully completed, you should see your development environment available. In our case we used VS Code, which opens in a web browser. We can see from the screenshot below that our brix pizza git repo was downloaded and our code is available in the web based IDE.
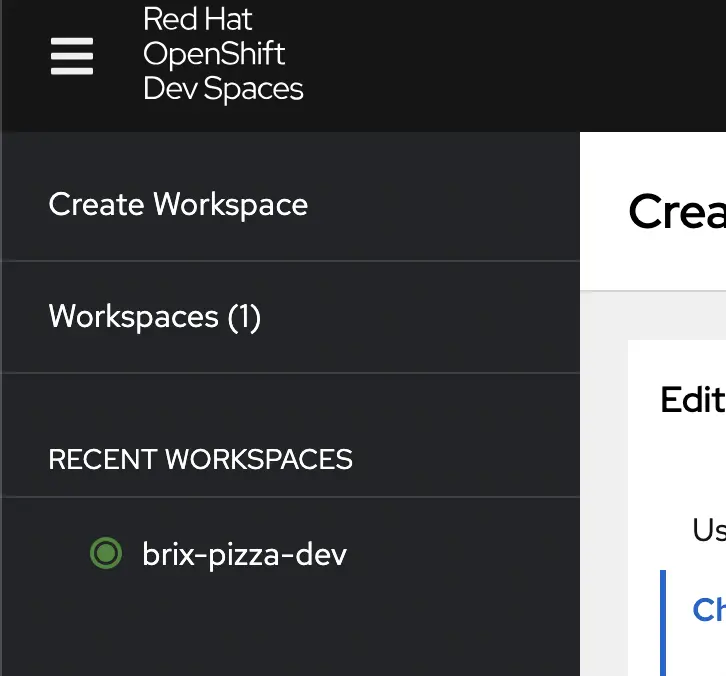
If we go back to the Dev Spaces console we can also see the workspaces that are created, so we could destroy it, recreate it, etc.
I went through the same process as above but changed the IDE. In my case, I don’t really want to use VS Code through a web browser. I’d prefer to use my local instance of VS Code on my laptop, but connect to my workspace over SSH. This lets me use my local tools, but all my environment information is running in a container on OpenShift. When you provision through SSH, you get some instructions on how to connect to this remote workspace.
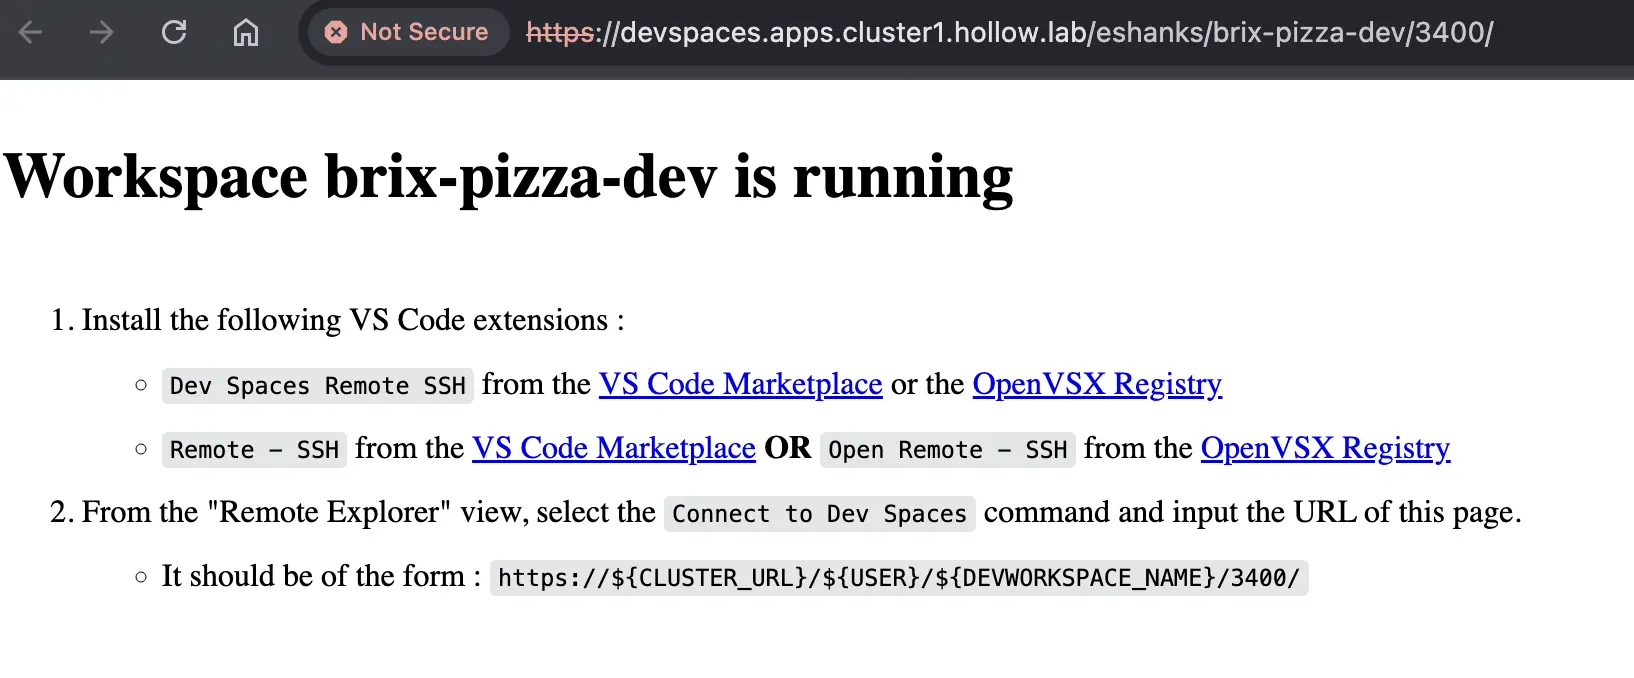
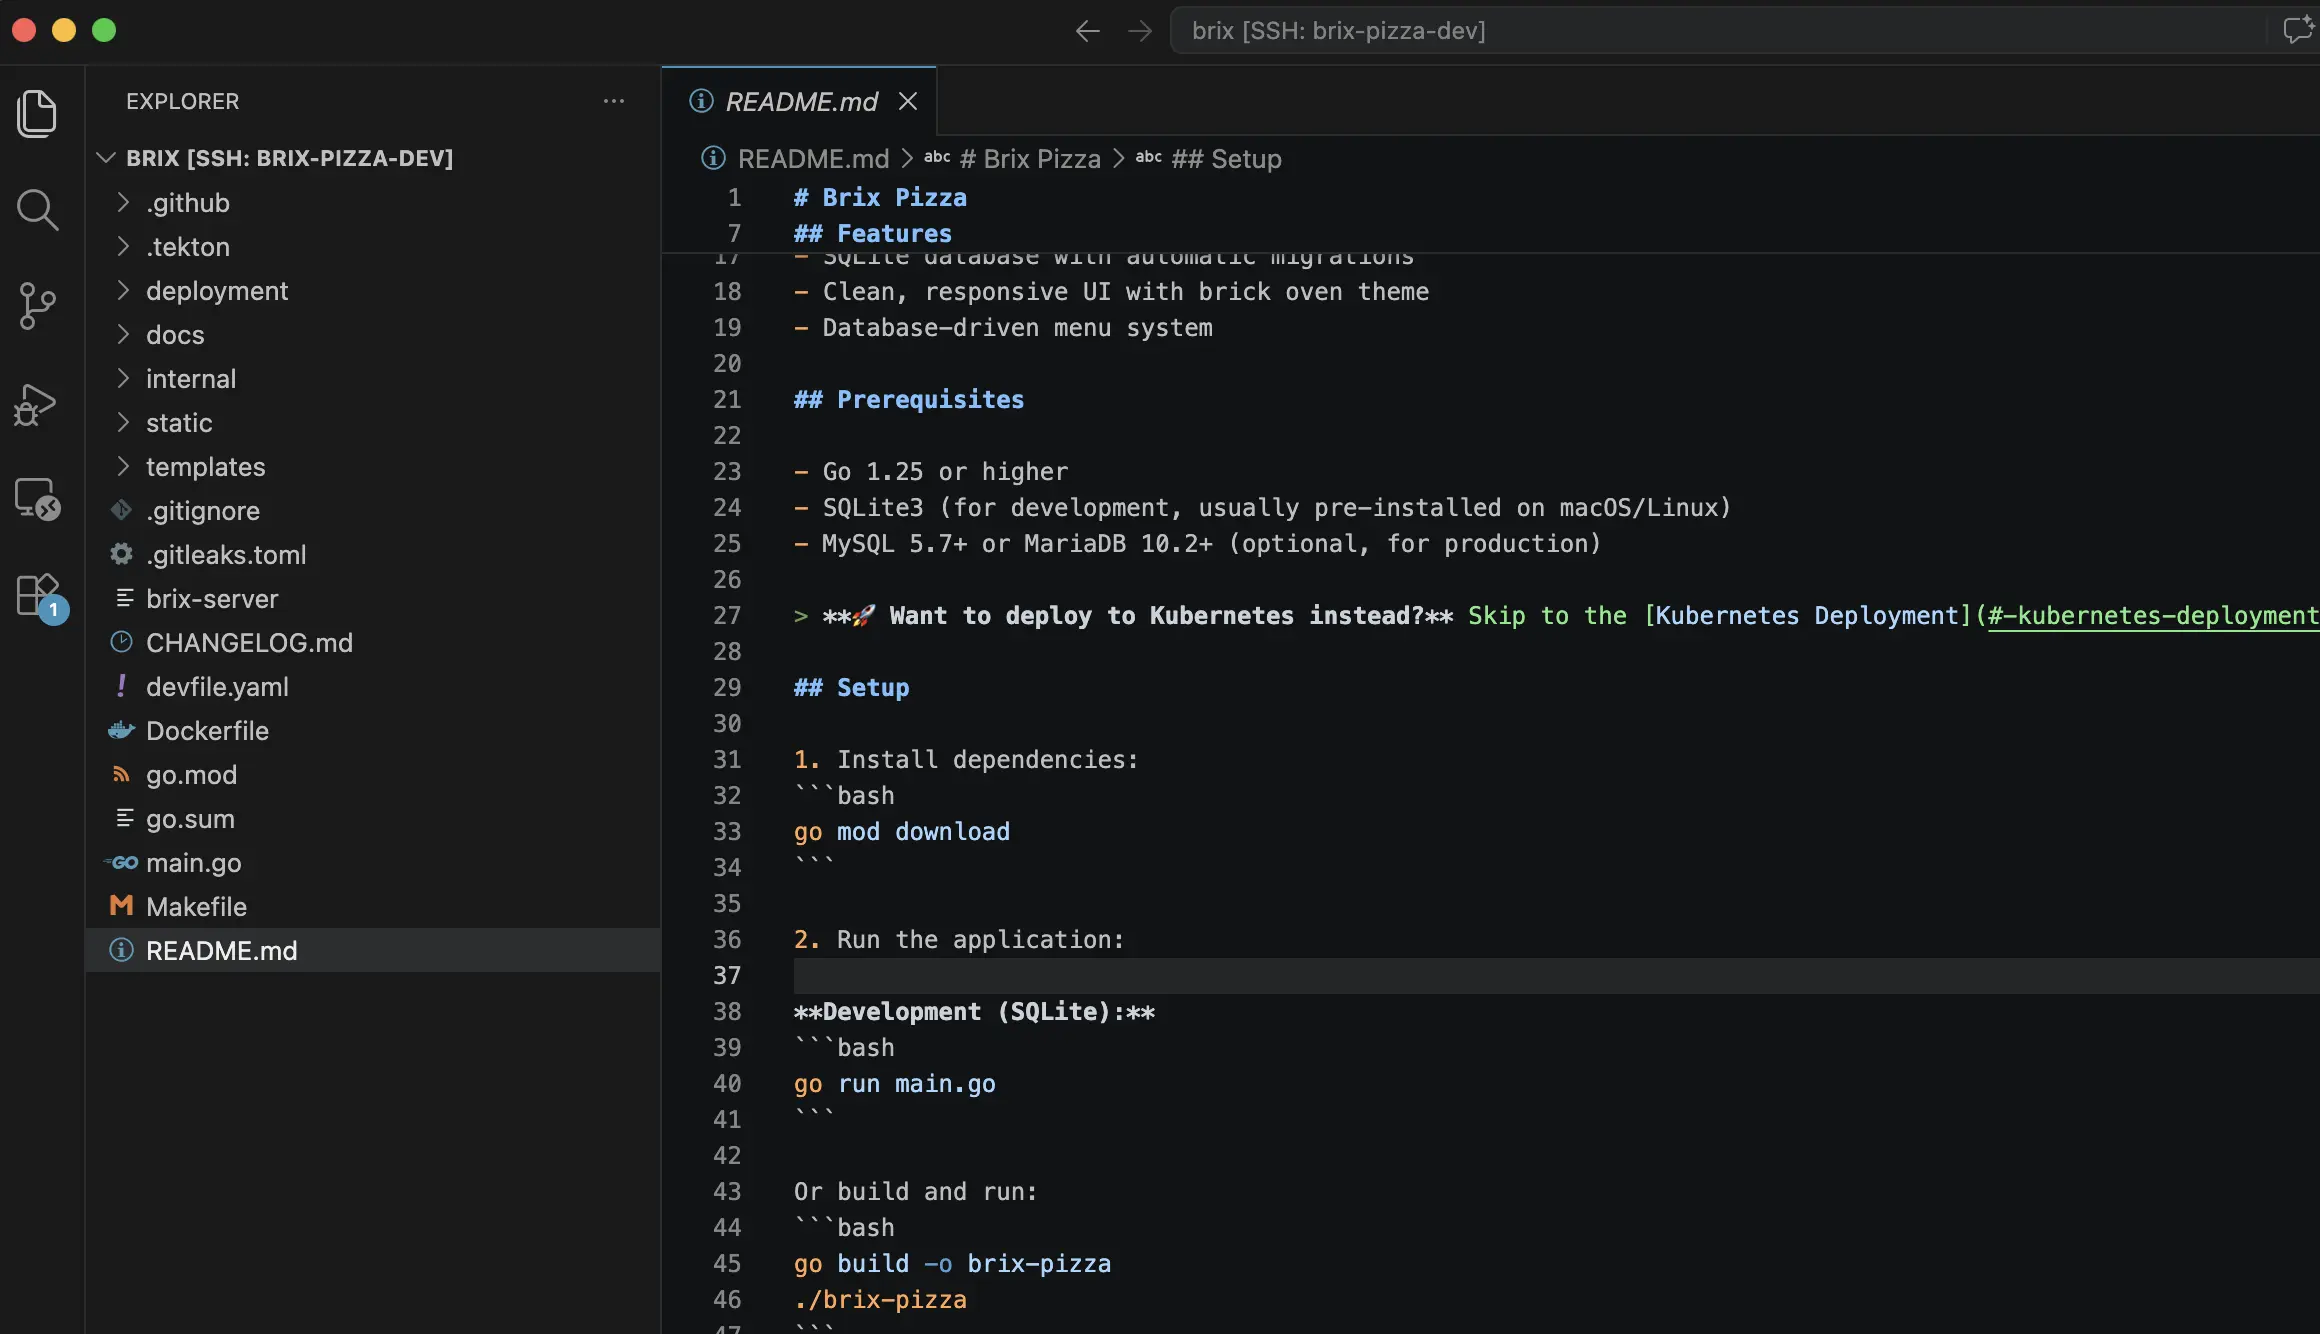
If you complete those steps, you can use your local VS Code instance as seen in the screenshot below.
Summary
OpenShift Dev Spaces gives development teams a way to define, share, and spin up consistent development environments on OpenShift without asking every developer to configure their own workstation. By storing a devfile in your git repository, you can describe exactly what tools, runtimes, and commands your project needs. When a developer is ready to work, they point Dev Spaces at the repo and a workspace is provisioned automatically with everything in place.
We walked through the installation of the Dev Spaces operator, creating a workspace using a devfile, and two ways to connect to that workspace. The first was VS Code running directly in a web browser, and the second was connecting a local VS Code instance over SSH so you can keep your local setup while your environment runs on OpenShift.
Dev Spaces is part of a broader platform story. Continue reading the Red Hat Platform series to see how all the pieces fit together.