Infoblox is a pretty popular IP Address Management (IPAM) solution for many shops. Wouldn’t it be nice to integrate your automation solution such as vRealize Automation, with your existing IPAM system? Well, don’t worry. You can!
Infoblox Setup
This post isn’t going to go into great detail about the setup of the Infoblox appliance but we do need to make sure that we’re licensed for API usage correctly. Ensure that the infoblox appliance has the “Cloud Network Automation” license applied to it. This is an easy thing to check. If your appliance has the “Cloud” tab, then the license is enabled.
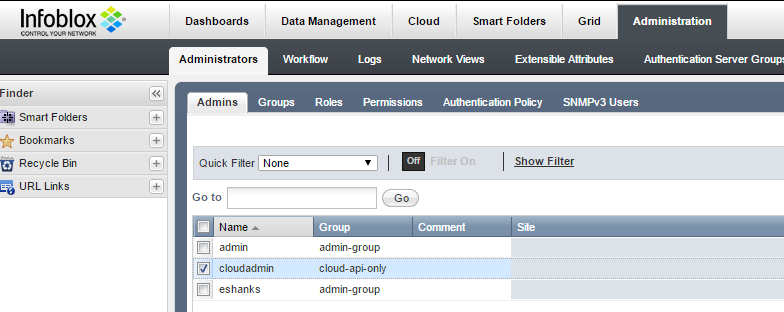
Another piece of info to keep in mind is to create an API administrator. The API admin can update the appliance via the API only. This is a good way to keep your appliance secure and normal administrators don’t have access to the API by default so be sure to check it.
vRO Plugins
All of the magic that happens comes from the vRealize Orchestrator plugins. vRealize Automation will leverage Orchestrator to do all of the heavy lifting. Download the latest version version of the Infoblox plugin. You can get this directly from Infoblox if you’d like. : https://www.infoblox.com/downloads/software/vmware-cloud-adapter
I also found that I needed to install the Prop.Toolkit package for some additional helper plugins. http://www.infoblox.com/sites/infobloxcom/files/downloads/Infoblox_VCO_Plugin_Release_v_3_0_0_1.zip
You should also have the latest vRA plugins installed to connect Orchestrator with vRealize Automation. I’m assuming this is done, but if not, please download install and configure the vRA plugins for vRO.
vRO Configuration
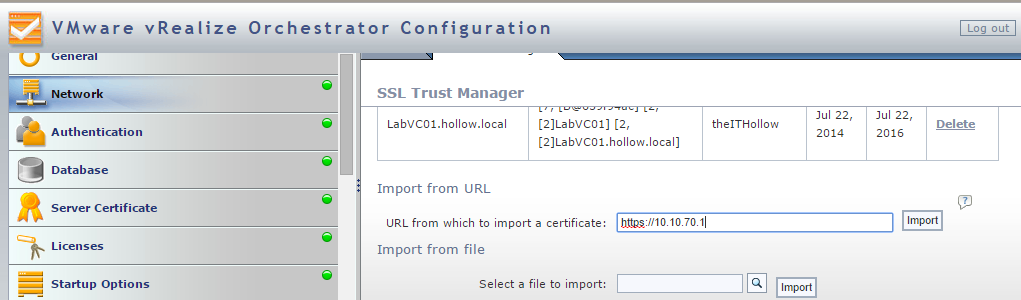
Once you’ve installed the plugins we need to configure the plugin to point to our Infoblox appliance. To do this, login to the vRO configuration page and go to the Network tab. Enter the URL of your infoblox appliance and click import to download the SSL Certificate.
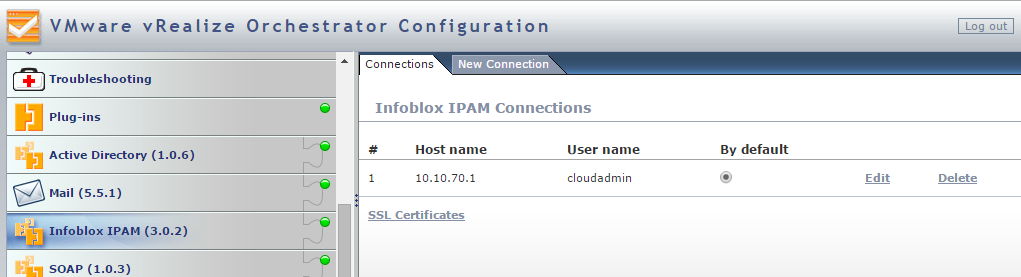
Next up, go to the Infoblox plugin and add a new IPAM connection.
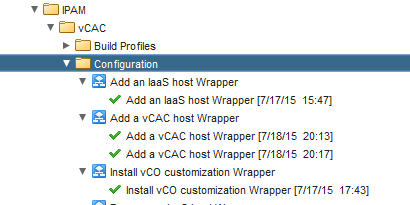
Now we can open our vRO client and run a few workflows to setup the IPAM plugin. Go to the IPAM Directory and run the following workflows:
- Add an IaaS host Wrapper
- Add a vCAC host Wrapper
- Install vCO customization Wrapper
Once the wrapper workflows have been run, we’ve connected vRA all the way through vRO and over to the Infoblox appliance. The next step is to use the plugin to assign an IP Address.
Build Profiles
vRealize Automation will use build profiles to store variable that are passed to vRO to do additional configuration. We want to add a new build profile for Infoblox so that we can attach it to our blueprints.
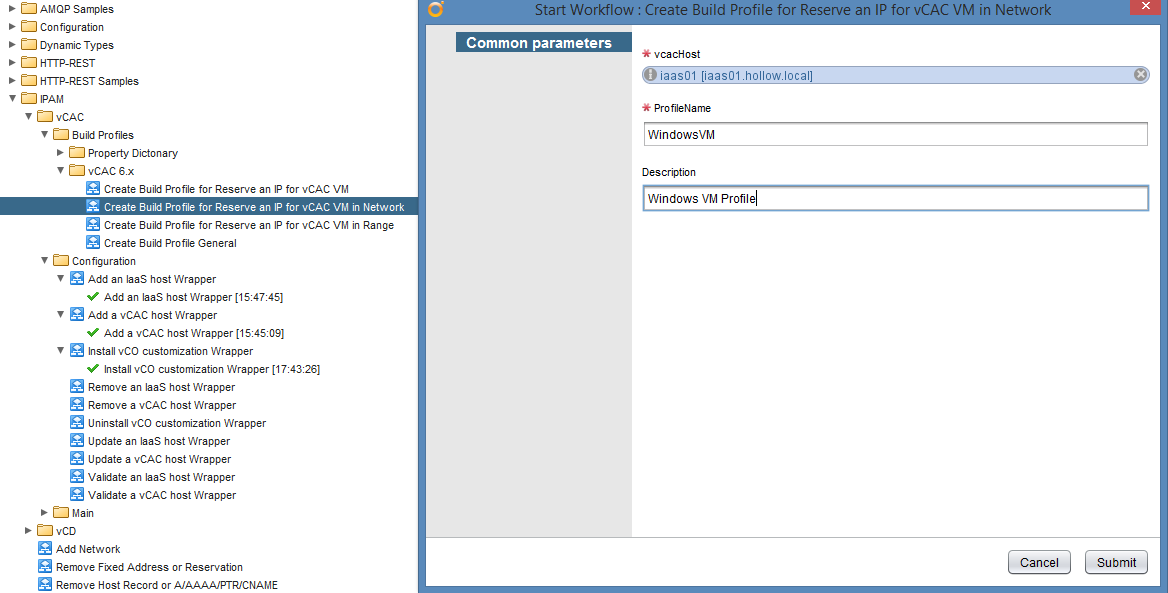
Run the “Create Build Profile for Reserve an IP for vCAC VM in Network” workflow. This will ask us for the vRA Host and what to name the profile.
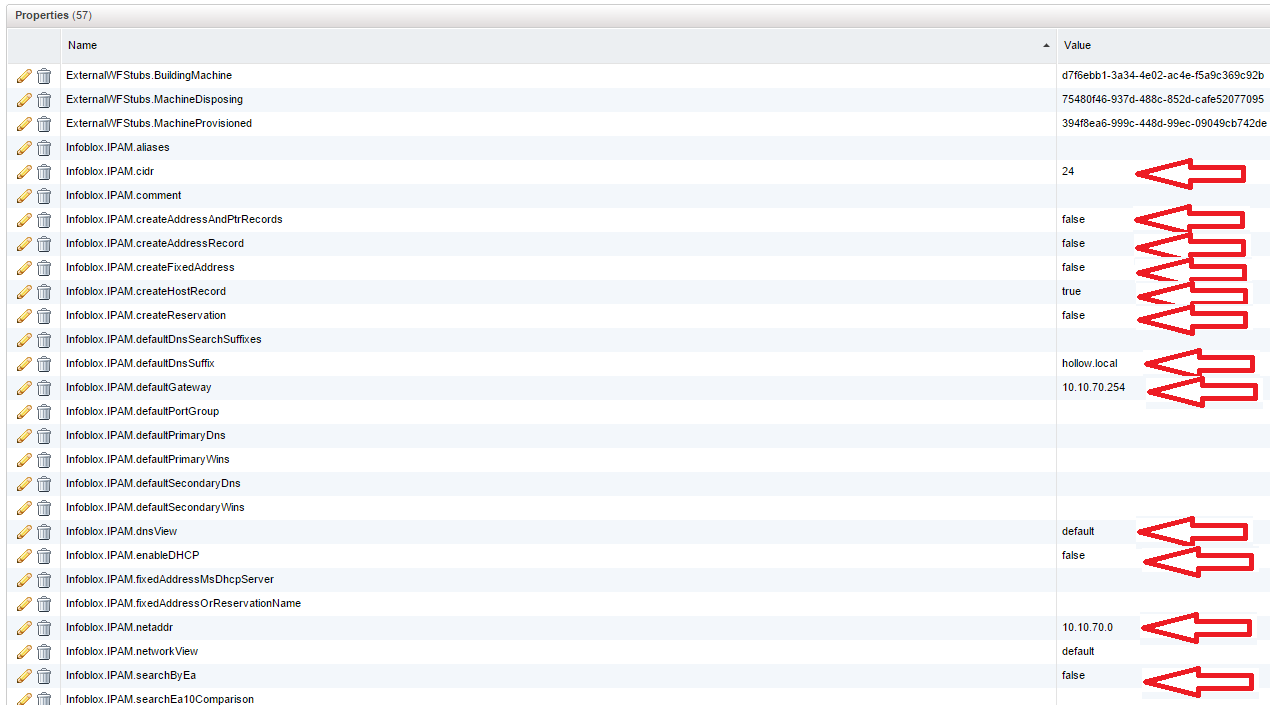
If we go over to our vRealize Automation portal, we should see a build profile under Infrastructure –> Blueprints –> Build Profiles. Open up the build profile we just created through vRealize Orchestrator. Update the values for the properties for which I’ve added the arrows. Then save the blueprint.
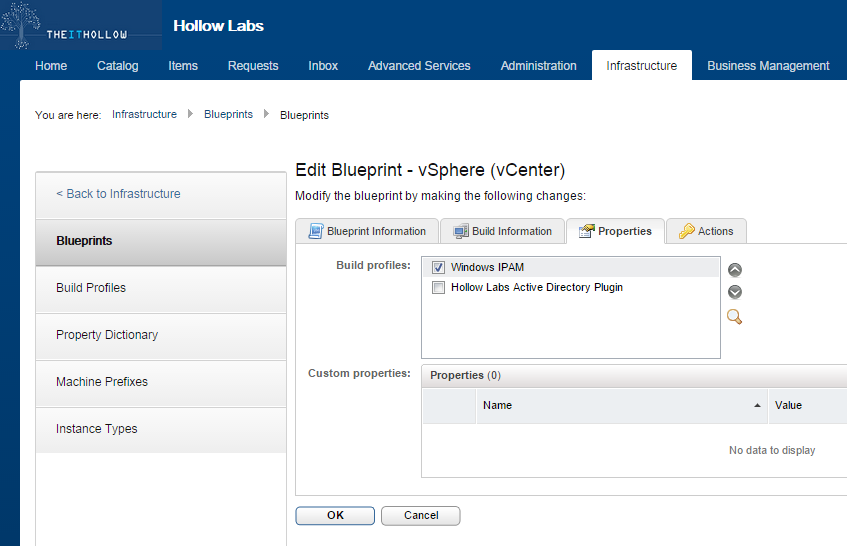
Go into your blueprint and click the properties tab. Select the build profile we just modified and save the blueprint.
Caveats
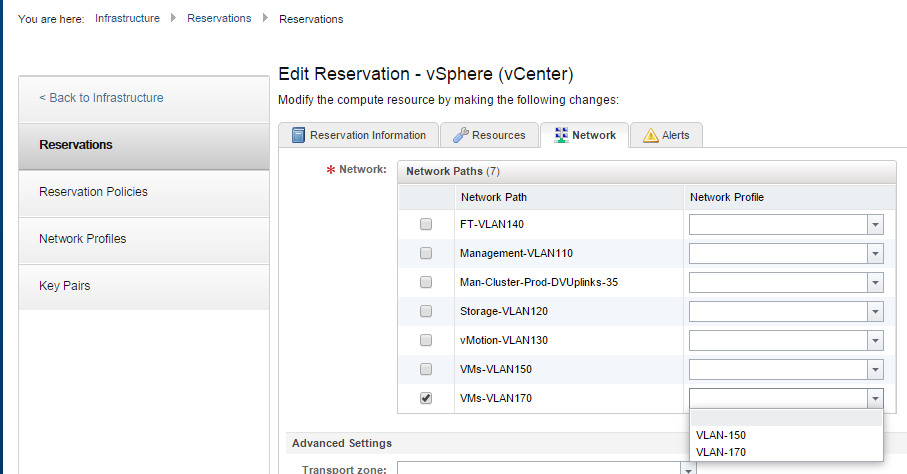
One thing to be aware of is that if you’re using a Network Profile, it will break the IPAM configuration. Check your Network settings in your reservations and if you have a network profile assigned, you’ll need to remove it.
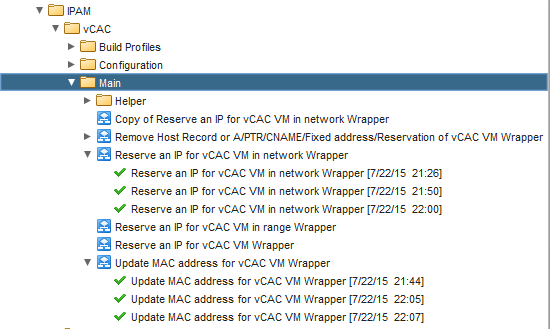
Request a blueprint and marvel in your IPAM skills! If you want to check on the status of your workflow check the “Main” section in the IPAM plugin in vRO. You’ll see the workflows kick off during the deployment process.
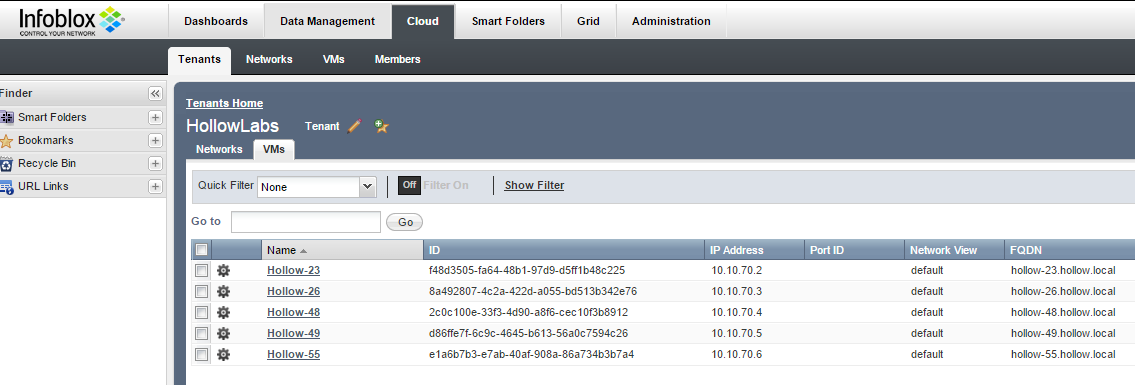
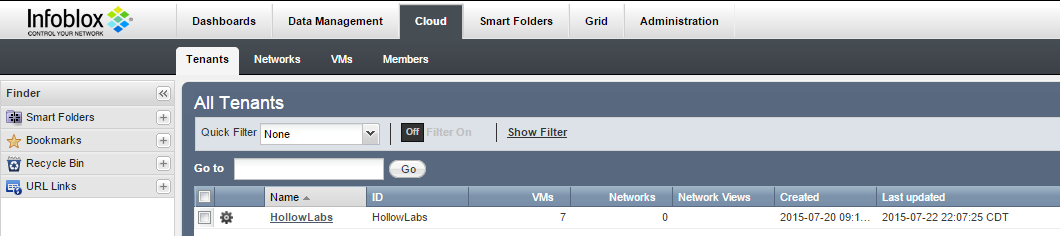
The Infoblox Cloud tab will show your Tenants and your deployed VMs.