During the previous posts in this series, we deployed a Harvester cluster, setup virtual networks to segment traffic, and deployed our first virtual machine. So far this has been a pretty good experience, but most of my day job requires me to do a lot of work on containers so I’d like to have Kubernetes clusters at home. Of course I could deploy a bunch of VMs for a new Kubernetes cluster, but Harvester is built on top of Kubernetes already. So this post will show us how we can connect Rancher to our Harvester cluster so we can use the underlying Kubernetes cluster that Harvester runs on to run our own containers.
Install Rancher
Rancher is a Kubernetes cluster management tool. You can use the Rancher server to deploy new Kubernetes clusters to different types of infrastructure including the cloud or on vSphere. In our case though, we’ve already deployed a Kubernetes cluster, so we can connect that cluster to our Rancher server.
The Rancher server is an important piece of the puzzel that we need to add to our lab. The Rancher server allows you to configure your Kubernetes Authentication, including getting Kubeconfig files, performance monitoring and some CI/CD services. It can of course also deploy additional clusters if you’re looking for this funcationality.
Installing the Rancher server is pretty simple, however the the trick is you’ll need a Kubernetes cluster to deploy it to if you want high availability. I know, it’s a bit of a pain to deploy a Kubernetes cluster so that you can use Rancher to deploy more Kubernetes clusters, but them’s the breaks. The other installation method is not meant for production (lucky for us, this is my home lab, and its worth the risk to me) and is based on docker. If you have a docker host available, you can install the rancher server simply by running:
docker run -d --restart=unless-stopped \
  -p 80:80 -p 443:443 \
  --privileged \
  rancher/rancher:latest
This is precisely what I did. I had a linux host and deployed docker to it before starting up the Rancher server. Once the command completes and the container starts you should be able to access it at the IP Address or server name of the docker server on port 80 or 443. I also made sure that my linux server had a DNS entry so that I can use it in the steps below.
Configure Rancher with Harvester
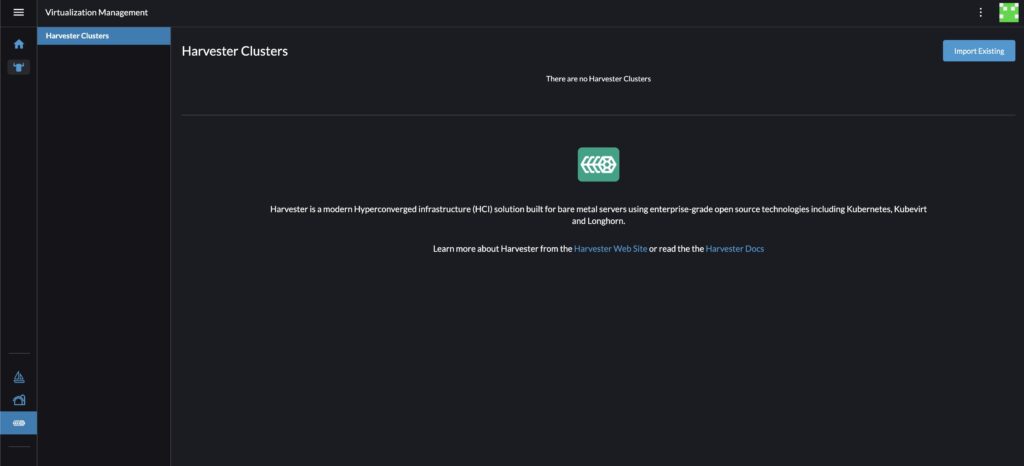
Login to your Rancher server. If you installed Rancher like I did, the login page will give you instructions on retrieving the admin password. This comes down to running a docker command or a Kubernetes command depenging on how you installed it. Login and go to the Virtualization Management tab and then the click " Import Existing" button.
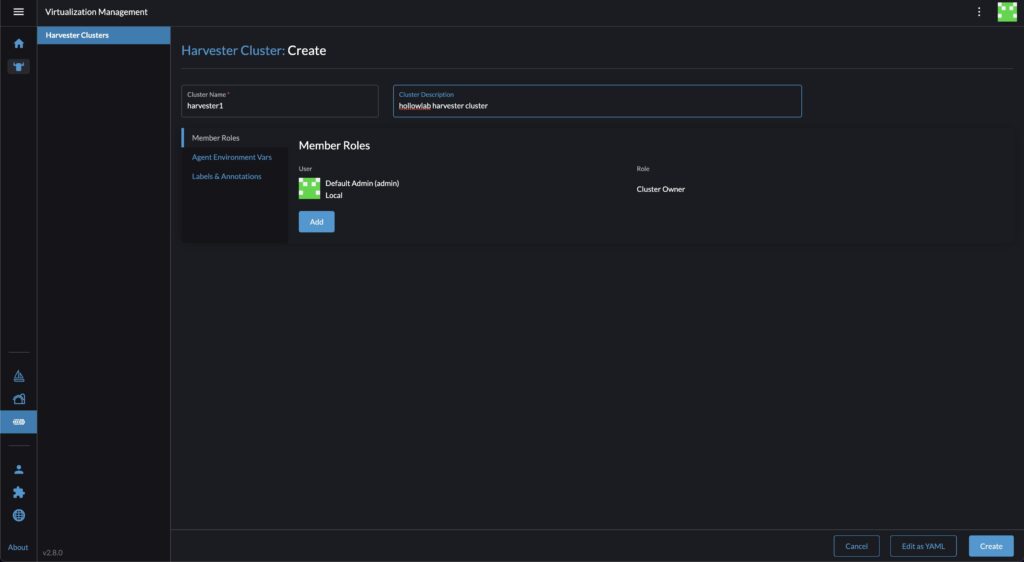
Name your cluster and give it a description. Then click Create.
When you’ve created the Virtualization cluster, you’ll be taken to a screen with instructions on connecting your Harvester cluster with Rancher. Follow those instructions.
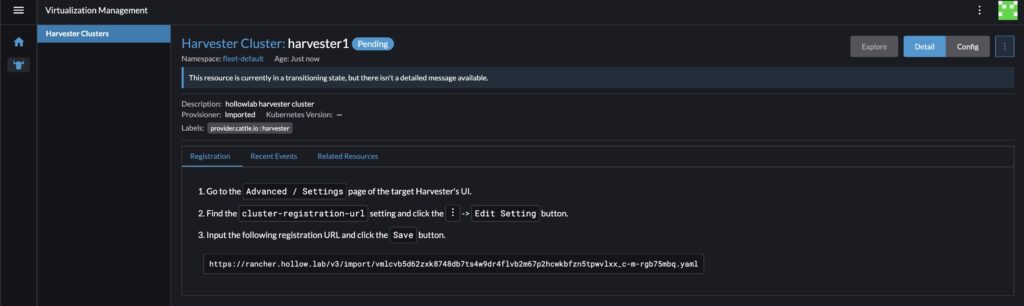
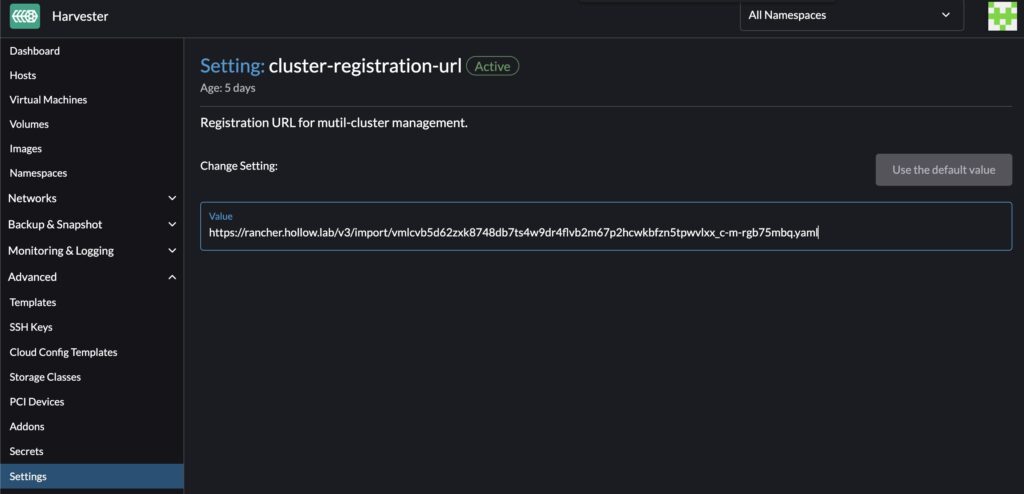
The instructions have you log in to your Harvester cluster and go to the Advanced Settings screen, and update the cluster-registration-url value to the string specified. I’ve copied the string from my Rancher server settings and pasted it in my Harvester cluster-registration-url.
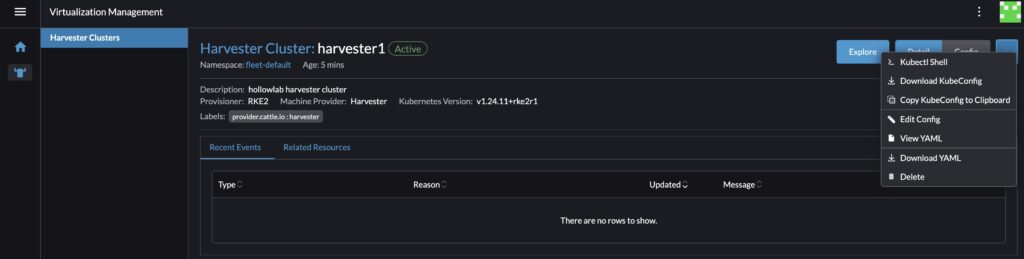
When you’ve completed that step, you can go back to your Rancher server. You’ll notice that the Harvester cluster shows up now and you can now mange the Harvester Kubernetes cluster from the Rancher server.

I’ll go to my cluster and download the Kubeconfig file to my workstation. Then I’d set my Kubeconfig environment variable on my laptop so that the kubectl client knows how to find it.
export KUBECONFIG=~/.kube/filename
Once I’ve completed these tasks I can run kubectl commands on laptop against my Kubernetes cluster. To show that its working, I’ve listed the Kubernetes Nodes.

Summary
We’ve not got a set of physical servers running not only Harvester to manage virtual machines, but also Rancher for Kubernetes. I can now use the same set of bare metal hosts to deploy virtual machines and containers side by side and this is all free software.