In the previous posts, we setup the Harvester cluster and optionally added a virtual machine network and some cluster configs. In this post we’ll deploy our first Harvester virtual machine on our cluster. Before we do this, I wanted to point out that we’ve gotten to this point really without ever needing Kubernetes. If you’re paying close attention to the screens that have been showing up in the GUI, you might notice things like a namespace or labels or annotations that are clearly Kubernetes references. Even still, there’s really nothing in the steps up to this point where it would’ve required any Kubernetes experience at all. We’ll continue that trend as we build our first virtual machine.
Add an Image
Before we deploy our VM, we’ll want to upload an image that we’ll use for our operating system. Navigate to the Images menu of the Harvester UI and create a new image. Leave the namespace as default (one of those Kubernetes references right there) and give the image a name and description as is customary. Then in the Basics tab, you’ll find an option to upload your iso or qcow2 image here. I’m using an Ubuntu 22.04 server iso for my installation media. Then click create.
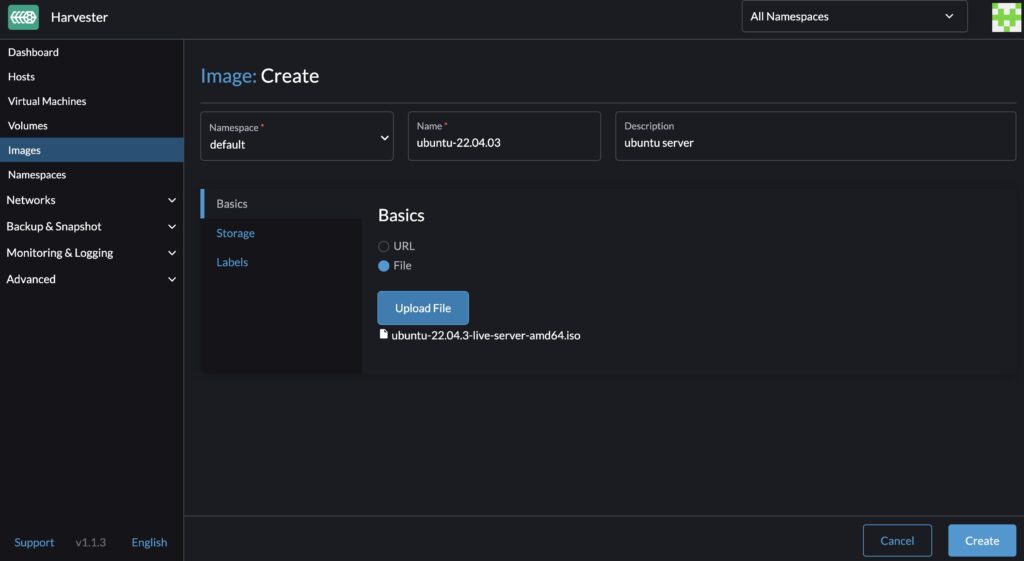
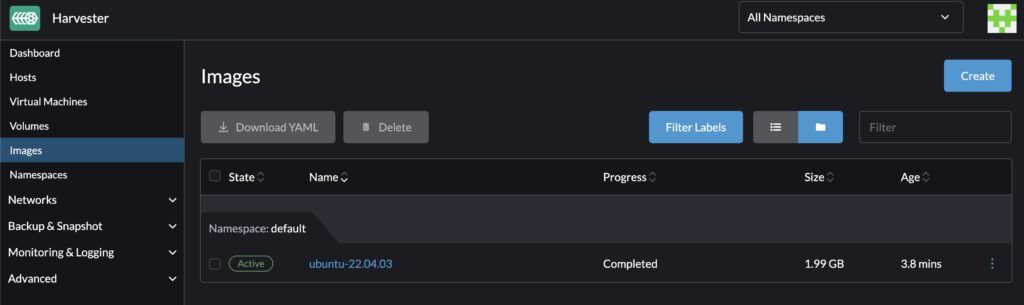
In the Summary screen you’ll see the status of your image upload. After its complete, we can use it while we boot up our virtual machine.
Create a Virtual Machine
Finally we’re ready to deploy a virtual machine, the real test of our configuration comes down to this. Now we can go to the Virtual Machines menu in the Harvester UI. Click Create VM and begin the process of giving it a name and description. Then within the Basics tab, specify the number of CPUs and the amount of Memory for your VM. You can also specify the SSH key to use for this VM in the drop down.
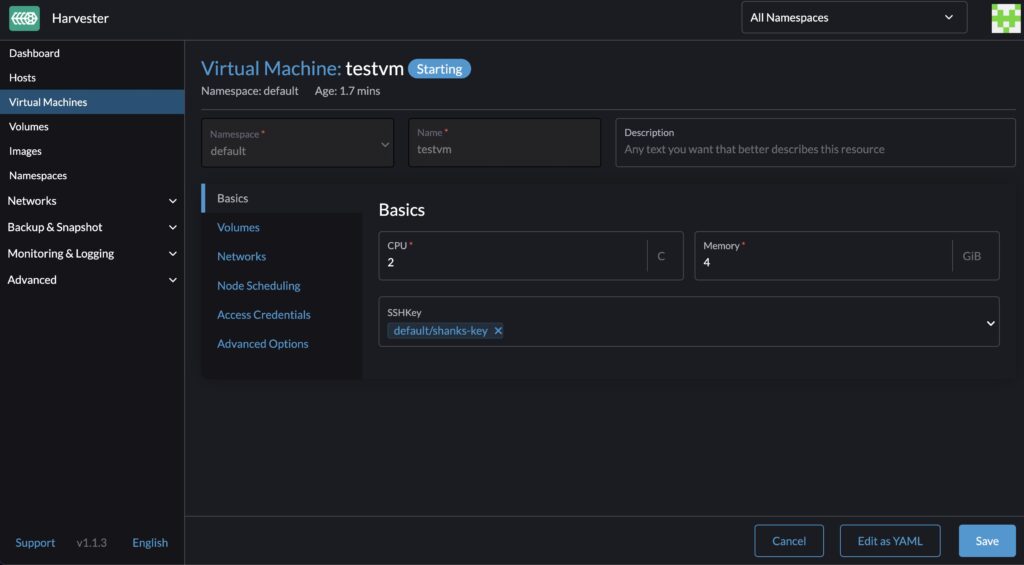
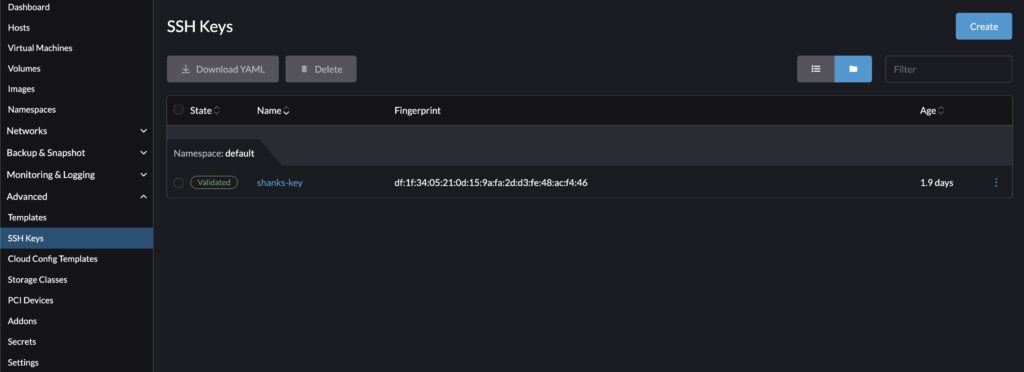
Note: if you don’t have any SSH keys yet, you can add them in the Advanced Menu and come back to this screen when you’ve setup your SSH key.
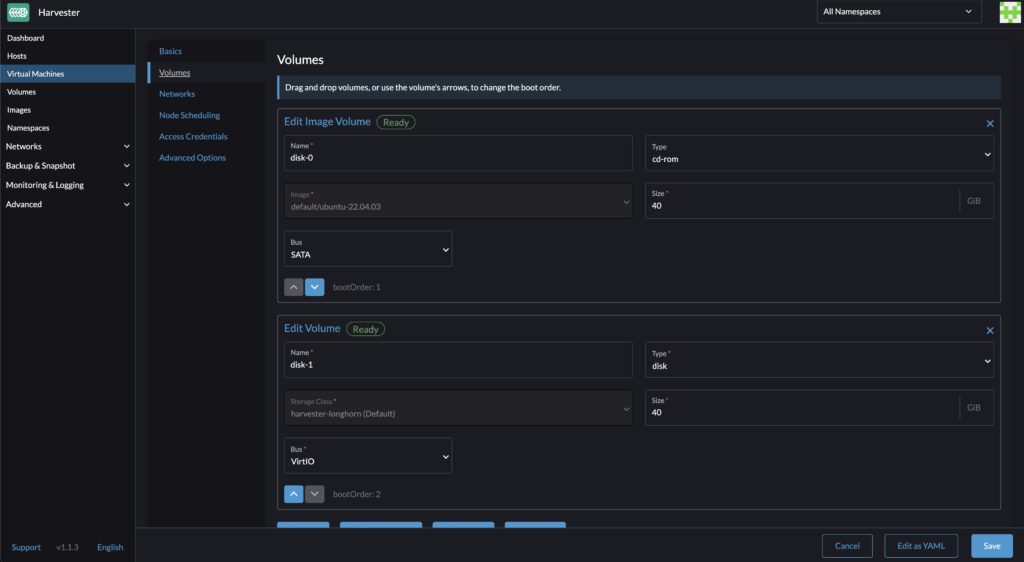
OK, back to our virtual machine creation. In the Volumes tab, you can specify our boot device. This is where we’ll specify a type of cd-rom and specify the image we uploaded earlier in this post as our image. We will also want to add a second volume where we will install the operating system. So, there are two disks for the virtual machine—the boot image, and the virtual disk where we’ll install the operating system.
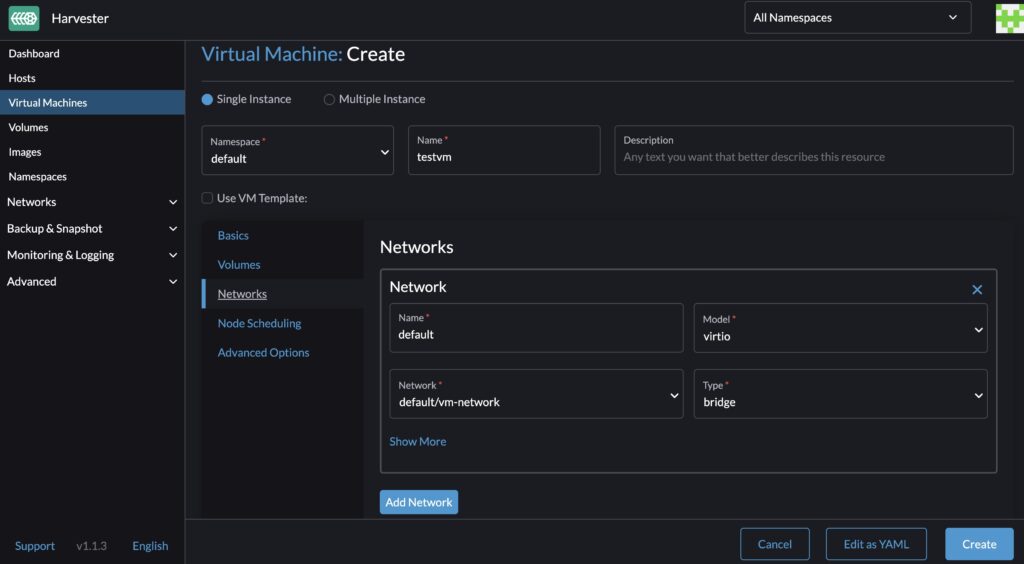
Now on to the Networks tab. On this screen we can select the network that was created in the previous post. This should set the Type to bridge network. You an also use the mgmt network if you wish to skip the network creation post.
In the Node Scheduling tab, you can select which node in your cluster that the machine will be deployed on. In my case, any of the nodes will work. Click Create.

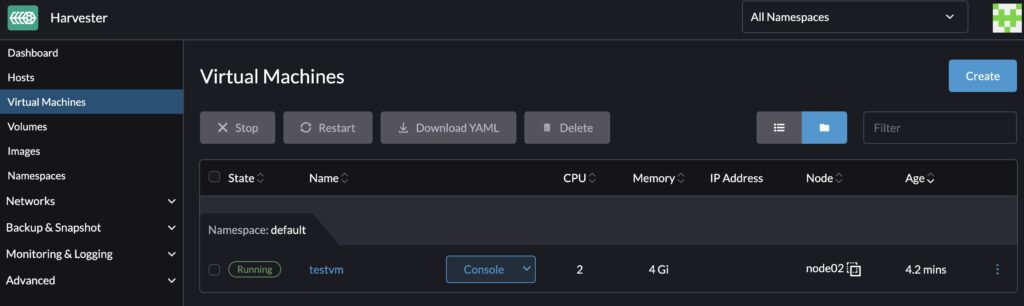
In a moment, your VM should start up and go into a running state. At this point, you’ll want to use the Console button on the VM to access a console to configure your virtual machine.
Install your OS.

If you get done with your installation, you can click the Kabob menu next to your VM to eject the CD-rom. When you’re done with the operating system installation, you can play with the virtual machine features. If you’re like me, the first thing you’re going to try is to migrate the machine to another node. Well I did just this and the migration worked well, but I lost about 6 pings to the machine while it was being moved to a new node. This might be too much time for some applications, but other apps might do just fine with this. It seems a very acceptable amount of time for a home lab.
Summary
In this post we finally deployed our Harvester virtual machine and got our operating system installed. We were able to accomplish this without really having to know anything about Kubernetes. In our next post, we’re going to get started with Kubernetes. The next post shows how to connect a Rancher server to the cluster we’ve deployed to give us Kubernetes capabilities on the same set of nodes. If you’re not a Kubernetes expert, don’t worry, these steps are very simple to keep going in this series.