In our previous posts we setup a Harvester cluster in our lab, configured the network, and deployed our first VM. Here we will explore the backup and restore options available to us from the Harvester console. If you’re new to running virtual machines on Kubernetes, you’re probably questioning a few things, like will your current VM backup tool work? The answer is maybe, but only if it is able to backup a container since our VMs are now wrapped inside of a Kubernetes Pod thanks to Kubevirt. There are several options out there (I work for one of those companies myself) but this post only focuses on whats built into the Harvester solution.
Backups are a critical component to a virtual machine strategy. Since virtual machines almost always have state to save, we need some mechanism to back them up. These capabilities are also needed if we want to create new virtual machines from a template later on, as well. In this post we’ll walk through the process to backup and restore Harvester VMs.
Configure a Backup Target
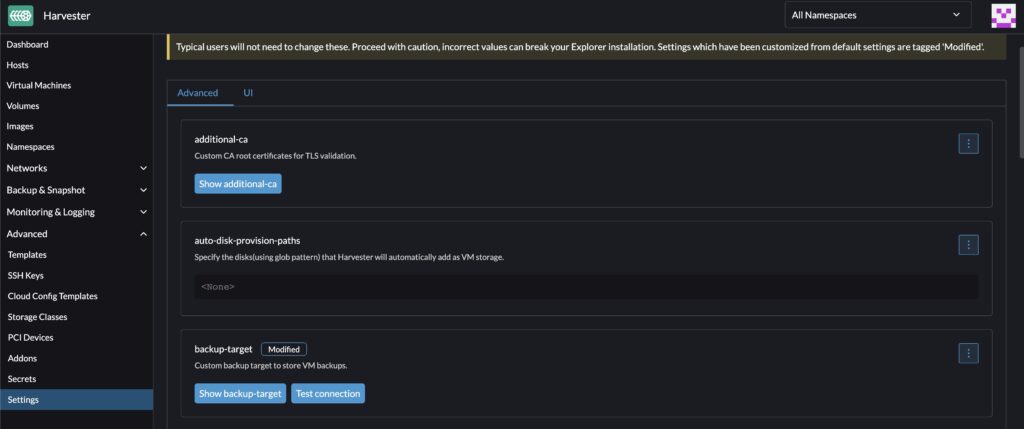
Before you can backup virtual machines with Harvester, you need to configure a backup target where the backup data will live. In the Harvester UI, navigate to the Advanced/Settings and look for the backup-target configuration item. Click the kabob menu, to see additional options.
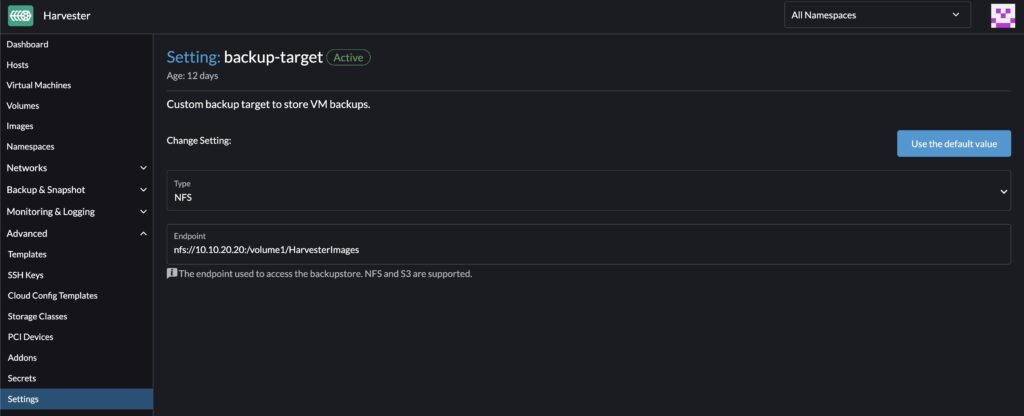
From the configuration settings screen, specify the details about your backup target. This target can be configured to use NFS if you have an NFS server hanging around like I do, or you can use an S3 bucket. I chose NFS because because I didn’t have an S3 option available to me locally. Now you could use S3 as an option and use Amazon S3 buckets which would be useful for an offsite backup, but I didn’t want to download those images over the Internet if I needed them. Your own configurations will vary and you should make this decision based on your own lab equipment and requirements.
Backup a Virtual Machine
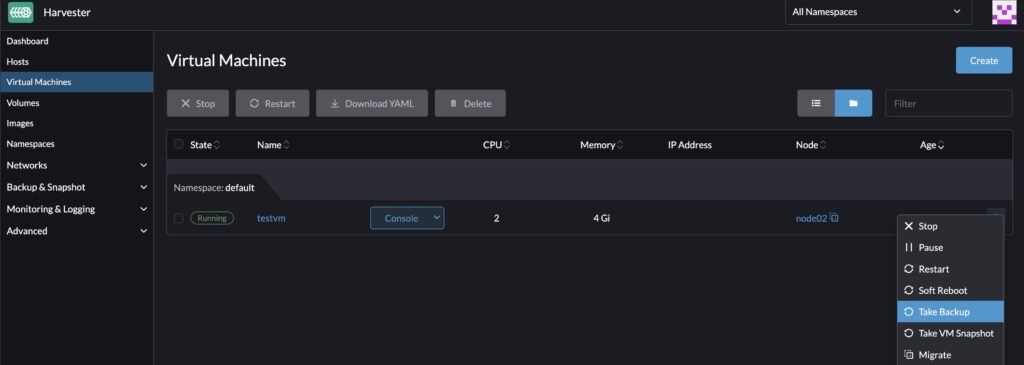
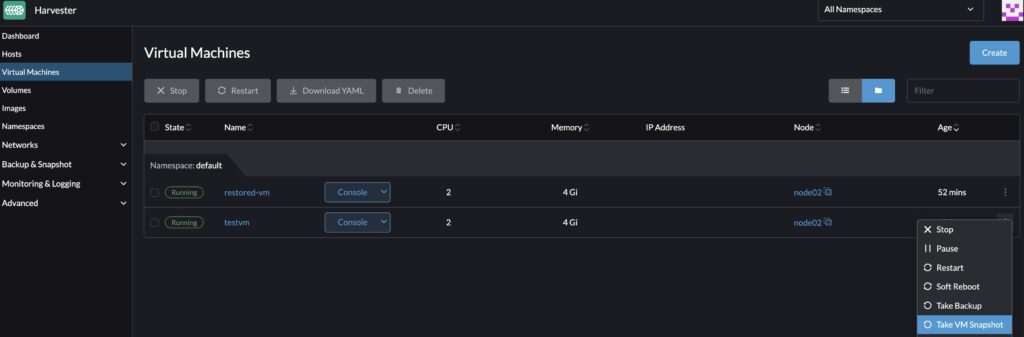
Now that we have a backup target configured, we can try a backup. From within the Harvester console navigate to the VM tab where we already have a machine running. Select the Take Backup option from the VM menu.
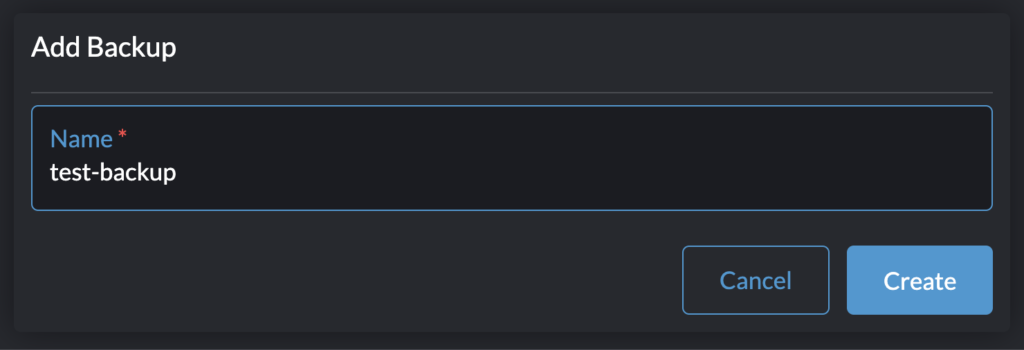
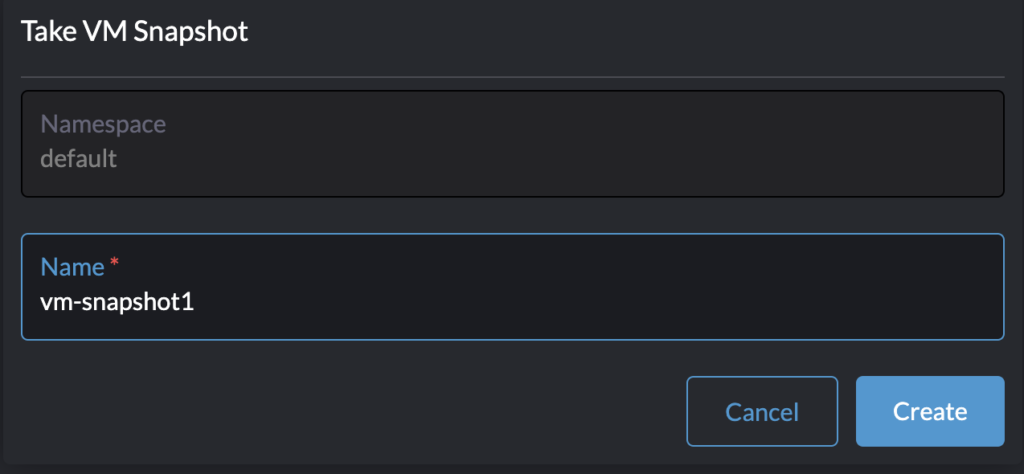
Give the backup a name and click Create.
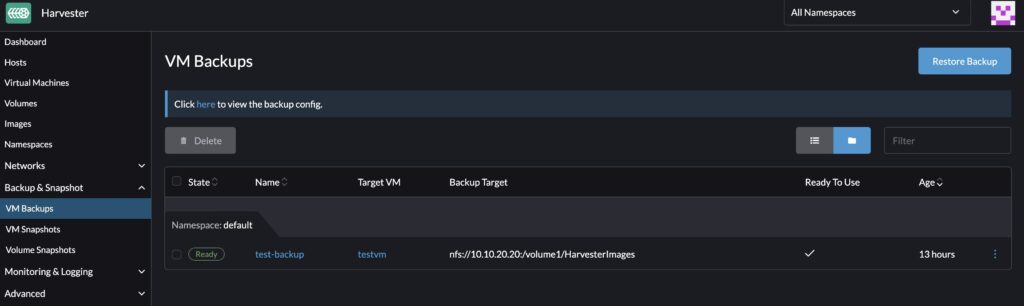
When you’re done, you can find the status of the backup in the Backup & Snapshot/VM Backups menu.

Restore from Backup
As we all know, backups are really worthless if they can’t be restored. So let’s try that out quick as well. To perform a restore you’ll go to the VM Backups menu and click the Restore Backup button.
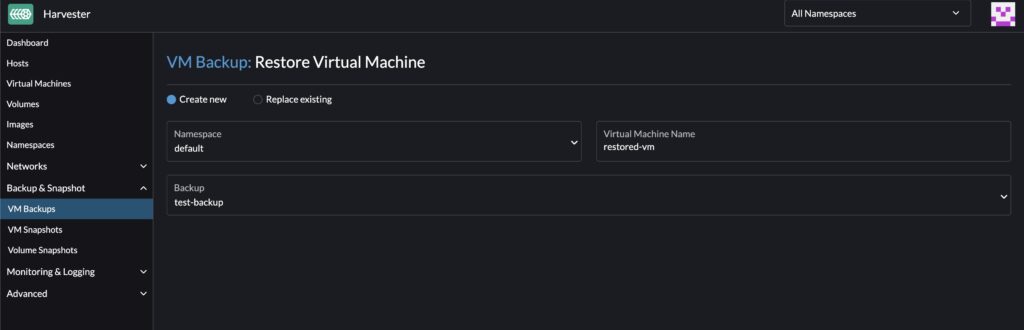
You can choose to create a new virtual machine from the backup, or to restore it over the current state of an existing machine. In my case I’m creating a new VM so I give it a name and I select the backup to restore.
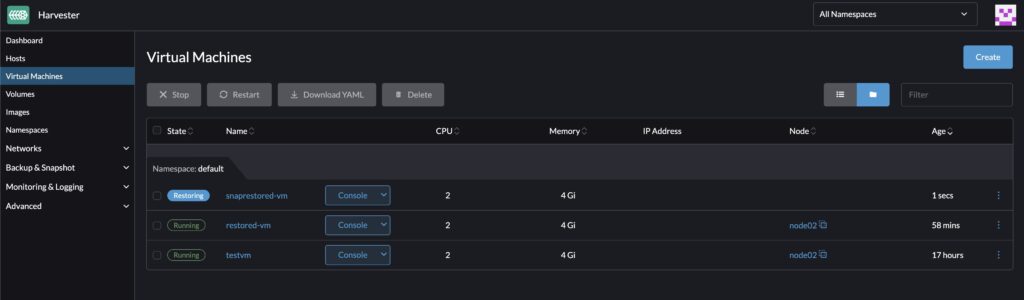
From the Virtual Machines tab, we can see the state of the machine being restored.
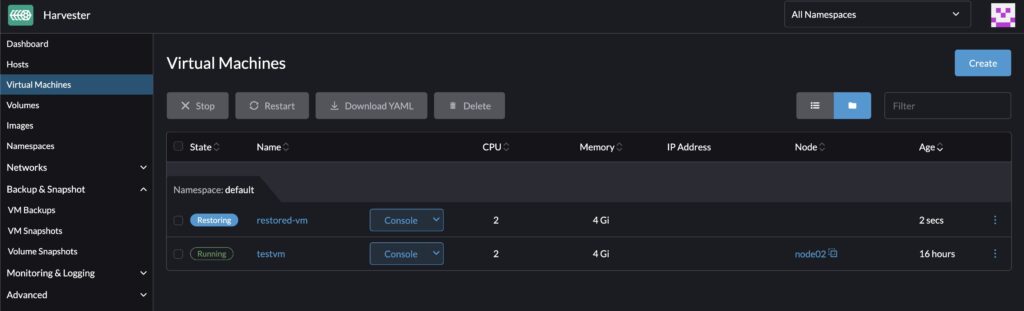
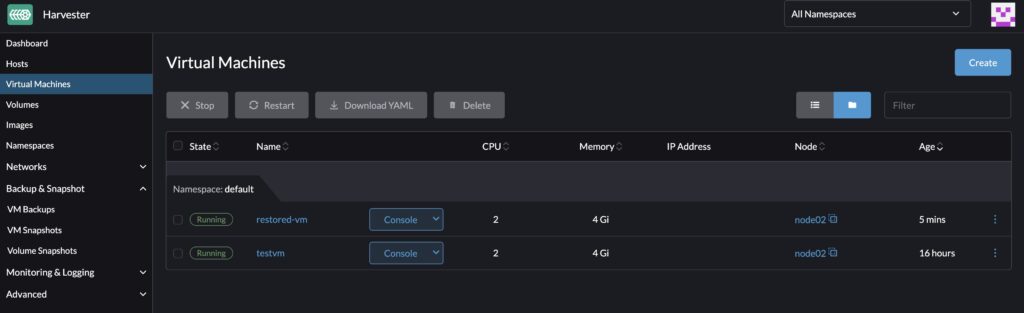
Eventually the virtual machine should be in a running status.
Snapshots
Snapshots aren’t backups! There, now I’ve said it. Now if you want to use snapshots for something that has to pass less data around, you can do this with a very similar process as you did for your backups.
Give the snapshot a name and click Create.
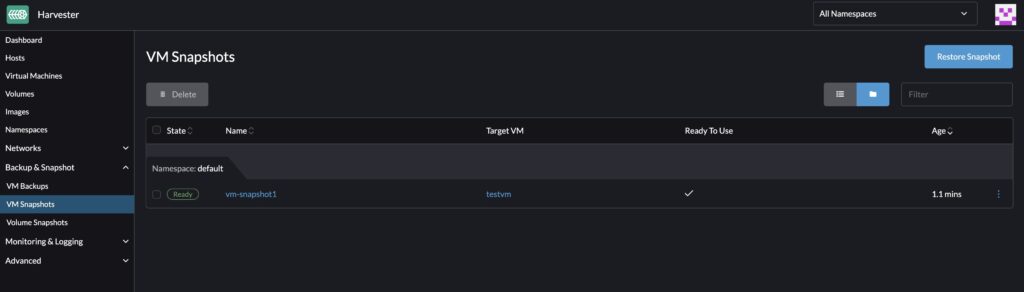
Now you can watch the status of your snapshot from the VM Snapshots page. When its completed, you can click the Restore Snapshot button to test restoring it.
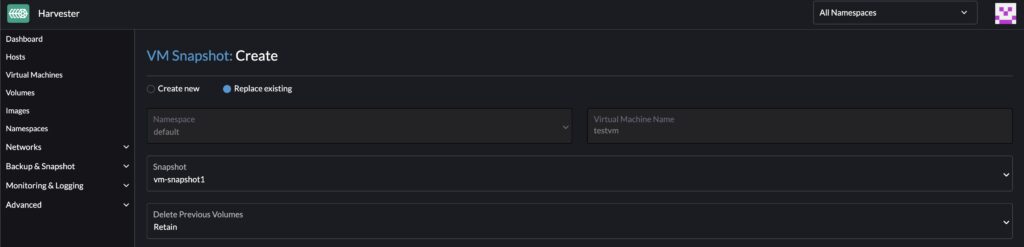
This time I’ll replace an existing VM with my snapshot to show the alternate way of restoring. Here the virtual machine is already selected, and I choose which snapshot to restore. This also asks if you want to Retain or Delete the current volumes.
When done with the restore process you can see the status of your VM in the Virtual Machines menu.
Summary
My home lab doesn’t have anything really important in it, but being able to backup and restore my virtual machines is pretty handy. The functionality to create virtual machine backups and snapshots is pretty critical for us to do things like cloning or deploying VMs from templates which we’ll review in a future post.