

Windows Server 2012 as a Storage Device for vSphere Home Lab
September 24, 2013If you’ve got a some hardware lying around for your lab, Windows Server 2012 may be a great solution for a home storage device. You can now do both block (iSCSI) and NAS (NFS) on the same server, as well as having an OS to install some management apps on it. In my lab, I use this management server to run Veeam for my backups, PRTG network monitor for bandwidth tracking, as well as using this server for both iSCSI targets and NFS mounts.
Installation
Installing the necessary components on the server is very simple.
Go to the Server Manager and choose the “Add roles and features” link.

Choose a role-based or feature-based installation.

Select your localhost if your installing from the same machine, or use the remote host option if installing from a group member.

Scroll down the list of roles and add:
- iSCSI Target Server
- iSCSI Target Storage Provider (VDS and VSS hardware)
- Server for NFS

Confirm your selections and click install

You’ve got the services installed now. The next steps are to setup an iSCSI target and and an NFS Mount. Obviously both of these are not necessary, but if you can setup both, why not do both.
NFS Setup
NFS is pretty easy to get setup for a VMware ESXi lab. Create a folder in the Windows file system; this is where your NFS mount point will be set. Right click on that folder and choose properties. Here you’ll see a tab called “NFS Sharing”. You can click on the “Manage NFS Sharing…” button to setup the properties.

Click the box to “Share this folder”. Please note that this does not share the folder for Server Message Block (SMB) like you may be used to doing for standard Windows File Shares. This is only the NFS Sharing setup. If you want, you can share this as a Windows share as well but I recommend keeping your NFS shares separate to avoid accidentally deleting files used by your ESXi lab.

Click the “Permissions” button to allow readwrite access to the NFS Share. Change the “Type of access” box to “Read-Write” and be sure to tick the check box to “Allow Root Access”

DONE! You can now setup your vSphere environment to access this NFS mount.

iSCSI Setup
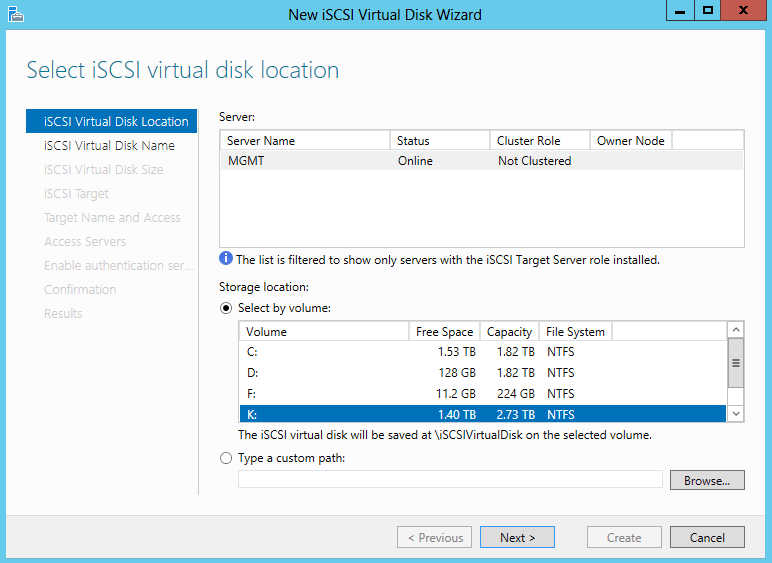
To setup the iSCSI Targets, go to the “File and Storage Services” section of the Server Manager. Click on the Hyperlink to create an iSCSI virtual disk.

Choose the server and physical disk location that you’d like to create a virtual disk on. This virtual disk will be the iSCSI target so be sure to place it on the right sized and speed disk you’d like to use. In my lab i’ve got a pair of mounts, one on an SSD and one on a traditional spinning disk.
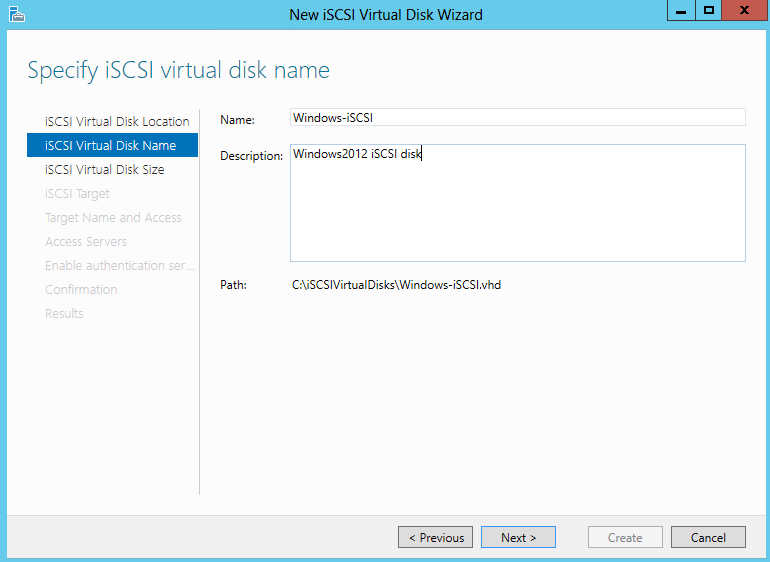
Name the virtual disk. This will end up being the file name.
Give the virtual disk a size. Obviously you’re restricted to the size of the physical disk that it’s on.

Now you need to create an iSCSI Target. Click the “New Target” section if it’s your first time running through this setup.

Give the target a descriptive name.

Now we need to list the initiators that will have access to this target. We don’t want to allow all machines to access this iSCSI disk, so we’ll limit it to our ESXi host initiators. Click the “Add” button.
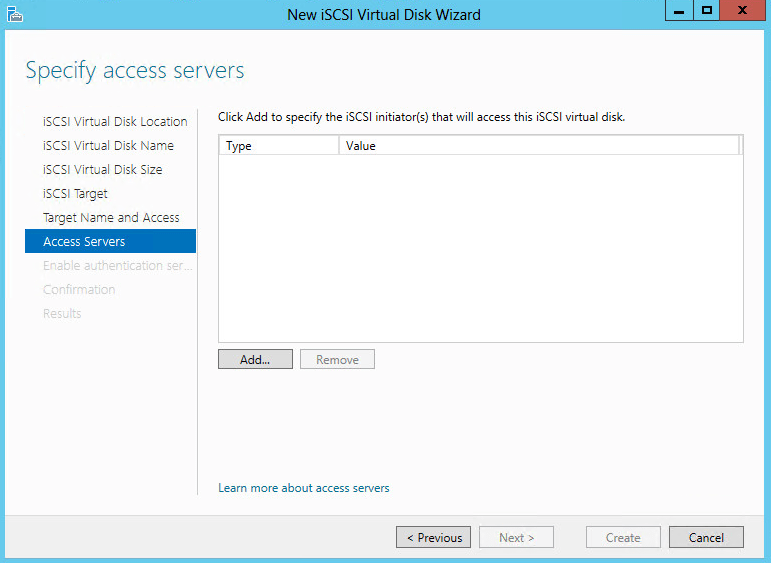
Add the iSCSI initiators at the bottom. If you’ve run through this before, you can look at the initiators that are cached in the middle section.

When you’re done you’ll see all of the initiators that have access. Click “Next” to continue on.

If you are interested in setting up additional security, you can enable CHAP andor Reverse CHAP. My lab is super secure so I’ve left it disabled. 🙂

Confirm your selections and click “Create”.

The creation process will complete.

DONE! Now you have an iSCSI Target on the Windows 2012 Server. Add this target to your vSphere environment and you’ve now got block storage for your hosts.

Hello,
I need some shared storage for VMware, looking for some advice… I have an HP N40L (currently running ESXi), with an HP P410 raid controller, 4 disks (1.5TB(2), 1TB(2)), plus an SSD. I would like to turn this box into shared storage for my other 2 VMware boxes in a cluster. I’m confused as to what to use, nexenta, Windows 2012 R2, (as a VM or bare-metal).
Any advice you can give me?
Thank You
As always, the answer is, “It depends”.
Nexenta is a good choice, also FreeNas or OpenFiler might be something to try out.
Server 2012 R2 is a nice choice as well because you can use the OS as a File Server etc. as well as presenting both NFS and iSCSI targets.
Try out a couple of options and see what you like. It is a lab after all. 🙂
Good luck with your build.
[…] Eric Shanks says: December 30, 2013 at 9:39 am […]
I am using Win 2012 R2 Storage server and can not get VMWare(5.1) to create a datastore from the LUNs presented from MSSS.
However, I followed your above about NFS, and it works, so what is the purpose of the iSCSI part? Creating an iSCSI to present to VMWare as a LUN still does not work in creating a datastore from the LUN.
Try Windows Storage Spaces Direct.
Just created a new article to do this on a Windows 10 PC.
https://argonsys.com/learn-microsoft-cloud/articles/how-to-build-windows-storage-spaces-direct-virtual-lab/