Maybe it’s bougie, but one of the reasons I purchased E200-8d Supermicro Servers for my home lab was because they had IPMI built into them. Being able to remote into my lab at night when I’m messing around with different configurations was a nice to have. When I was consulting and traveling a lot, being able to remotely start my servers up was really important. I tested out things many times in my lab so that customers wouldn’t have to spend time figuring it out themselves. Anyway, the point is I bought servers with IPMI in them because I thought it was important.
When I had my lab setup with vSphere, I would usually configure the Distributed Power Management, mainly so I could power on and off my servers from the vCenter UI and not have to log in to each server individually to power them off or things. I was pleasantly surprised to find out that you can configure IPMI integration in Harvester as well.
Enable Seeder
Seeder is an open source tool used to the the IPMI integration with Harvester. To install Seeder, go to the Advanced settings page in the Harvester UI and go to Addons. In the Addons page look for the harvester-seeder addon, and click the hyperlink, or select the kabob menu and choose “Enable”.

After a few moments, you’ll see the harvester-seeder addon deployed successfully.

Configure your Hosts
Once the Seeder Addon has been enabled, go to the Hosts tab. You’ll need to edit each of your hosts configurations. Click on the Kabob menu next to the host you want to configure and click “Edit Config.”
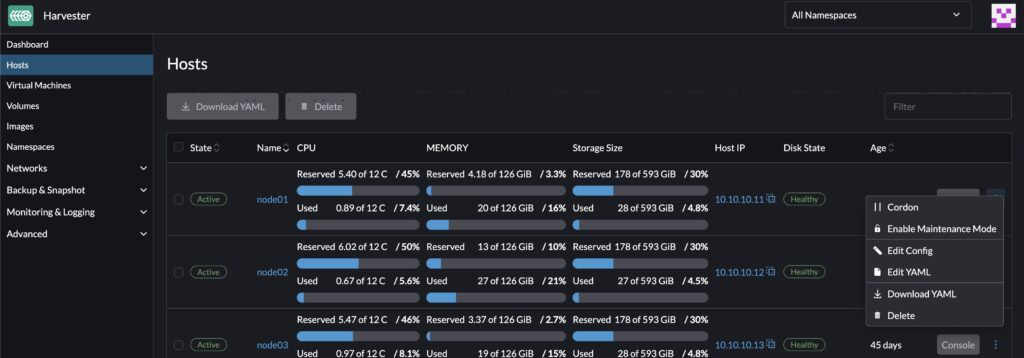
If you JUST enabled the add-on you might receive a message like the error I got. If you do, wait a little longer for the Seeder Addon to finish reconciling and try again.
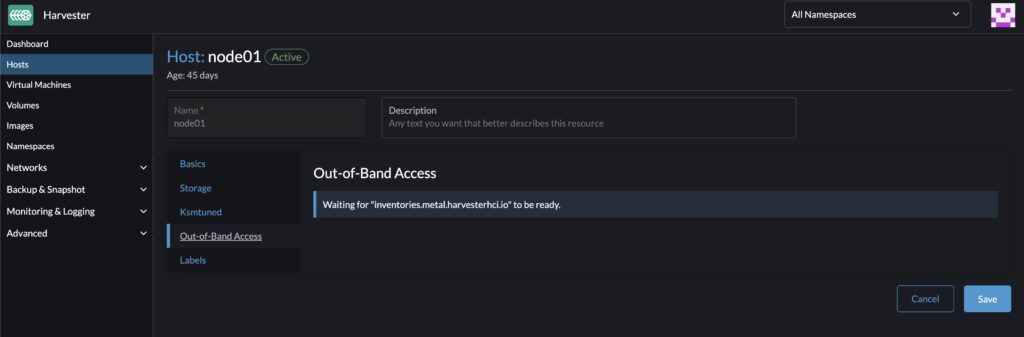
Enable Out-Of-Band Access from the menu for your host.
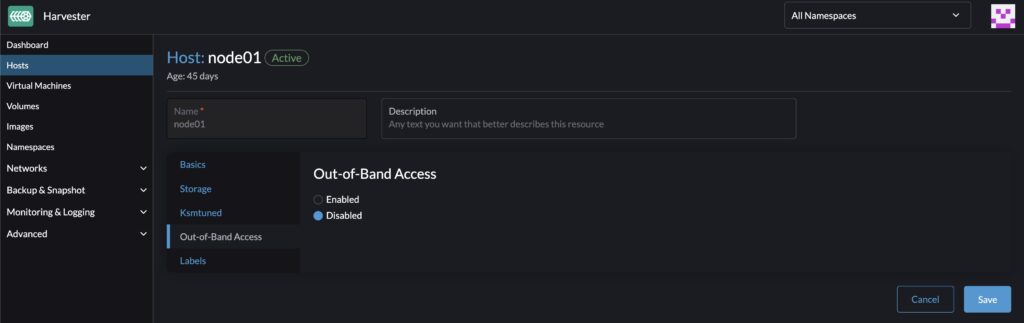
A new set of fields will be shown on the screen where you need to fill in connection information for your IPMI interface. Provide the IP Address, Port, and polling interval.

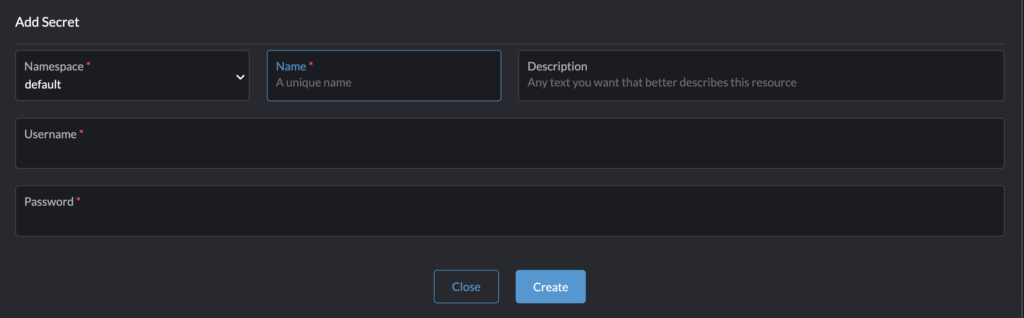
You’ll also provide a password, but you’ll need to create a new secret first. This is kind of handy if you use the same login for each of your hosts because you can just create it once and select it for each host. If this is a production environment though, you should of course have a different login for each host for security purposes. For me, its my home lab, and YOLO. Save your configuration settings and move on to your next host.
Test Your Hosts
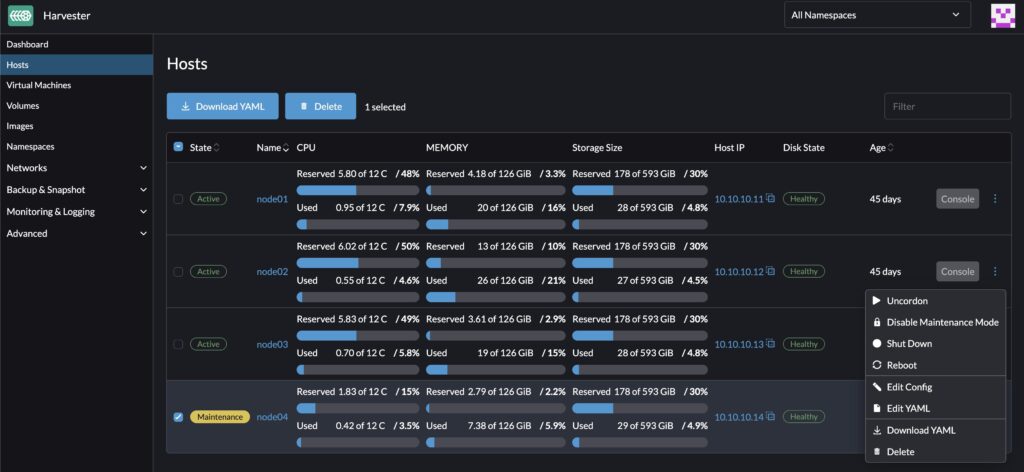
Once you’ve configured your hosts, you can try them out. Put one of your hosts into Maintenance mode and migrate your VMs to another host so they won’t be affected by a server being powered off. You can put hosts in maintenance mode by clicking the Kabob menu and choosing “Maintenance Mode.” Once the host is in maintenance mode, your host menu should have a a “Shut Down” option. When you click this option, the Seeder addon will communicate with your IPMI to perform the shutdown proceedure.
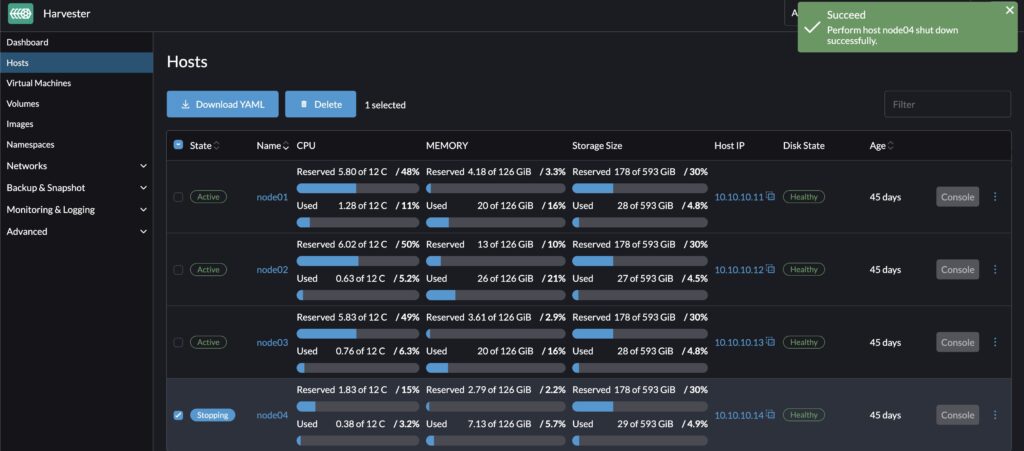
You should get a success message in your console if it worked correctly.
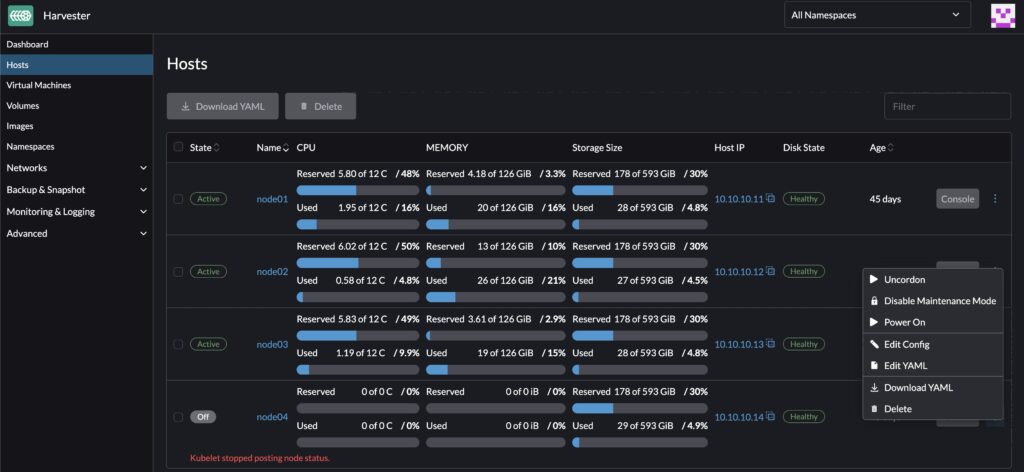
Of course powering off a server is only part of the goal. We (maybe more importantly) want to be able to remotely start our node as well. Once the server is powered off, we then Power it back on from the same menu.
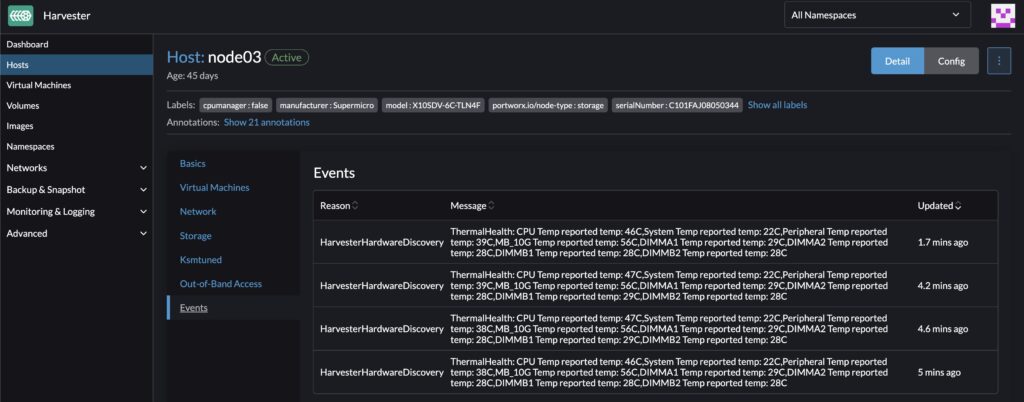
You’ll also start getting some hardware events in the console which is also a nice way to keep an eye on your cluster’s hosts.
Summary
Configuring IPMI integration might not be everyone’s first priority, but it is pretty handy to have hardware information and power options in your Harvester UI. If you want to check out any of the other posts about my Harvester lab, check them out here.