If you’ve got a home lab to play around in, it’s great to have remote access so that you can try things out from the road. This might mean purchasing an expensive firewall or VPN appliance but openvpn has a nice 2 user appliance that can be downloaded as an OVF file, right into your vSphere environment.
Installation
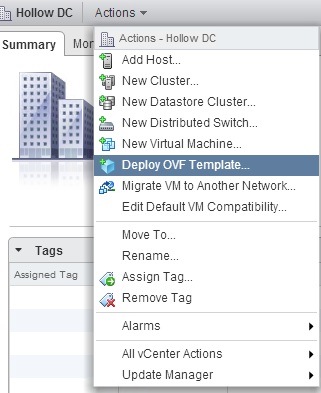
I mentioned that this is an OVF file, so you know the installation is going to be a snap. Download the bits from OpenVPN.net and deploy into your vSphere cluster. I’m not going to go through the entire OVF deployment, I think you’ll find it very simple even if you haven’t done it before.
Initial Setup
Once the OVF has been deployed, some initial setup tasks need to be hammered out before the fun stuff happens. Open your vSphere console so you can see what’s going on with the appliance.
You’ll be asked to login to the appliance with the default credentials:
User: root Password: openvpnas
Accept the License Agreement
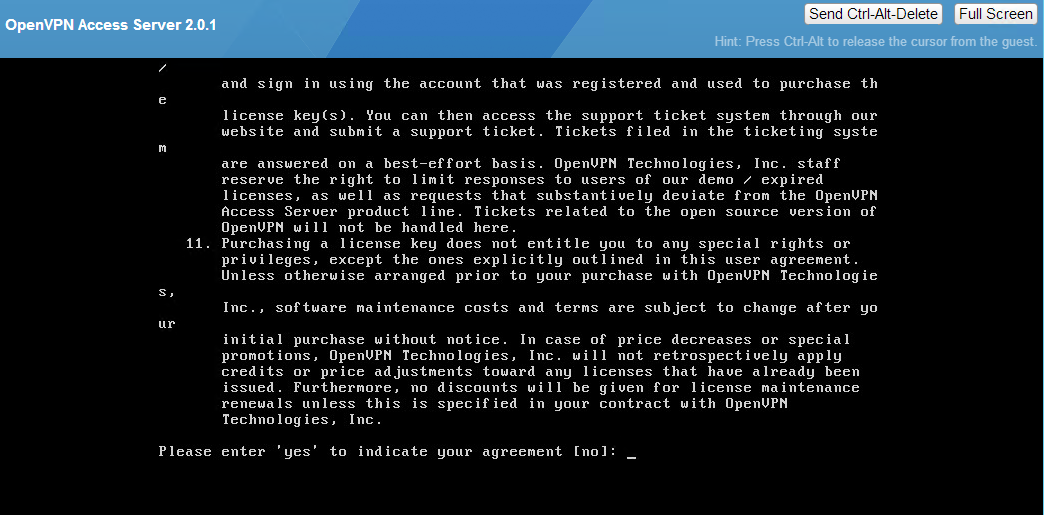
The rest of the information comes at you in a wizard. If you need to redo this wizard later, you can run ovpn-init.
This is likely the only Access Server node if you’re reading this post. :) Leave this setting the default. 
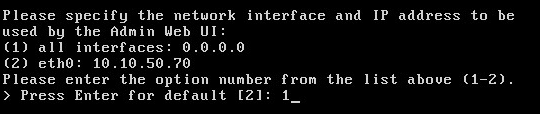
Pick the interface that you plan to use for the VPN. You probably want to change this to 1 - All Interfaces to keep the installation simple.
A few more questions relating to port numbers and how you want traffic to flow through your appliance when it’s all setup. I’ve left the defaults for the ports and the routing for now. 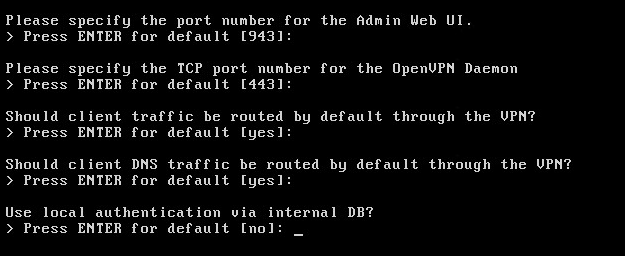
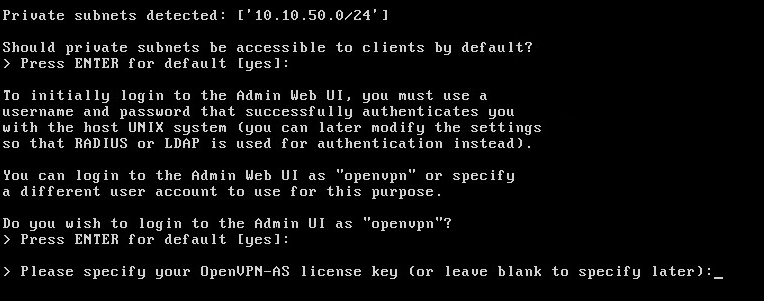
The appliance should pick up the local subnet. Do you want to allow access to this subnet by default? I’ve chosen the defaults.
Also, you can also make changes to the default user login, but I’ve left this as the default as well.
Since we’re using a version of OpenVPN that only allows two users, we can leave the license blank.
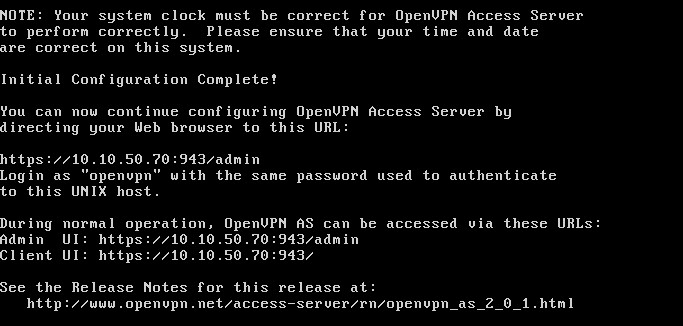
Once you’ve answered all the questions, you’ll see some information that might be useful to log into the Web GUI to finish your configurations.
Before I log out, I change the default password for the default login. (It seems like a good step to take since this appliance is allowing access to your lab from outside your LAN.)
passwd openvpn is the command to allow you to set your own password.

VPN Configurations
You probably saw the URL that can be used to administer your VPN appliance in the summary screen above. Go to https://[ipaddress]:943 to access the administration console.
Login as openvpn and the password you changed earlier.
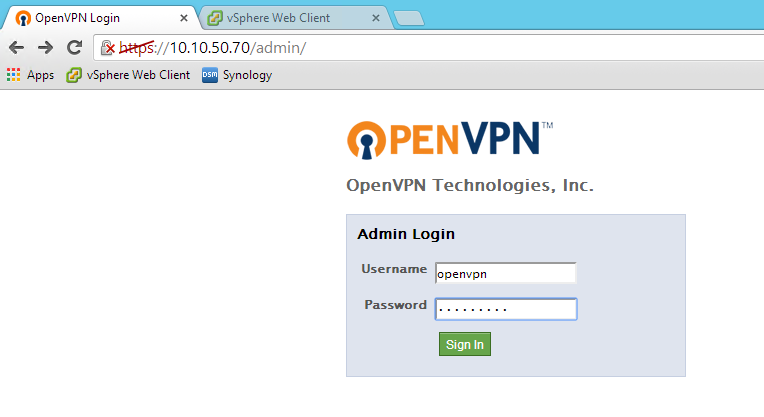
Now that you’ve logged into the admin console, you can begin making modifications to the setup, much more easily than using the UNIX prompts from the command line.
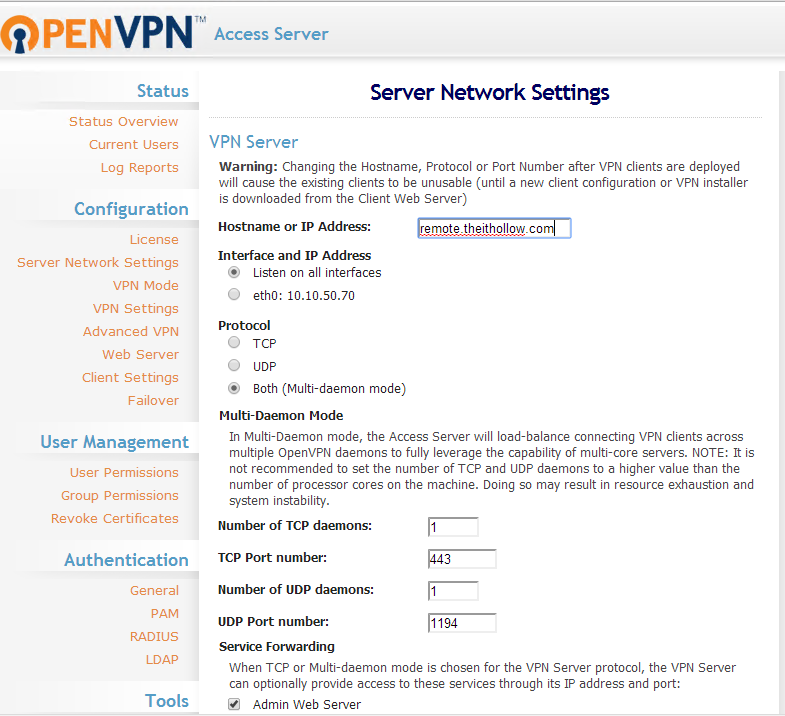
I don’t want to go over all the settings, but will point out two changes that I made.
The first change is to modify the IP Address or DNS name of the appliance. The appliance wants the public facing name or IP address that clients will be using to connect to it on.
NOTE: after making changes, be sure to click save changes and then also Update running configurations. This appliance can save the configurations but not apply them until you’re ready.
The second change I made was to use LDAP Authentication. This is so I can tie my logins directly to my Active Directory. This is completely optional and there is a way to also just use local users, but I find this way to be the easiest.

Before you can connect remotely, be sure to setup your port forwarding, access lists andor network address translations to point to the new Open VPN appliance.
The only ports necessary to connect remotely are:
TCP 443 UDP 1194
Also, if you haven’t done it already be sure to remember to point your public DNS name at the public IP address of the openVPN appliance.
Connecting Remotely
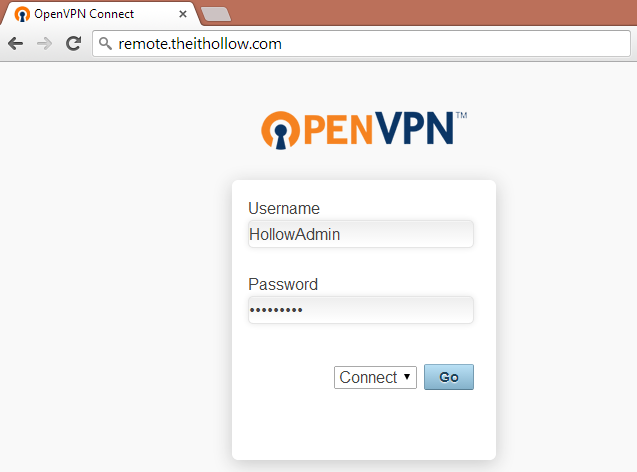
Open a web browser and go to the public name or IP of your Open VPN appliance so that you can connect to your home lab.
You’ll need to login with a username and a password. My appliance is setup with LDAP so my Active Directory Credentials will work. Make sure that the “CONNECT” drop down is selected and click Go.
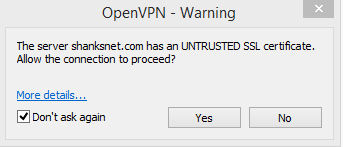
You’ll be prompted about an untrusted SSL Certificate unless you’ve added one (not shown in this post)
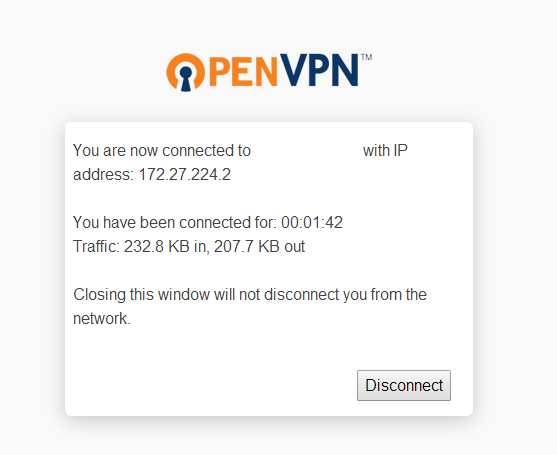
A webpage will show you that you are now connected. Once this happens, you should be able to start connecting to your services that are hosted on the private network.
From the initial connections screen, you can change the “CONNECT” dropdown box to instead say “LOGIN”. If you do this, you’ll have the option to download a VPN Client so that you don’t have to open the broweser and login each time you want to VPN into your Home Lab.
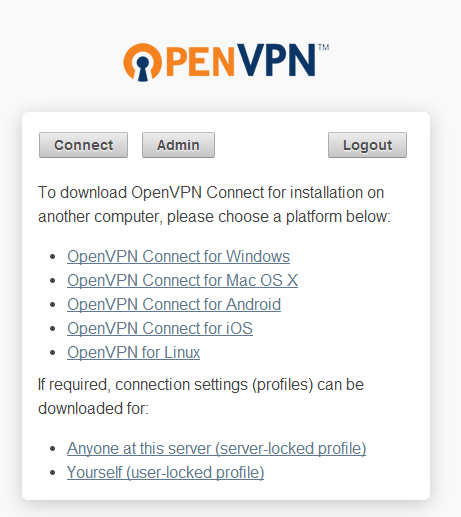
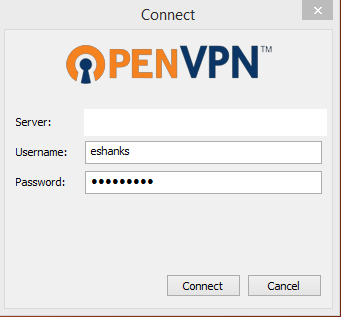
This is what the VPN client looks like.
Summary
This might not be the most robust solution ever designed, but it is a very inexpensive way to connect to your home equipment and do some work while you’re on the road. Check it out if you are in the need for a remote access solution.