The installation of Harvester starts with deploying your nodes. This process would be similar to deploying ESXi hosts in a VMware deployment. To start the process, download the latest stable harvester release from their github repository. You can then mount this ISO file from your bare metal server.
Create the First Harvester Node in a Cluster
After booting to the iso choose the version of Harvester to deploy from their GRUB list. In this example we’ll be using v1.2.1. Since this is the first node in my cluster, I will choose to create a new cluster, and then hit enter.

To deploy the harvester cluster we need to select a disk to install it on. Select your disk and hit enter.

Give your node a name and click Enter.

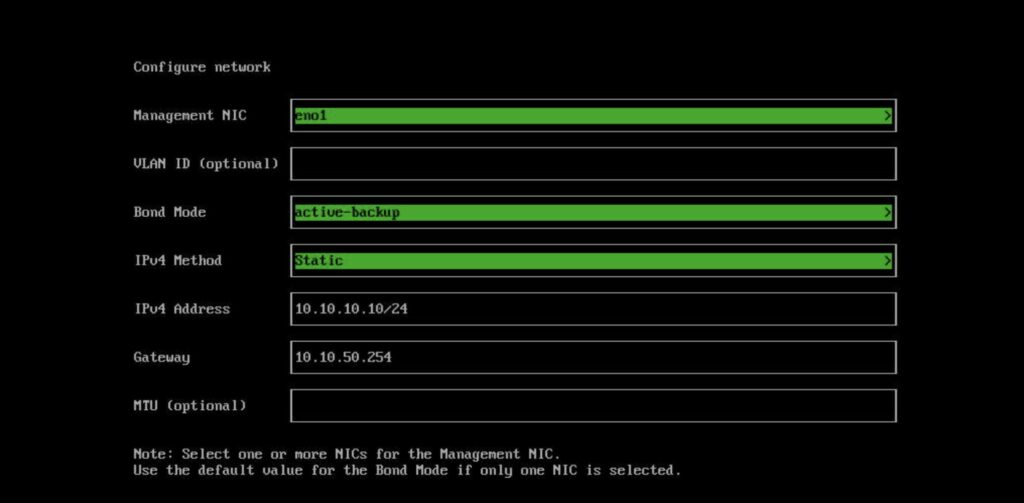
Next, you configure your node’s management network configuration. For the management NIC, you can select any of the NICs that you want to bond together for high availability. For a production cluster this should include at least two NICs, but since this is a home lab, I have a single NIC configured for my management network. I’m also using an untagged VLAN (or access port) so I’m not specifying any VLANs during this deployment. Your network setup may be different. Since I’m only using a single NIC, my “Bond Mode” setting should be left as “active-backup”. I’ll specify a static IP Address for my node as well, since in many home lab situations, the DHCP server doesn’t exist until after the virtualization layer has been created. And you can specify your MTU if you’d like to use jumbo frames.

Specify the DNS servers in a comma separated list.

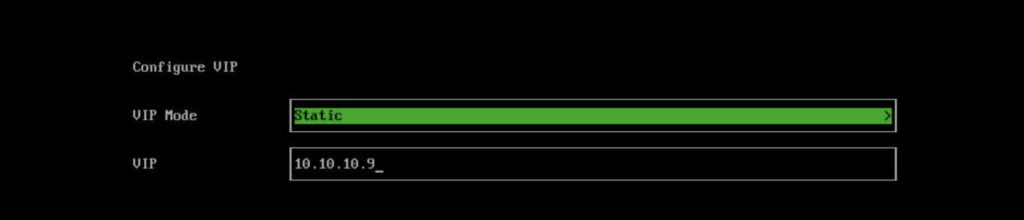
And since this is the first node in our cluster, we’ll also need to specify a VIP (Virtual IP). This VIP will serve as a load balanced communication endpoint for accessing our harvester cluster once it’s deployed. When you join other nodes to this cluster (later in this post) you’ll specify this VIP again for accessing the control plane of the cluster.
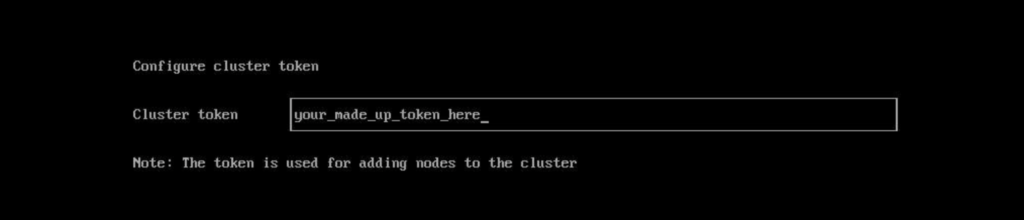
Next, you’ll specify a super secure token. Whatever you make this cluster token, be sure to remember it or have it stored securely someplace, so that you can add more nodes to the cluster using this token.

After you configure your token, you’ll also need to specify a password for access to this Harvester node directly through ssh. Note: the user to access the node over ssh is “rancher.”

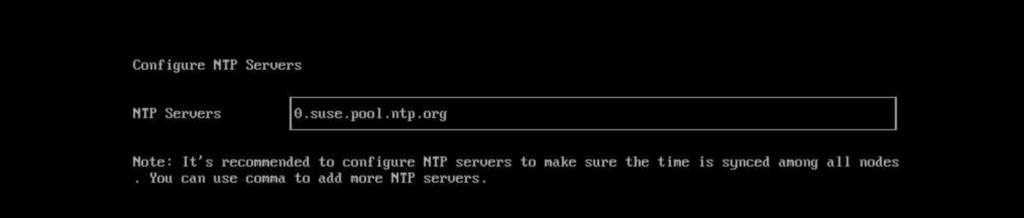
Specify your NTP server. I’ve left it as the default.

If you’re running in a network that requires access through a proxy, you can add the proxy address along with usernames/passwords in the configure proxy screen.

If you’d like to add ssh keys to your login, you can import them through an http url such as github.com.

And if you want to load a configuration, you can specify an http url with the config file for your cluster. This config file can help you setup a base configuration right from the get go, instead of having to configure everything by hand like we’ll be doing in this blog series.

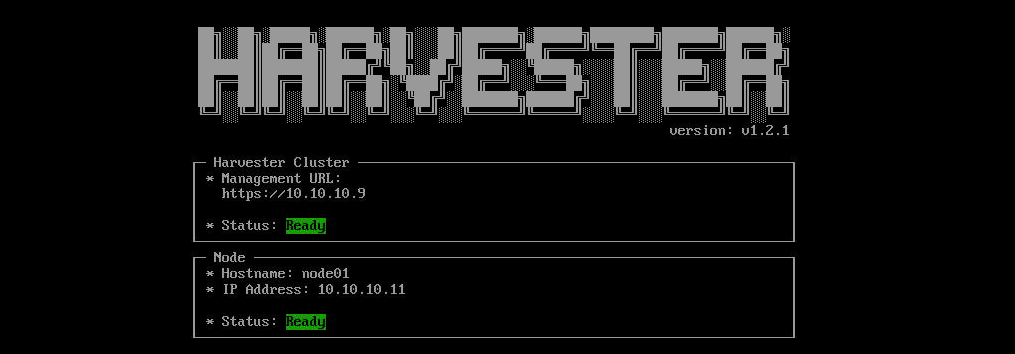
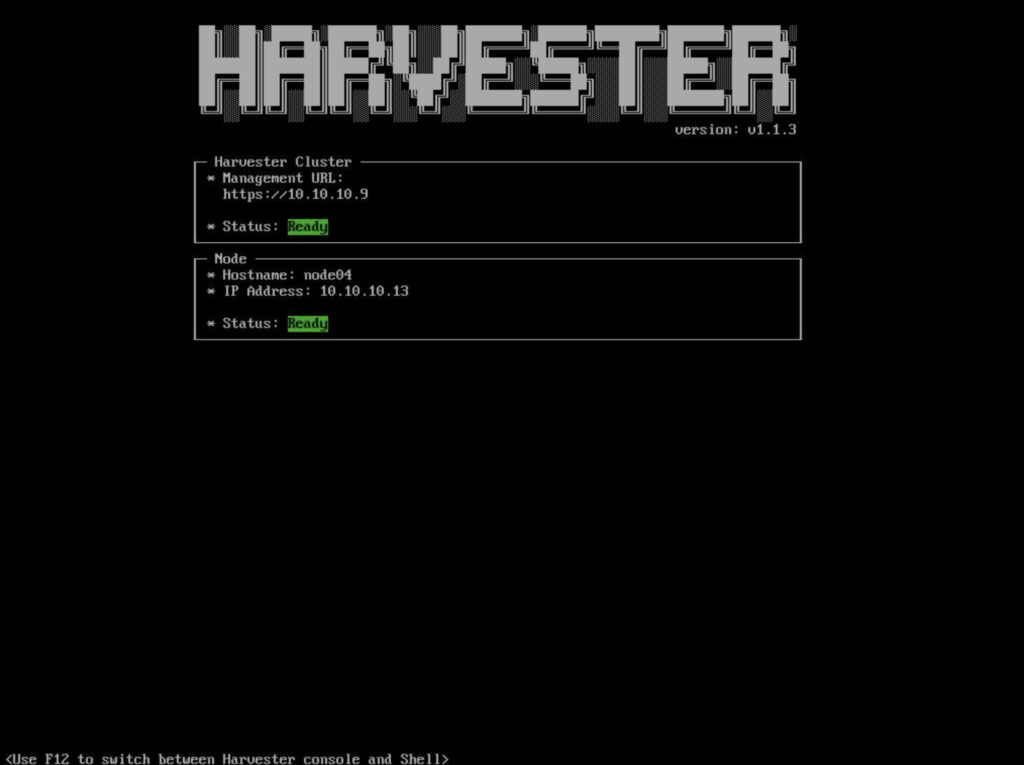
On the Summary screen, confirm your settings and continue the installation. At this point your disk will be formatted. Once the deployment has completed, your harvester node will restart and eventually you should see the node and the cluster are both in a “Ready” status. Don’t panic if they come up with a not-ready status initially, you probably just need to wait a touch longer for all of the pods to be running to host your cluster.
Add Additional Nodes
Once you have your first Harvester node up and running, you can deploy additional nodes. If you add three nodes, the cluster will use a three node control plane for high availability. If you’re deploying across fault domains, you can also label these nodes so they are distributed across zones to keep your cluster running in the event of a zone failure.
To add the additional nodes, you can boot them from the same iso file. This time when you’re presented with the choice, choose “join an existing Harvester cluster”. The rest of the screens will be very similar to what you did when setting up the first host.

Choose your installation disk.
Give your nodes a name.

Again, setup your management network for your nodes. Don’t forget to choose multiple NICs to provide HA if you need it.
Specify your DNS server.

For the management address, specify the VIP that was created during the installation of your first Harvester node.

Specify the token you used when setting up the initial node. This token needs to match that token.
Just as before, specify a node password for ssh access.

Specify the NTP server. The NTP servers should match across each node in the cluster ideally.
If you have a network proxy, you can configure that for these additional nodes.

Import your SSH keys if you’d like.

And again specify an http URL for a harvester config file if you want to automate the configuration of the harvester node.

After verifying the settings, begin the installation. Just like before when the installation is done the Harvester screen should appear and show the management cluster and node in a ready status.
Access the Harvester Dashboard
Your cluster should be up and running with 1 or more nodes in it. To access the UI navigate to the management URL. In the case of my lab this was http://10.10.10.9 as you can see from the Harvester status page.
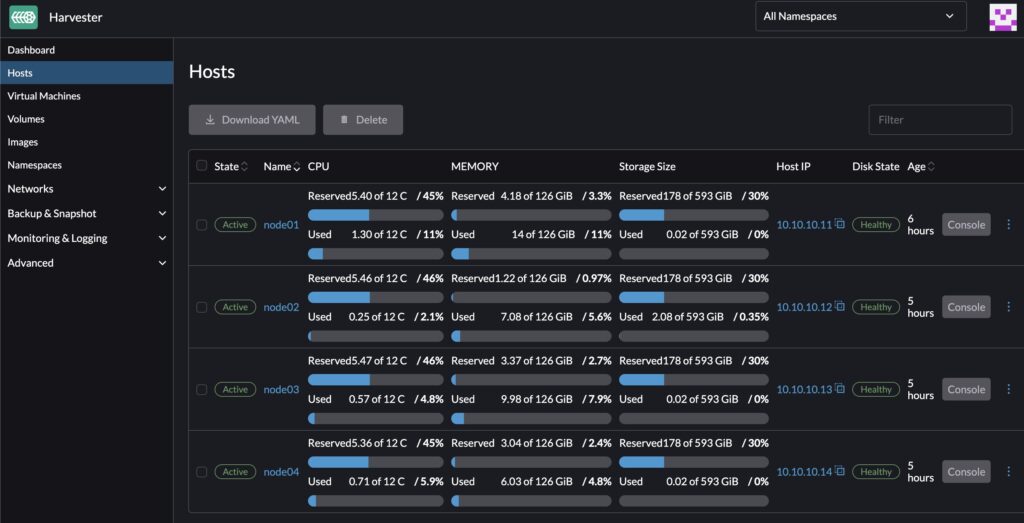
When you access the Dashboard, you’ll see information pertaining to Hosts, VMs, storage, and other resources. The below screenshot shows the four hosts I’ve added to my Harvester cluster.
Summary
Harvester is a very simple installation that requires you to boot one or more servers from an ISO file. I found the process of deploying this solution very simple and even though this is built on top of Kubernetes, none of the steps we performed as part of this post involved running any Kubernetes commands. We’ll investigate how to deploy VMs in future posts, but for now we have a working Harvester cluster and we can take a look around at some of our capabilities. In the next post we’ll walk through setting up a virtual machine network for segmenting traffic on different network interface cards. After that, we’ll deploy a virtual machine.